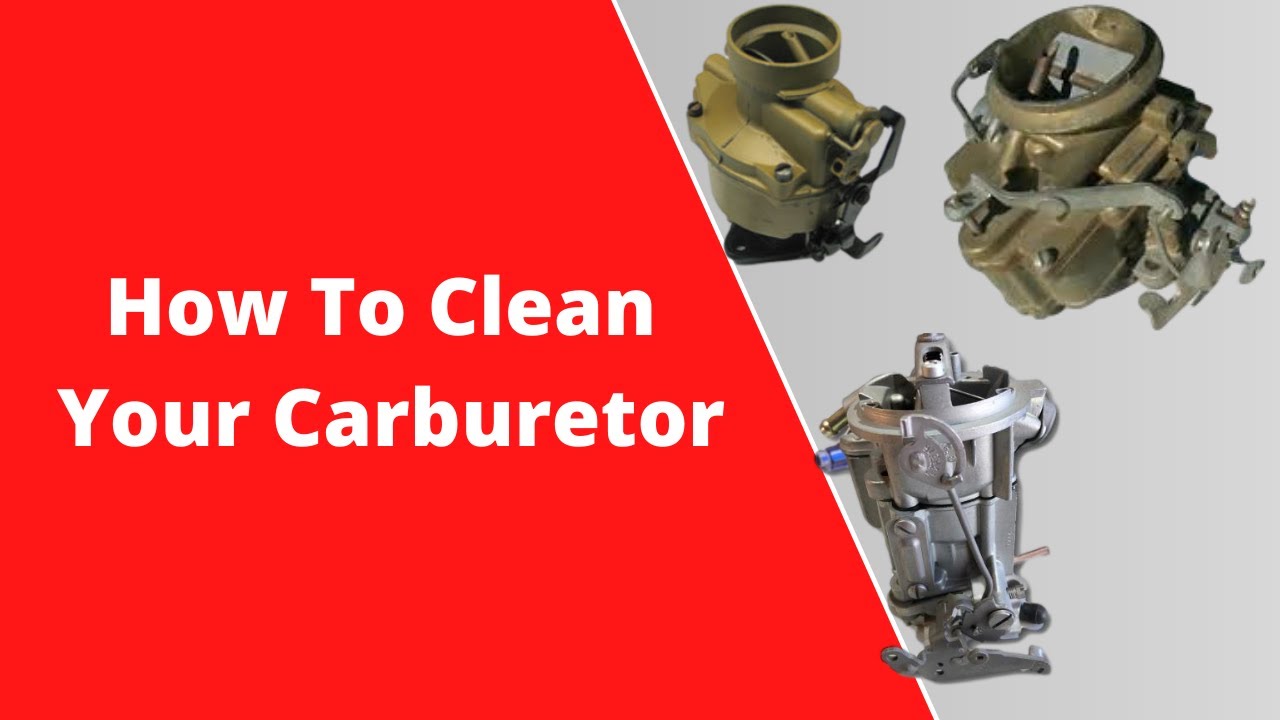
What to Use to Clean a Carburetor: A Comprehensive Guide
A carburetor is a vital component in many older vehicles and small engines, responsible for mixing air and fuel to create a combustible mixture. Over time, carburetors can become clogged with dirt, varnish, and other deposits, leading to poor engine performance. Knowing what to use to clean a carburetor effectively is crucial for maintaining engine health and efficiency. This guide provides a comprehensive overview of the best methods and products for cleaning carburetors, ensuring your engine runs smoothly.
Why Carburetor Cleaning is Important
A dirty carburetor can cause a variety of problems, including:
- Poor fuel economy
- Rough idling
- Stalling
- Difficulty starting
- Reduced engine power
Regular cleaning can prevent these issues and extend the life of your engine. Understanding what to use to clean a carburetor and following a proper cleaning procedure will help you avoid costly repairs and maintain optimal performance.
Essential Tools and Materials
Before you start cleaning, gather the necessary tools and materials. Having everything on hand will make the process smoother and more efficient.
- Carburetor Cleaner: This is a specialized solvent designed to dissolve varnish, gum, and other deposits.
- Parts Cleaner: A general-purpose solvent for cleaning individual carburetor components.
- Compressed Air: Essential for blowing out passages and drying parts.
- Soft Brushes: Various sizes for scrubbing away stubborn deposits.
- Screwdrivers: For disassembling and reassembling the carburetor.
- Wrenches: For removing the carburetor from the engine.
- Safety Glasses: To protect your eyes from chemical splashes.
- Gloves: To protect your skin from solvents.
- Clean Rags: For wiping surfaces and cleaning up spills.
- Carburetor Rebuild Kit (Optional): Contains new gaskets and seals to ensure a leak-free reassembly.
- Carburetor Dip (Optional): For heavily soiled carburetors; requires soaking for an extended period.
Choosing the Right Carburetor Cleaner
Selecting the appropriate carburetor cleaner is essential for effective cleaning. There are several types available, each with its own advantages and disadvantages. Knowing what to use to clean a carburetor depends on the severity of the buildup and your comfort level with different chemicals.
Aerosol Carburetor Cleaners
Aerosol cleaners are convenient and easy to use. They are sprayed directly onto the carburetor components to dissolve deposits. These cleaners are suitable for light to moderate buildup. Popular brands include:
- CRC Carb & Choke Cleaner
- Berryman B-12 Chemtool Carburetor, Fuel System and Injector Cleaner
- Gumout Carb + Choke Cleaner
Liquid Carburetor Cleaners
Liquid cleaners are typically used in a parts washer or for soaking individual components. They are more effective for removing heavy deposits but require more time and effort. Examples include:
- Berryman Chem-Dip Carburetor and Parts Cleaner
- Gunk Carburetor and Parts Cleaner
- Sea Foam Motor Treatment (can also be used as a cleaner)
Eco-Friendly Carburetor Cleaners
If you’re concerned about the environment, consider using an eco-friendly carburetor cleaner. These products are formulated with biodegradable solvents and are less harmful to the environment. While they might not be as potent as traditional cleaners, they can still be effective for light to moderate buildup. Always check the label to understand what to use to clean a carburetor safely and responsibly.
Step-by-Step Carburetor Cleaning Guide
Follow these steps to clean your carburetor effectively:
Step 1: Disassembly
Carefully disassemble the carburetor, taking note of the location of each component. It’s helpful to take pictures or create a diagram to aid in reassembly. Remove all jets, needles, and floats. Pay close attention to the order and orientation of these parts.
Step 2: Cleaning the Components
Spray each component with carburetor cleaner, paying particular attention to small passages and orifices. Use soft brushes to scrub away stubborn deposits. For heavily soiled parts, consider soaking them in liquid carburetor cleaner for several hours or overnight.
Step 3: Cleaning the Carburetor Body
Thoroughly clean the carburetor body, both inside and out. Use carburetor cleaner and brushes to remove all dirt and deposits. Pay close attention to the venturi, fuel bowl, and air passages. Ensure all passages are clear by blowing them out with compressed air.
Step 4: Rinsing and Drying
Rinse all components with parts cleaner to remove any remaining carburetor cleaner. Blow dry each part with compressed air to ensure they are completely dry. This is crucial to prevent corrosion and ensure proper fuel flow.
Step 5: Reassembly
Reassemble the carburetor, referring to your notes or diagram. Replace any worn or damaged gaskets and seals with new ones from the carburetor rebuild kit. Ensure all jets and needles are properly installed and adjusted according to the manufacturer’s specifications.
Step 6: Testing
After reassembly, test the carburetor to ensure it is functioning correctly. Install it back on the engine and start the engine. Adjust the idle speed and mixture screws as needed to achieve smooth idling and optimal performance.
Safety Precautions
When working with carburetor cleaners, it’s essential to take safety precautions:
- Work in a well-ventilated area.
- Wear safety glasses and gloves to protect your eyes and skin.
- Avoid breathing the fumes.
- Keep carburetor cleaners away from open flames and heat sources.
- Dispose of used cleaners properly according to local regulations.
Alternative Cleaning Methods
While carburetor cleaners are the most common and effective method, there are alternative cleaning methods you can consider. These methods may be useful for specific situations or when you don’t have access to commercial cleaners.
Ultrasonic Cleaning
Ultrasonic cleaners use high-frequency sound waves to create cavitation bubbles in a cleaning solution. These bubbles implode on the surface of the carburetor, dislodging dirt and deposits. Ultrasonic cleaning is particularly effective for cleaning small passages and orifices. However, it requires a specialized ultrasonic cleaner and may not be suitable for all carburetors.
Vinegar and Baking Soda
A mixture of vinegar and baking soda can be used as a natural cleaning solution. Soak the carburetor components in the mixture for several hours or overnight. The vinegar will help dissolve deposits, while the baking soda will act as a mild abrasive. This method is less potent than commercial cleaners but can be effective for light buildup. Make sure to thoroughly rinse and dry the components after soaking.
Lemon Juice
Lemon juice contains citric acid, which can help dissolve deposits. Soak the carburetor components in lemon juice for several hours or overnight. This method is similar to using vinegar and baking soda and is suitable for light buildup. Rinse and dry the components thoroughly after soaking.
Troubleshooting Common Carburetor Problems
Even after cleaning, you may encounter some common carburetor problems. Here are some troubleshooting tips:
- Engine Stalling: Check the idle speed and mixture screws. Adjust them as needed to achieve smooth idling. Also, check for vacuum leaks.
- Poor Fuel Economy: Check the float level and adjust it according to the manufacturer’s specifications. Also, check for worn jets or needles.
- Rough Idling: Check for clogged passages or orifices. Clean them thoroughly with carburetor cleaner and compressed air. Also, check for vacuum leaks.
- Difficulty Starting: Check the choke mechanism. Ensure it is functioning correctly and properly adjusted. Also, check for fuel delivery issues.
Maintaining Your Carburetor
Regular maintenance is crucial for keeping your carburetor clean and functioning properly. Here are some tips:
- Use high-quality fuel to minimize deposits.
- Add fuel stabilizer to the fuel tank when storing the engine for extended periods.
- Periodically inspect the carburetor for signs of dirt or damage.
- Clean the carburetor regularly, especially if you notice any performance issues.
Conclusion
Knowing what to use to clean a carburetor and following a proper cleaning procedure is essential for maintaining engine health and performance. By using the right tools, materials, and techniques, you can effectively remove dirt, varnish, and other deposits, ensuring your engine runs smoothly and efficiently. Whether you choose aerosol cleaners, liquid cleaners, or alternative methods, remember to prioritize safety and follow the manufacturer’s instructions. Regular cleaning and maintenance will help you avoid costly repairs and extend the life of your engine. Cleaning a carburetor is a straightforward process once you understand what to use to clean a carburetor and the steps involved. A clean carburetor translates to better fuel efficiency, smoother idling, and overall improved engine performance. So, grab your tools, choose your cleaner, and get to work!
[See also: How to Rebuild a Carburetor]
[See also: Symptoms of a Bad Carburetor]

