
The Ultimate Guide to Vinyl Adhesive Remover for Cars: Safe and Effective Solutions
Removing vinyl graphics, decals, or wraps from your car can be a tricky task. While the vinyl itself might peel off relatively easily, the adhesive residue left behind is often stubborn and unsightly. Using the wrong methods or products can damage your car’s paint, leaving you with an even bigger headache. That’s why choosing the right vinyl adhesive remover for cars is crucial. This comprehensive guide will walk you through everything you need to know about safely and effectively removing vinyl adhesive from your vehicle, ensuring a clean and damage-free finish.
Understanding Vinyl Adhesive
Before diving into the removal process, it’s important to understand what you’re dealing with. Vinyl adhesives are designed to create a strong bond, ensuring the vinyl stays in place even under harsh weather conditions. These adhesives are typically pressure-sensitive, meaning they adhere firmly when pressure is applied. Over time, exposure to sunlight, heat, and environmental contaminants can cause the adhesive to become even more resistant to removal. Knowing this helps you appreciate the need for specialized vinyl adhesive remover for cars.
Choosing the Right Vinyl Adhesive Remover
Selecting the appropriate vinyl adhesive remover for cars is paramount to avoid damaging your vehicle’s paint. Here are some key factors to consider:
- Solvent-Based vs. Water-Based: Solvent-based removers are generally more effective on stubborn adhesives but can be harsher on paint. Water-based removers are gentler but may require more applications.
- VOC Content: Volatile Organic Compounds (VOCs) can be harmful to your health and the environment. Opt for low-VOC or VOC-free options whenever possible.
- Paint Compatibility: Always check the product label to ensure the remover is safe for use on your car’s paint type. Test a small, inconspicuous area first to ensure there are no adverse reactions.
- Ease of Use: Consider the application method. Some removers come in spray bottles, while others require application with a cloth or brush. Choose a method that you’re comfortable with.
Essential Tools for Vinyl Adhesive Removal
In addition to a quality vinyl adhesive remover for cars, you’ll need a few essential tools to make the job easier and safer:
- Plastic Razor Blades: These are much safer than metal razor blades, as they are less likely to scratch the paint.
- Heat Gun or Hair Dryer: Applying heat softens the adhesive, making it easier to remove.
- Microfiber Cloths: Use these to apply the remover and wipe away the residue.
- Spray Bottle: For applying the remover evenly.
- Gloves: Protect your hands from the chemicals in the remover.
- Safety Glasses: Protect your eyes from splashes.
Step-by-Step Guide to Removing Vinyl Adhesive
Follow these steps for safe and effective vinyl adhesive removal for cars:
- Prepare the Area: Wash and dry the area where the vinyl was located. This removes dirt and debris that could scratch the paint during the removal process.
- Apply Heat: Use a heat gun or hair dryer to gently warm the adhesive. Keep the heat source moving to avoid overheating the paint. Aim for a temperature that softens the adhesive without damaging the paint.
- Apply the Vinyl Adhesive Remover: Spray or apply the vinyl adhesive remover for cars evenly over the adhesive residue. Allow it to soak for the recommended time, as indicated on the product label. This allows the remover to penetrate and loosen the adhesive.
- Scrape Away the Adhesive: Use a plastic razor blade to gently scrape away the softened adhesive. Hold the blade at a low angle to avoid scratching the paint. Work in small sections and reapply the remover as needed.
- Wipe Clean: Once you’ve removed most of the adhesive, use a clean microfiber cloth to wipe away any remaining residue. Apply more vinyl adhesive remover if necessary.
- Wash and Wax: After removing all the adhesive, wash the area with soap and water to remove any traces of the remover. Finally, apply a coat of wax to protect the paint and restore its shine.
DIY Vinyl Adhesive Remover Alternatives
While specialized vinyl adhesive remover for cars is generally recommended, there are some DIY alternatives you can try, although with caution:
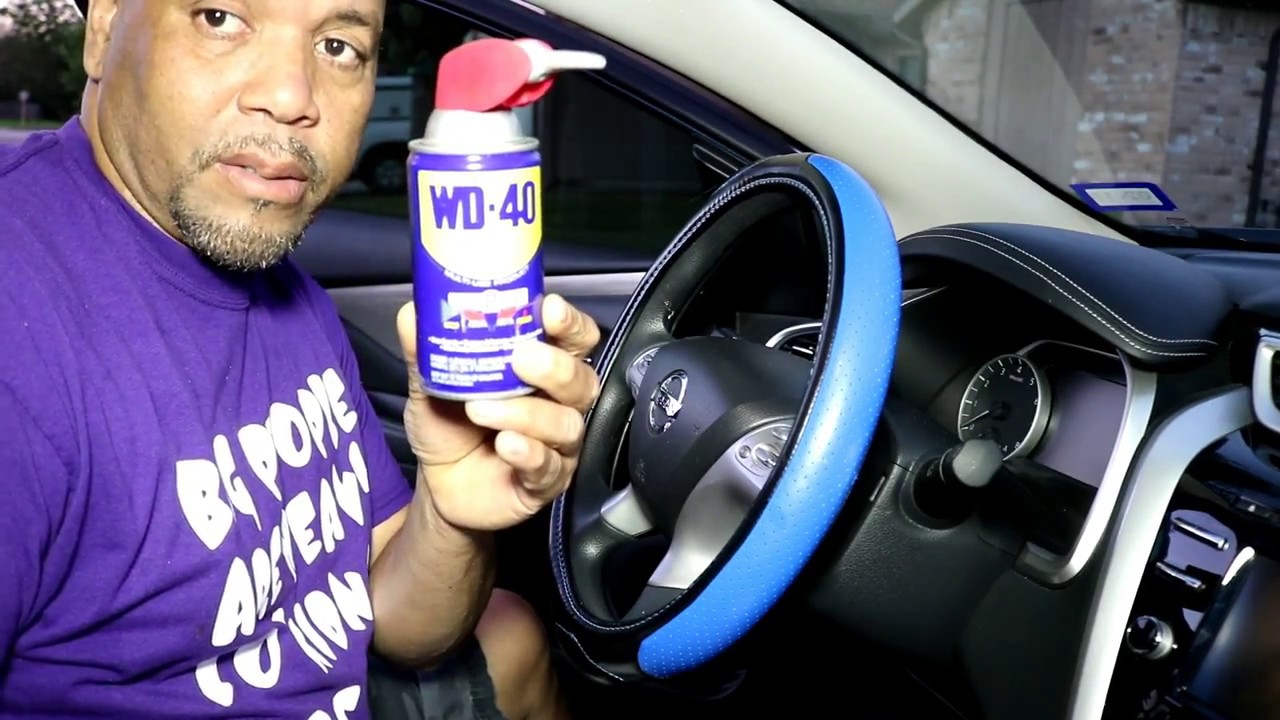
- WD-40: This multi-purpose lubricant can sometimes dissolve adhesive. Apply it to the residue, let it sit for a few minutes, and then wipe it away.
- Goo Gone: This product is designed to remove sticky substances and may work on vinyl adhesive.
- Isopropyl Alcohol: This can be effective on some adhesives, but test it in an inconspicuous area first, as it can damage certain types of paint.
- Olive Oil or Vegetable Oil: These oils can help to loosen the adhesive. Apply the oil, let it sit for a while, and then wipe it away.
Important Note: Always test any DIY solution in a small, hidden area before applying it to the entire surface. This will help you avoid any unexpected damage to your car’s paint.
Common Mistakes to Avoid
Removing vinyl adhesive from cars can be tricky, and it’s easy to make mistakes. Here are some common pitfalls to avoid:
- Using Metal Scrapers: Metal scrapers can easily scratch the paint. Always use plastic razor blades or other non-abrasive tools.
- Applying Too Much Heat: Overheating the paint can cause it to blister or fade. Use a heat gun or hair dryer on a low setting and keep it moving.
- Using Harsh Chemicals: Avoid using harsh chemicals like acetone or lacquer thinner, as these can damage the paint.
- Rushing the Process: Removing vinyl adhesive takes time and patience. Don’t rush the process, or you risk damaging the paint.
- Not Testing the Remover: Always test the vinyl adhesive remover in a small, inconspicuous area before applying it to the entire surface.
Preventing Adhesive Residue in the First Place
While this guide focuses on removing adhesive, preventing it in the first place is even better. When applying vinyl decals or wraps, use high-quality materials and follow the manufacturer’s instructions carefully. Proper application can significantly reduce the amount of adhesive residue left behind when it’s time to remove the vinyl. Also, consider the longevity of the vinyl. The longer it stays on your car, the more likely the adhesive will become difficult to remove. Regular cleaning and maintenance can also help prevent the adhesive from bonding too strongly.
Professional Vinyl Removal Services
If you’re uncomfortable removing vinyl adhesive yourself, or if you’re dealing with a particularly stubborn residue, consider hiring a professional. Many auto detailing shops offer vinyl removal services. They have the expertise and equipment to safely and effectively remove the adhesive without damaging your car’s paint. While it may cost more, it can save you time and prevent costly mistakes. Look for shops with good reviews and a proven track record of vinyl removal.
Maintaining Your Car’s Paint After Vinyl Removal
After successfully removing the vinyl adhesive from cars, it’s important to protect and maintain your car’s paint. Applying a coat of wax or sealant will help to protect the paint from the elements and restore its shine. Regular washing and waxing will also help to keep your car looking its best. Consider using a paint sealant for longer-lasting protection. [See also: Best Car Waxes for Protecting Your Paint] Inspect the area regularly for any signs of damage or discoloration. Addressing any issues promptly will help to prevent them from becoming more serious. Remember, proper care and maintenance are essential for preserving the appearance and value of your vehicle.
Conclusion
Removing vinyl adhesive from cars doesn’t have to be a daunting task. By choosing the right vinyl adhesive remover, using the appropriate tools, and following the steps outlined in this guide, you can safely and effectively remove the residue without damaging your car’s paint. Remember to take your time, be patient, and always test any product in a small, inconspicuous area first. Whether you choose to tackle the job yourself or hire a professional, understanding the process and potential pitfalls will help you achieve a clean and damage-free finish. With the right approach, you can keep your car looking its best, free from unsightly adhesive residue. The key is to use the appropriate vinyl adhesive remover for cars and proceed with caution and care.
