
Roofing 101: How to Install Shingles Like a Pro
Replacing or installing a new roof is a significant undertaking, but with the right preparation and knowledge, you can confidently tackle how to install shingles yourself. This guide provides a comprehensive, step-by-step approach to installing shingles, ensuring a durable and aesthetically pleasing roof for your home. Whether you’re a seasoned DIY enthusiast or a first-time homeowner, understanding the process of how to install shingles is crucial for maintaining the integrity of your property.
Preparing for Shingle Installation
Before you even think about how to install shingles, thorough preparation is key. This stage involves gathering the necessary materials and tools, inspecting the existing roof, and ensuring a safe working environment.
Gathering Materials and Tools
Here’s a checklist of essential materials and tools you’ll need:
- Shingles: Choose high-quality shingles appropriate for your climate. Calculate the number of bundles needed based on your roof’s square footage.
- Underlayment: This provides a waterproof barrier between the shingles and the roof deck.
- Drip Edge: Installed along the eaves and rakes to direct water away from the fascia and sheathing.
- Roofing Nails: Use galvanized roofing nails specifically designed for shingle installation.
- Caulk: For sealing around vents and chimneys.
- Roofing Cement: For securing shingles in high-wind areas or for repairs.
- Hammer or Nail Gun: A roofing nail gun can significantly speed up the process.
- Utility Knife: For cutting shingles.
- Measuring Tape: For accurate measurements.
- Chalk Line: For creating straight lines.
- Safety Gear: Including a harness, safety glasses, gloves, and a hard hat.
Inspecting the Existing Roof
A thorough inspection is crucial. Look for signs of damage such as:
- Rotting Wood: Soft spots in the roof deck indicate rot, which needs to be replaced.
- Missing or Damaged Shingles: Identify areas where shingles are missing, cracked, or curled.
- Leaks: Check for water stains in the attic, which indicate leaks in the roof.
If you find any significant damage, address it before proceeding with how to install shingles. This might involve replacing sections of the roof deck or repairing flashing around chimneys and vents.
Ensuring a Safe Working Environment
Safety is paramount when working on a roof. Follow these safety precautions:
- Use a Safety Harness: A harness is essential to prevent falls. Secure it to a sturdy anchor point.
- Wear Non-Slip Shoes: Roofing shoes provide better traction on sloped surfaces.
- Be Aware of Weather Conditions: Avoid working on the roof in wet, windy, or icy conditions.
- Use Ladders Safely: Ensure the ladder is securely positioned and extends at least three feet above the roofline.
- Have a Spotter: Have someone on the ground to assist you and call for help if needed.
Step-by-Step Guide on How to Install Shingles
Now that you’ve prepared the roof and gathered your materials, let’s dive into the step-by-step process of how to install shingles.
Removing Existing Shingles
If you’re replacing an existing roof, you’ll need to remove the old shingles. Use a roofing shovel or pry bar to lift the shingles and remove the nails. Be careful not to damage the roof deck. Dispose of the old shingles properly.
Installing Drip Edge
Install the drip edge along the eaves and rakes. The drip edge should overhang the fascia board slightly to direct water away from the wood. Nail the drip edge in place every 12 inches.
Laying Underlayment
Roll out the underlayment, starting at the eaves and working your way up the roof. Overlap each layer by at least 6 inches. Secure the underlayment with roofing nails every 12 inches. [See also: Best Roofing Underlayment Options]
Starting the First Course of Shingles
The first course of shingles, also known as the starter course, is crucial for a proper seal. Use starter shingles or cut regular shingles to create a continuous, sealed edge along the eaves. Apply roofing cement to the back of the starter shingles and press them firmly into place.
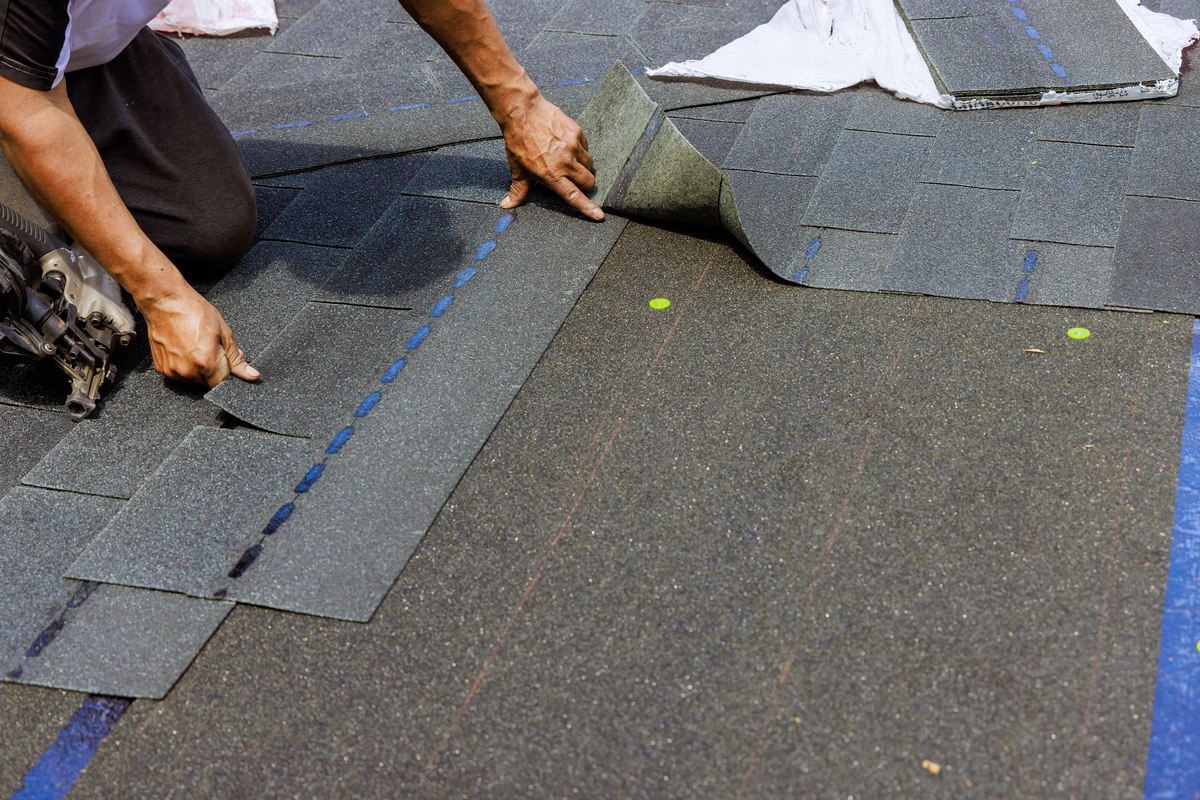
Installing Subsequent Courses
Begin installing the first full course of shingles, aligning the bottom edge with the bottom edge of the starter course. Use four nails per shingle, placing them just below the sealant strip. Ensure the nails penetrate the roof deck. Overlap each shingle according to the manufacturer’s instructions. Typically, this overlap is around 5-6 inches.
Cutting and Fitting Shingles
As you reach the edges of the roof, you’ll need to cut shingles to fit. Use a utility knife to score the shingle and then bend it to snap it along the score line. Be precise with your cuts to ensure a clean, professional look.
Working Around Obstacles
When how to install shingles around vents, chimneys, and other obstacles, you’ll need to use flashing to create a watertight seal. Cut the shingles to fit around the obstacle, leaving a small gap for the flashing. Install the flashing according to the manufacturer’s instructions, using roofing cement to seal any gaps.
Finishing the Ridge
The ridge is the peak of the roof. Use ridge cap shingles to cover the ridge, overlapping each shingle by half. Secure the ridge cap shingles with roofing nails, ensuring they penetrate the roof deck. This final step ensures a watertight seal along the roof’s highest point.
Tips for a Successful Shingle Installation
Here are some additional tips to help you successfully how to install shingles:
- Follow Manufacturer’s Instructions: Always refer to the shingle manufacturer’s instructions for specific installation guidelines.
- Work in Small Sections: Don’t try to install too many shingles at once. Work in small sections to ensure accuracy and prevent fatigue.
- Use a Chalk Line: A chalk line helps you maintain straight lines and ensures a professional-looking finish.
- Check Your Work: Regularly inspect your work to ensure the shingles are properly aligned and secured.
- Clean Up Debris: Keep the roof clean and free of debris to prevent tripping hazards and ensure proper shingle adhesion.
Troubleshooting Common Shingle Installation Problems
Even with careful planning, you might encounter some common problems when learning how to install shingles. Here are a few troubleshooting tips:
- Shingles Not Adhering: Ensure the sealant strip is properly heated by the sun. In cooler weather, you may need to manually heat the sealant strip with a heat gun.
- Nails Not Penetrating: If the nails are bending over instead of penetrating the roof deck, use a different type of nail or adjust the pressure on your nail gun.
- Leaks: If you discover leaks after installation, carefully inspect the area around the leak to identify the source. It could be a poorly installed shingle, damaged flashing, or a problem with the underlayment.
The Importance of Proper Shingle Installation
Proper shingle installation is essential for protecting your home from the elements. A well-installed roof will:
- Prevent Leaks: Properly installed shingles create a watertight barrier that prevents water from entering your home.
- Protect Against Wind Damage: Securely fastened shingles can withstand high winds and prevent blow-offs.
- Extend the Life of Your Roof: A properly installed roof will last longer and require fewer repairs.
- Increase Your Home’s Value: A new or well-maintained roof can significantly increase your home’s value.
When to Call a Professional Roofer
While how to install shingles can be a DIY project, there are times when it’s best to call a professional roofer. Consider hiring a professional if:
- You’re Uncomfortable Working at Heights: Roofing can be dangerous, and it’s not worth risking your safety.
- Your Roof is Complex: If your roof has multiple angles, skylights, or other complex features, it’s best to leave the installation to a professional.
- You Lack the Necessary Experience: If you’re not confident in your ability to properly install shingles, it’s better to hire a professional to avoid costly mistakes.
Installing shingles can be a rewarding DIY project. By following these steps and taking the necessary precautions, you can confidently tackle how to install shingles and protect your home for years to come. Remember to prioritize safety, follow manufacturer’s instructions, and don’t hesitate to seek professional help if needed. With the right preparation and execution, you can achieve a durable and aesthetically pleasing roof that enhances the value and security of your home. Understanding how to install shingles not only saves you money but also equips you with valuable knowledge for future roof maintenance and repairs.
