Replacing Your Bike’s Brake Pads: A Comprehensive Guide
Worn-out brake pads can compromise your safety and the performance of your bicycle. Knowing how to replace brake pads on your bike is a crucial skill for any cyclist, whether you’re a seasoned pro or a weekend warrior. This comprehensive guide will walk you through the process, ensuring you can confidently maintain your bike’s braking system. We’ll cover everything from identifying when it’s time for a change to the step-by-step instructions for different types of brakes. Proper bike brake pad replacement is essential for safe riding.
Why Replace Your Bike’s Brake Pads?
Brakes are arguably the most important safety feature on your bike. Over time, brake pads wear down due to friction. Riding with worn brake pads reduces your stopping power, increases the risk of accidents, and can damage your rims or rotors. Regular inspection and timely brake pad replacement are vital for maintaining optimal braking performance and ensuring your safety on the road or trail.
Signs You Need New Brake Pads
- Reduced stopping power: If you have to squeeze the brake levers harder than usual to stop, your brake pads may be worn.
- Squealing or grinding noises: These noises often indicate that the brake pads are worn down to the metal backing, which is grinding against the rotor or rim.
- Visible wear: Inspect the brake pads. If the friction material is thin (less than 1-2mm), it’s time to replace them.
- Grooves or damage: Deep grooves, cracks, or uneven wear on the brake pads can also indicate the need for replacement.
Tools and Materials Needed
Before you begin the brake pad replacement process, gather the necessary tools and materials:
- New brake pads (compatible with your brake system)
- Allen wrench set
- Torque wrench (optional, but recommended)
- Pliers
- Clean rags
- Brake cleaner or isopropyl alcohol
- Work gloves
Step-by-Step Guide to Replacing Rim Brake Pads
Rim brakes are commonly found on older or less expensive bikes. Here’s how to replace brake pads on a rim brake system:
Step 1: Loosen the Brake Cable
Use an Allen wrench to loosen the brake cable fixing bolt on the brake caliper. This will allow you to open the brake arms and remove the old brake pads.
Step 2: Remove the Old Brake Pads
Depending on the type of rim brake, the brake pads may be held in place by a bolt or a pin. Remove the bolt or pin to release the old brake pads. Note the orientation of the old pads for reference when installing the new ones.
Step 3: Clean the Brake Calipers
Use a clean rag and brake cleaner or isopropyl alcohol to clean the brake calipers and remove any dirt or debris.
Step 4: Install the New Brake Pads
Insert the new brake pads into the brake caliper, ensuring they are oriented correctly. Tighten the bolt or pin to secure them in place. Make sure the brake pads are aligned with the rim’s braking surface.
Step 5: Adjust the Brake Cable
Tighten the brake cable fixing bolt, ensuring the brake arms are properly positioned. Adjust the cable tension so that the brake pads are close to the rim but not rubbing when the brake lever is released.
Step 6: Test the Brakes
Spin the wheel and apply the brakes to ensure they are working properly. Make any necessary adjustments to the cable tension or brake pad alignment.
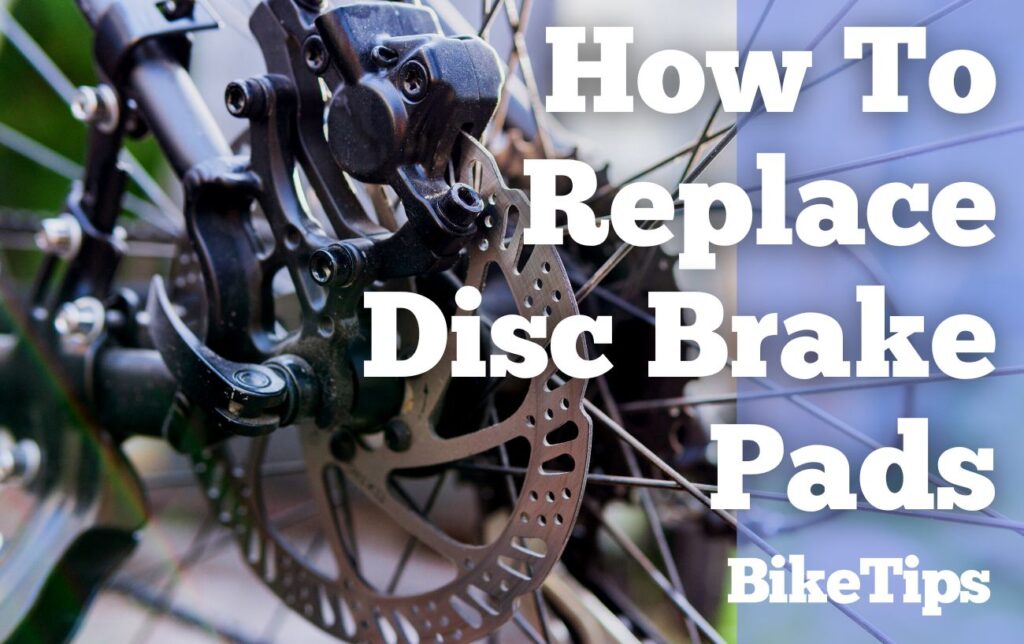
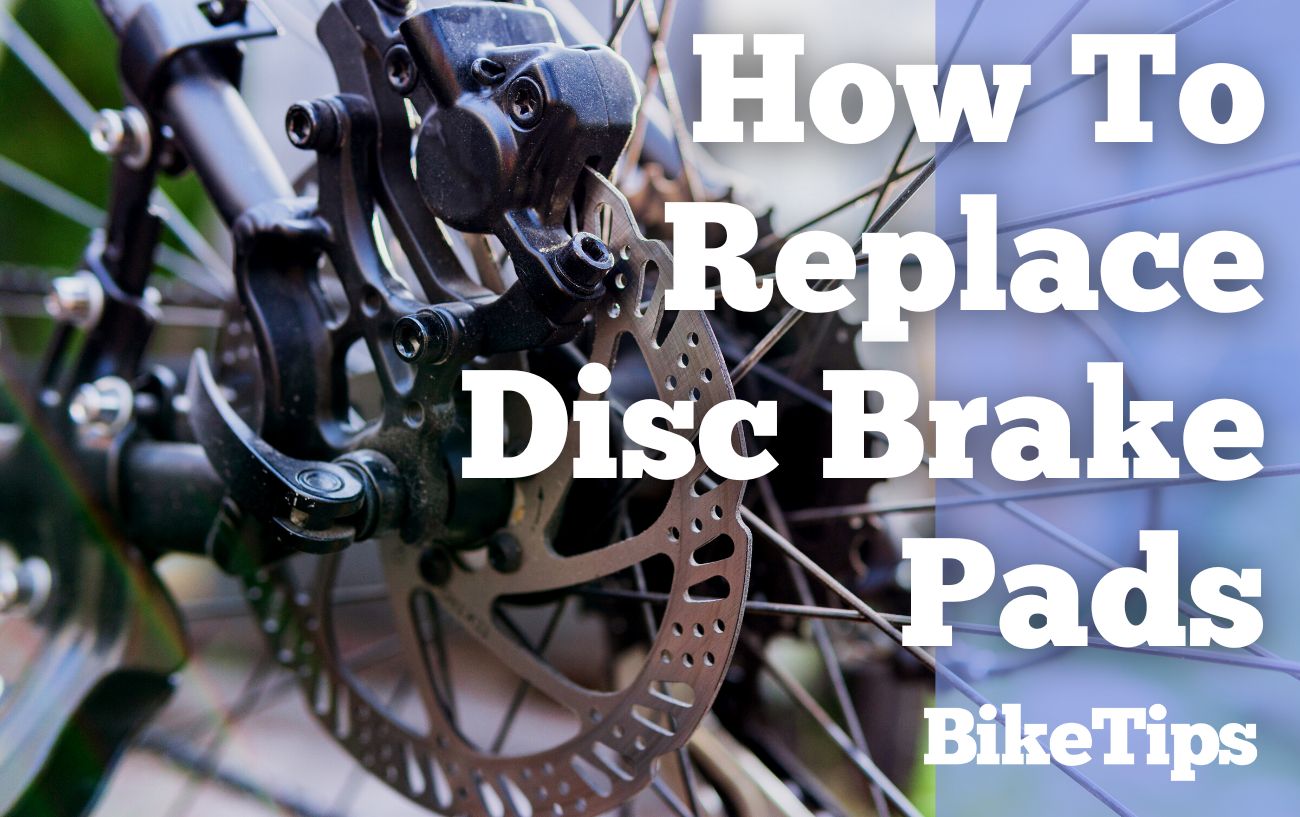
Step-by-Step Guide to Replacing Disc Brake Pads
Disc brakes offer superior stopping power, especially in wet conditions. Here’s how to replace brake pads on a disc brake system:
Step 1: Remove the Wheel
Remove the wheel from the bike. This will give you better access to the brake caliper and brake pads.
Step 2: Remove the Old Brake Pads
Most disc brake calipers have a retaining bolt or pin that holds the brake pads in place. Remove the bolt or pin. Some calipers may require you to remove a spring or clip as well. Slide the old brake pads out of the caliper. Take note of how the old pads were installed.
Step 3: Inspect the Caliper and Rotor
Inspect the brake caliper for any damage or leaks. Also, check the rotor for wear or damage. If the rotor is worn or damaged, it may need to be replaced as well. Clean the caliper with brake cleaner.
Step 4: Push Back the Pistons
Before installing the new brake pads, you’ll need to push the pistons back into the caliper. Use a clean, flat tool (like a tire lever wrapped in a clean rag) to gently push the pistons back. Be careful not to damage the pistons.
Step 5: Install the New Brake Pads
Slide the new brake pads into the caliper, ensuring they are oriented correctly. Reinstall the retaining bolt or pin and any springs or clips. Make sure the brake pads are seated properly in the caliper.
Step 6: Reinstall the Wheel
Reinstall the wheel on the bike.
Step 7: Bed In the New Brake Pads
“Bedding in” the brake pads involves a series of controlled stops to transfer material from the brake pads to the rotor. This improves braking performance and reduces noise. Find a safe, flat area and perform several moderate stops, gradually increasing the braking force. Avoid locking up the brakes.
Choosing the Right Brake Pads
Selecting the correct brake pads for your bike is essential for optimal performance and safety. Consider the following factors:
- Brake Type: Ensure the brake pads are compatible with your brake system (rim or disc).
- Material: Brake pads come in various materials, including organic (resin), metallic (sintered), and semi-metallic. Organic pads are quieter but wear faster, while metallic pads offer better stopping power and durability but can be noisier.
- Riding Style: Consider your riding style and the conditions you typically ride in. For aggressive riding or wet conditions, metallic pads may be a better choice.
Maintaining Your Brakes
Regular maintenance is crucial for keeping your brakes in top condition:
- Inspect regularly: Check your brake pads and rotors/rims for wear and damage regularly.
- Clean frequently: Keep your brakes clean by using brake cleaner or isopropyl alcohol.
- Replace worn components: Replace brake pads and rotors/rims when they are worn or damaged.
- Adjust cables: Keep your brake cables properly adjusted to maintain optimal braking performance.
Troubleshooting Common Brake Problems
Even with proper maintenance, you may encounter some common brake problems:
- Squealing brakes: This can be caused by contaminated brake pads or rotors/rims. Clean the brakes with brake cleaner. If the squealing persists, the brake pads may need to be replaced.
- Spongy brakes: This can be caused by air in the brake lines (for hydraulic disc brakes) or stretched brake cables (for mechanical brakes). Bleed the brake lines or replace the brake cables.
- Poor stopping power: This can be caused by worn brake pads, contaminated rotors/rims, or improperly adjusted brakes. Replace the brake pads, clean the rotors/rims, and adjust the brakes.
Replacing your bike’s brake pads is a straightforward process that can significantly improve your safety and riding experience. By following these steps and maintaining your brakes regularly, you can ensure that your bike stops reliably when you need it to. Remember, if you’re not comfortable performing this task yourself, consult a qualified bike mechanic. Don’t neglect regular bike brake pad replacement for your own well-being. Understanding when and how to replace brake pads can save you money and keep you safe on the road or trail. Proper bike brake pad replacement is a skill every cyclist should learn.
[See also: Adjusting Bike Brakes: A Simple Guide] [See also: Choosing the Right Bike for Your Needs] [See also: Bike Maintenance Tips for Beginners]

