Removing Tar from Car Paintwork: A Comprehensive Guide
Tar, that sticky, black substance that plagues our roads, is an inevitable hazard for any vehicle. When it splatters onto your car’s paintwork, it’s not just unsightly; it can also cause long-term damage if left untreated. Removing tar from car paintwork effectively requires the right tools, techniques, and a bit of patience. This comprehensive guide will walk you through everything you need to know to safely and effectively remove tar, leaving your car looking its best.
Why is Removing Tar Important?
Tar is more than just an aesthetic nuisance. Its chemical composition can react with your car’s paint, leading to etching and discoloration over time. The longer tar remains on your vehicle, the harder it becomes to remove and the greater the risk of permanent damage. Moreover, tar can attract and trap other contaminants, further exacerbating the problem. Regular removal of tar from car paintwork is crucial to maintaining your vehicle’s appearance and protecting its resale value.
Identifying Tar on Your Car
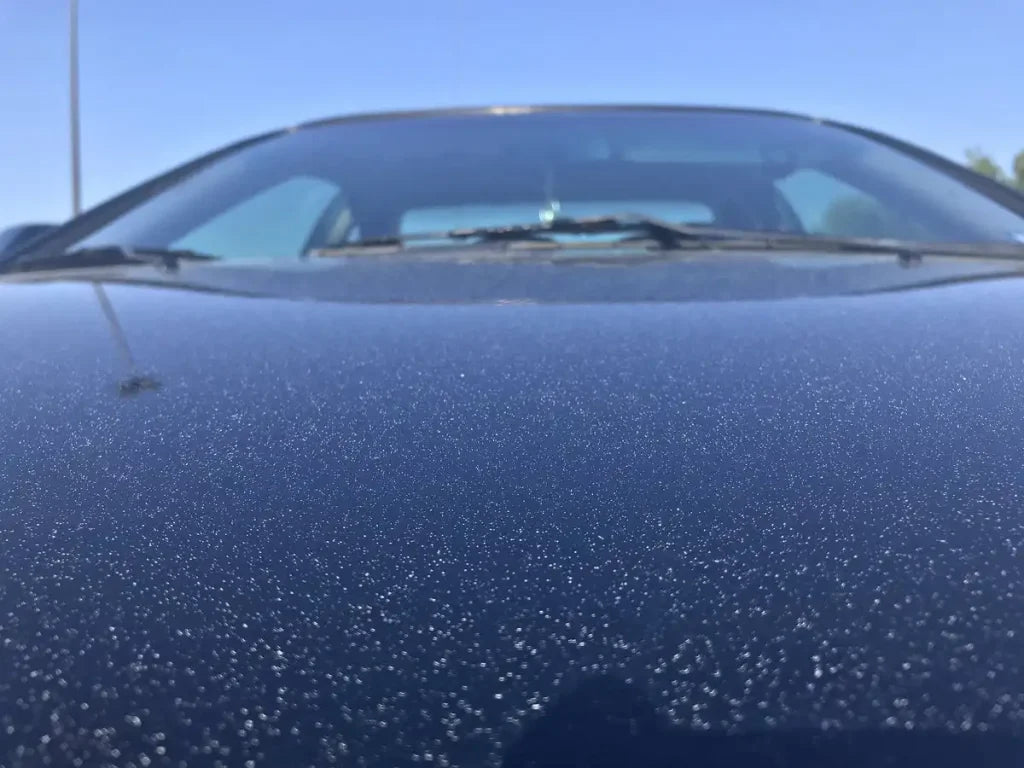
Tar spots typically appear as small, black, raised bumps or splatters on your car’s lower panels, wheel arches, and rear bumper. They’re often more noticeable on lighter-colored vehicles. It’s important to distinguish tar from other contaminants like bug splatter or tree sap, as the removal methods may differ. If you’re unsure, a close inspection and a bit of research can help you identify the substance correctly.
Essential Tools and Materials for Tar Removal
Before you begin, gather the necessary tools and materials. Using the right products is essential to avoid scratching or damaging your car’s paintwork. Here’s a list of what you’ll need:
- Tar Remover: Specifically formulated to dissolve tar without harming paint.
- Microfiber Cloths: Soft, lint-free cloths are essential for wiping and buffing.
- Spray Bottle: For applying the tar remover.
- Wash Mitt: For washing the car before and after tar removal.
- Car Wash Soap: A pH-neutral soap designed for automotive use.
- Detailing Clay (Optional): For removing stubborn tar residue.
- Clay Lubricant (Optional): To prevent scratching when using detailing clay.
- Warm Water: For rinsing.
- Gloves: To protect your hands from chemicals.
Step-by-Step Guide to Removing Tar From Car Paintwork
Follow these steps carefully to ensure a safe and effective tar removal process:
Step 1: Wash Your Car
Before applying any tar remover, thoroughly wash your car to remove dirt and debris. This prevents scratching the paint surface during the tar removal process. Use a pH-neutral car wash soap and a wash mitt, rinsing thoroughly with clean water.
Step 2: Apply Tar Remover
Spray the tar remover directly onto the affected areas, following the manufacturer’s instructions. Most tar removers require a few minutes to dwell, allowing the chemicals to break down the tar. Avoid spraying the product onto plastic or rubber trim, as it may cause discoloration or damage. If necessary, apply the remover to a microfiber cloth and gently dab the tar spots.
Step 3: Gently Wipe Away the Tar
After the dwell time, gently wipe away the dissolved tar with a clean microfiber cloth. Use a light, circular motion to avoid scratching the paint. If the tar is particularly stubborn, you may need to repeat the application and wiping process.
Step 4: Rinse Thoroughly
Once you’ve removed the tar, rinse the treated areas thoroughly with clean water to remove any remaining tar remover. Ensure no residue is left on the paint surface.
Step 5: Inspect and Repeat (If Necessary)
Inspect the treated areas for any remaining tar spots. If necessary, repeat steps 2-4 until all tar is removed. For particularly stubborn tar, consider using detailing clay.
Step 6: Use Detailing Clay (Optional)
Detailing clay can be used to remove stubborn tar residue that doesn’t come off with tar remover alone. Spray the area with clay lubricant and gently rub the clay bar over the affected area. The clay will lift the remaining tar from the paint surface. Be sure to knead the clay frequently to expose a clean surface. [See also: Best Car Detailing Clay Bars].
Step 7: Wash and Dry Your Car Again
After using detailing clay, wash your car again to remove any clay residue and lubricant. Dry your car thoroughly with a clean microfiber towel.
Step 8: Apply Wax or Sealant
Once your car is clean and dry, apply a coat of wax or sealant to protect the paint and enhance its shine. This will also make it easier to remove tar in the future. A good quality wax or sealant provides a protective barrier against environmental contaminants.
Choosing the Right Tar Remover
Not all tar removers are created equal. When choosing a tar remover, consider the following factors:
- Paint Compatibility: Ensure the product is safe for use on your car’s paint finish.
- Ease of Use: Look for a product that is easy to apply and remove.
- Effectiveness: Read reviews to see how well the product performs on stubborn tar.
- Ingredients: Avoid products with harsh chemicals that could damage your car’s paint.
Popular and effective tar removers include:
- 3M General Purpose Adhesive Cleaner
- Goo Gone Automotive
- Chemical Guys Bug and Tar Remover
Preventing Tar Buildup
While removing tar is essential, preventing its buildup in the first place can save you time and effort. Here are some tips to minimize tar accumulation on your car:
- Avoid Freshly Paved Roads: If possible, avoid driving on roads that have recently been paved, as they are more likely to have loose tar.
- Regular Washing: Wash your car regularly to remove tar and other contaminants before they have a chance to bond with the paint.
- Apply a Protective Coating: Wax, sealant, or ceramic coatings can provide a protective barrier that makes it easier to remove tar and other contaminants.
- Park Strategically: Avoid parking near construction sites or areas where tar is being used.
Common Mistakes to Avoid
Removing tar from car paintwork can be tricky, and it’s easy to make mistakes that could damage your car’s finish. Here are some common pitfalls to avoid:
- Using Abrasive Cleaners: Avoid using harsh or abrasive cleaners, as they can scratch the paint.
- Applying Too Much Pressure: When wiping away tar, use a light touch to avoid scratching the paint.
- Ignoring the Dwell Time: Allow the tar remover to dwell for the recommended time to effectively break down the tar.
- Using Dirty Cloths: Always use clean microfiber cloths to avoid transferring dirt and debris onto the paint surface.
- Working in Direct Sunlight: Avoid working in direct sunlight, as the heat can cause the tar remover to evaporate too quickly.
When to Seek Professional Help
If you’re uncomfortable removing tar from your car yourself, or if you’re dealing with a particularly stubborn or extensive tar buildup, it’s best to seek professional help. A professional detailer has the experience, tools, and products to safely and effectively remove tar without damaging your car’s paint. [See also: Finding a Reputable Car Detailing Service]. They can also assess the condition of your paint and recommend any necessary repairs or treatments.
Conclusion
Removing tar from car paintwork is a necessary task to maintain your vehicle’s appearance and protect its value. By following the steps outlined in this guide, you can safely and effectively remove tar and keep your car looking its best. Remember to use the right tools and products, work carefully, and take your time. With a little patience and effort, you can keep your car’s paintwork free from tar and other contaminants, ensuring it looks its best for years to come. Regular maintenance, including prompt removal of tar from car paintwork, will contribute to the longevity and aesthetic appeal of your vehicle. Don’t let tar diminish your car’s shine – take action and restore its pristine condition!
