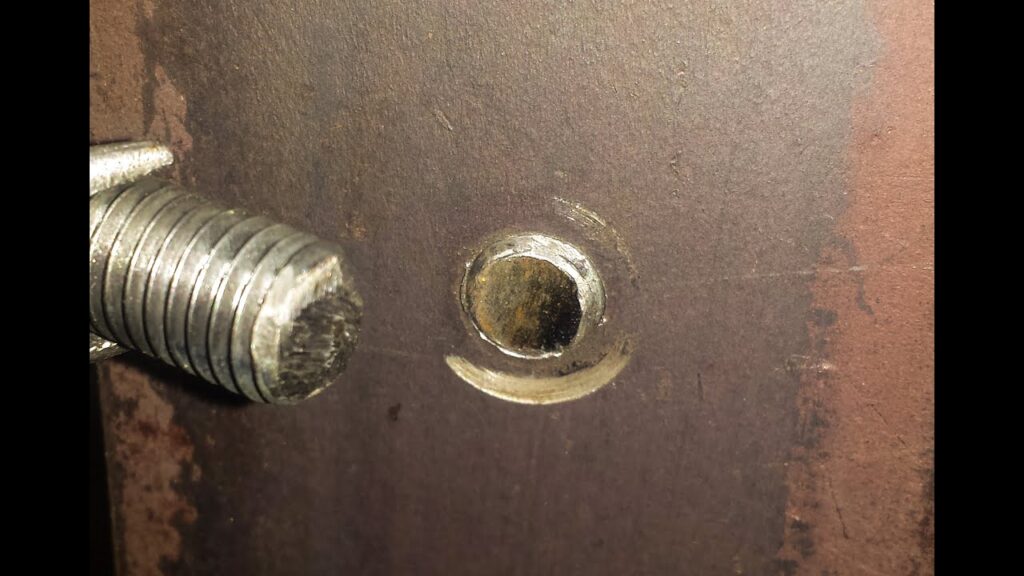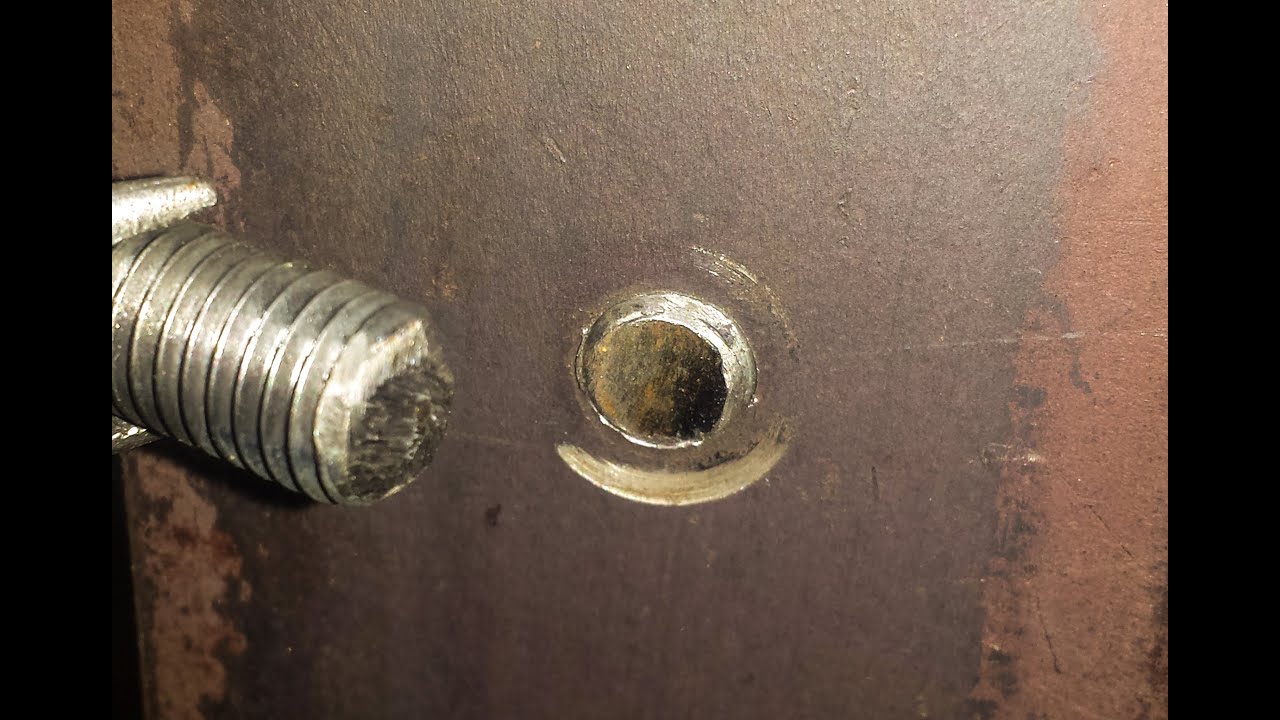
Removing a Screw with No Head from Metal: A Comprehensive Guide
Dealing with a screw that has broken off, leaving no head to grip, can be one of the most frustrating experiences in any DIY or professional project. Especially when that screw is embedded in metal. The good news is, it’s a common problem with several proven solutions. This guide provides a step-by-step approach to removing a screw with no head from metal, ensuring you can salvage your project without causing further damage. We’ll explore various techniques, from simple manual methods to more advanced power tool applications, offering insights suitable for both beginners and seasoned professionals.
Understanding the Problem: Why Screws Break
Before diving into the solutions, it’s essential to understand why screws break in the first place. Over-tightening is a primary culprit, especially with softer metals like aluminum. Corrosion, caused by moisture or chemical exposure, weakens the screw’s structural integrity over time. Using the wrong type of screwdriver or applying force at an angle can also contribute to head stripping and eventual breakage. Recognizing these causes can help prevent future occurrences. Always use the correct size and type of screwdriver for the job and avoid excessive force.
Preparation is Key: Gathering Your Tools and Materials
Successfully removing a screw with no head from metal requires the right tools and materials. Here’s a checklist:
- Penetrating Oil: A good penetrating oil like WD-40 or Liquid Wrench is crucial for loosening the corroded threads.
- Center Punch and Hammer: For creating a pilot point for drilling.
- Left-Handed Drill Bits: These are designed to grip the screw and potentially back it out during drilling.
- Screw Extractor Kit: A set of screw extractors in various sizes.
- Drill: A variable-speed drill for controlled drilling.
- Pliers (Needle-Nose and Locking): For gripping and twisting if enough of the screw is exposed.
- Heat Gun or Torch: To apply heat and expand the metal around the screw, aiding in loosening. (Use with caution!)
- Safety Glasses and Gloves: Essential for protecting yourself during the process.
Method 1: Penetrating Oil and Patience
The first and often simplest approach is to use penetrating oil. Apply a generous amount of penetrating oil to the broken screw and let it sit for at least 15-30 minutes, or even overnight. The oil will seep into the threads, helping to break down corrosion and loosen the screw. After soaking, try using needle-nose pliers or locking pliers to grip any exposed portion of the screw and gently twist it counterclockwise. Patience is key here; avoid applying excessive force, which could further damage the surrounding metal. Repeat the oil application and twisting as needed. This method is often effective for screws that aren’t too tightly seized.
Method 2: Creating a Slot with a Rotary Tool
If pliers aren’t providing enough grip, consider using a rotary tool (like a Dremel) with a cutting disc to create a slot in the broken screw. Carefully grind a slot across the top of the screw, making it wide and deep enough to accommodate a flathead screwdriver. Once the slot is created, use a correctly sized flathead screwdriver to attempt to unscrew it. Apply steady, downward pressure while turning to prevent the screwdriver from slipping. This method provides a better grip and allows you to apply more torque. Be cautious not to damage the surrounding metal while grinding. [See also: Metalworking Techniques for Beginners]
Method 3: The Screw Extractor Method
A screw extractor kit is a specialized tool designed for removing a screw with no head from metal. Here’s how to use it:
- Center Punch: Use a center punch and hammer to create a small indentation in the center of the broken screw. This will help guide the drill bit.
- Drilling a Pilot Hole: Select a drill bit that is slightly smaller than the screw extractor you plan to use. Drill a pilot hole into the center of the screw, following the indentation you created with the center punch. Drill slowly and steadily, keeping the drill bit aligned with the screw’s axis.
- Inserting the Screw Extractor: Insert the appropriate size screw extractor into the pilot hole. Most screw extractors are tapered and have reverse threads.
- Turning the Extractor: Use a tap handle or wrench to turn the screw extractor counterclockwise. As you turn, the extractor will bite into the screw and, hopefully, begin to unscrew it. Apply steady pressure and avoid excessive force, which could break the extractor.
- Removing the Screw: Continue turning the extractor until the broken screw is completely removed.
Screw extractors can be brittle, so it’s essential to use the correct size and avoid applying excessive force. If the extractor breaks inside the screw, it becomes significantly more difficult to remove. Lubricating with penetrating oil can also help the extractor grip better.
Method 4: Left-Handed Drill Bits
Left-handed drill bits are designed to turn counterclockwise, which can sometimes be enough to grab the screw and back it out as you drill. Choose a left-handed drill bit slightly smaller than the screw’s diameter. Center punch the screw and drill into it. The rotation of the drill bit might catch the screw and unscrew it. If not, you can proceed with the screw extractor method after drilling.
Method 5: Heat Application
Applying heat can help loosen a corroded screw by expanding the surrounding metal. Use a heat gun or small torch to heat the area around the screw. Be careful not to overheat the metal, which could damage it or nearby components. After heating, allow the metal to cool slightly, then try removing a screw with no head from metal using pliers, a screwdriver, or a screw extractor. Heat should be used as a last resort, especially on sensitive materials, and always with proper safety precautions. [See also: Working with Heat on Metal]
Method 6: Welding a Nut to the Broken Screw
For those with welding experience, welding a nut to the broken screw provides a solid grip point. Position a nut over the broken screw and weld the inside of the nut to the screw. Allow the weld to cool, then use a wrench to turn the nut and unscrew the broken screw. This method is highly effective but requires welding equipment and skills. Protect surrounding components from heat and sparks during the welding process.
Preventative Measures for the Future
To avoid future headaches with broken screws, consider these preventative measures:
- Use the Right Screwdriver: Always use a screwdriver that matches the size and type of screw head.
- Avoid Over-Tightening: Tighten screws until they are snug, but avoid over-tightening, which can strip the head or break the screw.
- Lubricate Threads: Apply a small amount of lubricant to the screw threads before installation, especially when working with dissimilar metals.
- Use Stainless Steel Screws: In corrosive environments, use stainless steel screws, which are more resistant to rust and corrosion.
- Pre-Drill Pilot Holes: When screwing into hard materials, pre-drill pilot holes to prevent excessive stress on the screw.
Conclusion: Successfully Removing a Stubborn Screw
Removing a screw with no head from metal can be challenging, but with the right tools, techniques, and a bit of patience, it is often achievable. Start with the simplest methods, such as penetrating oil and pliers, and progress to more advanced techniques like screw extractors or welding if necessary. Remember to prioritize safety and take preventative measures to avoid future problems. By following these steps, you can confidently tackle even the most stubborn broken screws and complete your projects successfully. Always remember to assess the situation carefully before proceeding to avoid further damage. Understanding the properties of the metal involved can also influence your choice of method. Good luck, and happy fixing!

