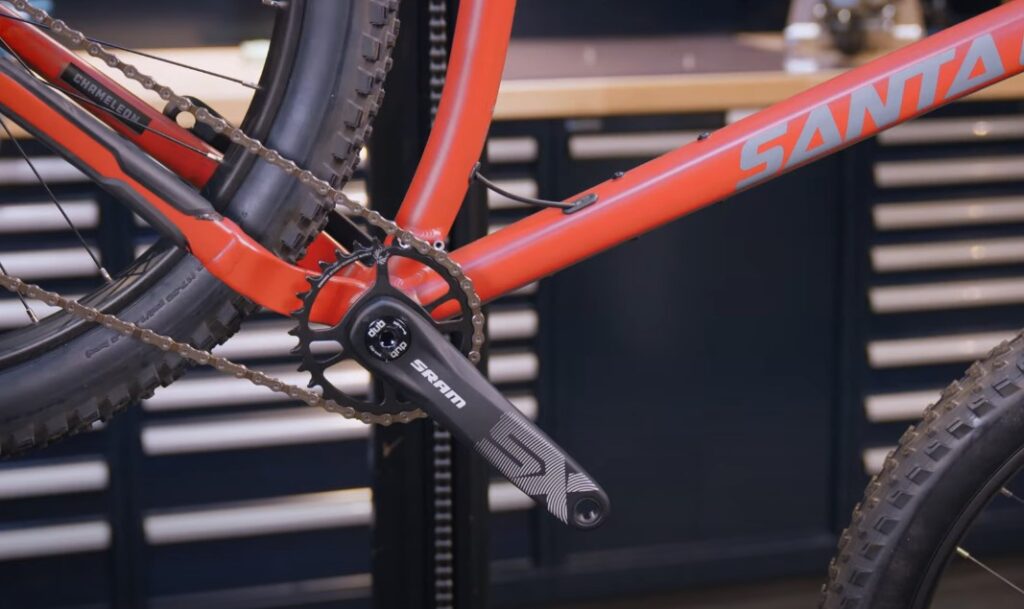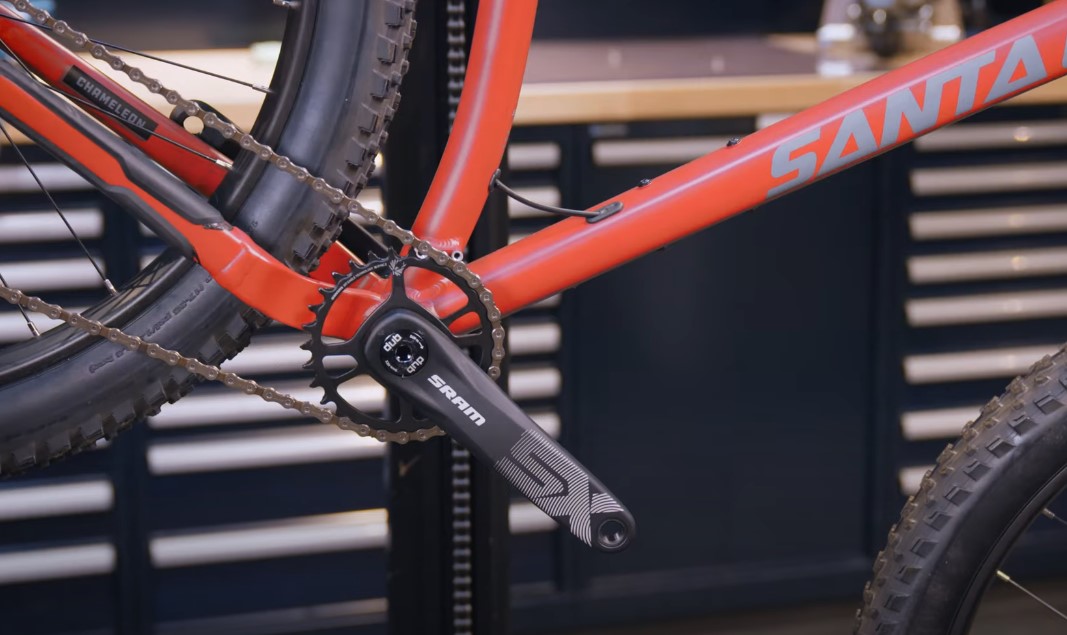
How to Take the Pedals and Crank Off a Bike: A Comprehensive Guide
Maintaining your bicycle often involves understanding its components and how to service them. Knowing how to take the pedals and crank off a bike is a fundamental skill for any cyclist, whether you’re replacing worn parts, performing thorough cleaning, or upgrading your ride. This guide provides a detailed, step-by-step approach to safely and effectively removing these crucial components.
Why You Might Need to Remove Pedals and Cranks
Before diving into the process, it’s helpful to understand why you might need to remove the pedals and cranks in the first place. Common reasons include:
- Replacing Worn Parts: Pedals and cranks endure significant stress and can wear out over time. Replacing them enhances performance and safety.
- Upgrading Components: You might want to upgrade to lighter or more efficient pedals and cranks.
- Performing Maintenance: Removing these parts allows for thorough cleaning and lubrication, extending their lifespan.
- Bike Transportation: Removing the pedals can make packing your bike for travel easier.
- Frame Repairs or Painting: If you’re undertaking significant frame work, removing all components is necessary.
Tools You’ll Need
Having the right tools is crucial for a smooth and successful removal process. Here’s a list of essential tools:
- Pedal Wrench: A specialized wrench designed for removing pedals. Often 15mm.
- Allen Wrench Set: Various sizes are needed for different crank bolts.
- Crank Puller: Essential for removing cranks from the bottom bracket spindle. Different types exist depending on your crankset.
- Socket Wrench Set: May be needed for some crank bolt types.
- Grease: For reassembling the components.
- Rag or Shop Towel: For cleaning.
- Work Gloves: To protect your hands.
Step-by-Step Guide: Removing Bike Pedals
The first step in learning how to take the pedals and crank off a bike is addressing the pedals themselves. Pedals are often tightened significantly during use, so a firm grip and proper technique are important.
Identifying Left and Right Pedals
Pedals are designed differently for each side of the bike. The right pedal (drive side) has a standard right-hand thread, meaning you loosen it by turning it counter-clockwise. The left pedal has a left-hand thread, so you loosen it by turning it clockwise. Many pedals are marked with an “L” or “R” to indicate which side they belong to.
Removing the Pedals
- Position the Wrench: Place the pedal wrench onto the pedal spindle flats. Ensure the wrench is fully engaged to prevent slippage.
- Apply Leverage: For the right pedal, push down on the wrench towards the rear of the bike to loosen it. For the left pedal, push down towards the front of the bike.
- Loosen the Pedal: Once the pedal starts to loosen, continue turning the wrench until the pedal is completely detached from the crank arm.
- Repeat for the Other Side: Follow the same steps to remove the other pedal.
If the pedals are particularly stubborn, you can try applying penetrating oil to the threads and letting it sit for a few minutes before attempting removal again. [See also: Bike Pedal Maintenance Tips]
Step-by-Step Guide: Removing Bike Cranks
Now that the pedals are off, the next step in understanding how to take the pedals and crank off a bike involves removing the cranks. This process requires a crank puller tool.
Identifying Your Crankset Type
There are different types of cranksets, and the removal process varies slightly depending on the design. Common types include:
- Square Taper Cranks: These are older designs, characterized by a square-shaped spindle end.
- Splined Cranks: These have splines that interface with the bottom bracket spindle.
- Direct Mount Cranks: These attach directly to the bottom bracket spindle with bolts.
Removing Square Taper Cranks
- Remove the Crank Bolts: Use an appropriate-sized Allen wrench or socket wrench to remove the bolts securing the cranks to the spindle.
- Install the Crank Puller: Thread the outer body of the crank puller into the crank arm. Ensure it’s fully engaged to avoid damaging the threads.
- Insert the Spindle: Insert the spindle of the crank puller into the body and tighten it against the bottom bracket spindle.
- Tighten the Puller: Continue tightening the spindle of the crank puller until the crank arm is pulled off the spindle. This may require significant force.
- Repeat for the Other Side: Follow the same steps to remove the other crank arm.
Removing Splined Cranks
- Remove the Crank Bolts: Use an appropriate-sized Allen wrench or socket wrench to remove the bolts securing the cranks to the spindle.
- Install the Crank Puller: Splined crank pullers often have a larger diameter and may require a specific adapter. Follow the manufacturer’s instructions for proper installation.
- Tighten the Puller: Tighten the crank puller until the crank arm is pulled off the spindle.
- Repeat for the Other Side: Follow the same steps to remove the other crank arm.
Removing Direct Mount Cranks
- Locate the Retaining Bolts: Direct mount cranks typically have one or more bolts that secure them to the spindle.
- Loosen the Bolts: Use an appropriate-sized Allen wrench to loosen the retaining bolts.
- Remove the Crank Arm: Once the bolts are loosened, the crank arm should slide off the spindle.
- Repeat for the Other Side: Follow the same steps to remove the other crank arm.
Tips for a Smooth Removal Process
Removing pedals and cranks can sometimes be challenging. Here are some tips to make the process easier:
- Use Penetrating Oil: If bolts are seized, apply penetrating oil and let it sit for a few minutes before attempting removal.
- Apply Heat: Gently heating the crank arm with a heat gun can help loosen seized bolts. Be careful not to overheat the components.
- Use a Longer Wrench: A longer wrench provides more leverage, making it easier to loosen stubborn bolts.
- Protect Your Hands: Wear work gloves to protect your hands from sharp edges and potential injuries.
- Consult a Professional: If you’re unsure about any step, consult a professional bike mechanic.
Reassembling the Pedals and Cranks
Once you’ve removed the pedals and cranks, you can clean, inspect, and replace any worn parts. When reassembling, follow these steps:
- Clean the Threads: Clean the threads on the pedals, crank arms, and bottom bracket spindle.
- Apply Grease: Apply a thin layer of grease to the threads to prevent corrosion and make future removal easier.
- Install the Pedals: Screw the pedals into the crank arms, ensuring you install the correct pedal on the correct side. Tighten them securely with a pedal wrench.
- Install the Cranks: Slide the crank arms onto the bottom bracket spindle and secure them with the crank bolts. Tighten the bolts to the manufacturer’s specified torque.
Ensuring proper torque is critical to prevent damage to the components and ensure safe riding. [See also: Understanding Bike Torque Specifications]
Common Mistakes to Avoid
When learning how to take the pedals and crank off a bike, it’s easy to make mistakes. Here are some common pitfalls to avoid:
- Using the Wrong Tools: Using the wrong tools can damage the components and make removal more difficult.
- Stripping the Threads: Applying too much force or using the wrong size wrench can strip the threads on the bolts or crank arms.
- Forgetting to Grease the Threads: Failing to grease the threads can lead to corrosion and make future removal difficult.
- Overtightening the Bolts: Overtightening the bolts can damage the components and make them difficult to remove in the future.
- Ignoring Manufacturer’s Instructions: Always follow the manufacturer’s instructions for removing and installing pedals and cranks.
Conclusion
Knowing how to take the pedals and crank off a bike is an essential skill for any cyclist. By following these steps and using the right tools, you can safely and effectively remove these components for maintenance, upgrades, or repairs. Remember to take your time, be patient, and consult a professional if you’re unsure about any step. With practice, you’ll become proficient at maintaining your bike and keeping it in top condition.
Understanding how your bike works, including knowing how to take the pedals and crank off a bike, empowers you to take better care of your equipment, leading to safer and more enjoyable rides. Whether you’re a seasoned cyclist or just starting out, mastering these basic maintenance tasks will significantly enhance your cycling experience.

