How to Take Pedals Off a Bike: A Comprehensive Guide
Learning how to take pedals off a bike is a fundamental skill for any cyclist, whether you’re performing maintenance, upgrading components, or packing your bike for travel. It might seem straightforward, but the process involves a few nuances that, if overlooked, can lead to frustration or even damage. This guide provides a detailed, step-by-step approach to safely and effectively take pedals off a bike.
Understanding Pedal Threads and Direction
One of the most common mistakes when learning how to take pedals off a bike is not understanding the threading. Bike pedals have different threads on the left and right sides. The right pedal (the one on the drive side with the gears) has a standard right-hand thread, meaning you loosen it by turning it counter-clockwise when facing the crank arm. The left pedal, however, has a left-hand thread, meaning you loosen it by turning it clockwise. This is crucial to remember because trying to force a pedal the wrong way can strip the threads.
Many pedals are marked with an ‘L’ or ‘R’ to indicate which side they belong on. If you can’t find a marking, the right pedal is usually identifiable by its position on the drive side.
Tools You’ll Need
Before you start, gather the necessary tools:
- Pedal Wrench or Allen Wrench: Most pedals have wrench flats for a 15mm pedal wrench. Some use an Allen wrench (usually 6mm or 8mm) inserted into the back of the crank arm.
- Bike Stand (Optional but Recommended): A bike stand makes the process much easier by holding the bike steady.
- Gloves: Protect your hands from grease and potential cuts.
- Rag: To wipe away excess grease and grime.
- Grease: For re-greasing the pedal threads before re-installing.
Step-by-Step Guide: Removing Bike Pedals
Step 1: Prepare Your Bike
If you have a bike stand, secure your bike in it. If not, lean the bike against a stable surface. Make sure the area around the pedals is clean and accessible. Having good lighting is also beneficial.
Step 2: Identify the Pedal Type
Determine whether your pedals require a pedal wrench or an Allen wrench. Look for wrench flats on the pedal axle or a socket for an Allen wrench on the back of the crank arm.
Step 3: Position the Crank Arms
Position the crank arms so they are parallel to the ground. This gives you the best leverage and clearance to work on the pedals. For example, the right crank arm should be pointing towards the front of the bike, and the left crank arm towards the back.
Step 4: Loosen the Right Pedal (Drive Side)
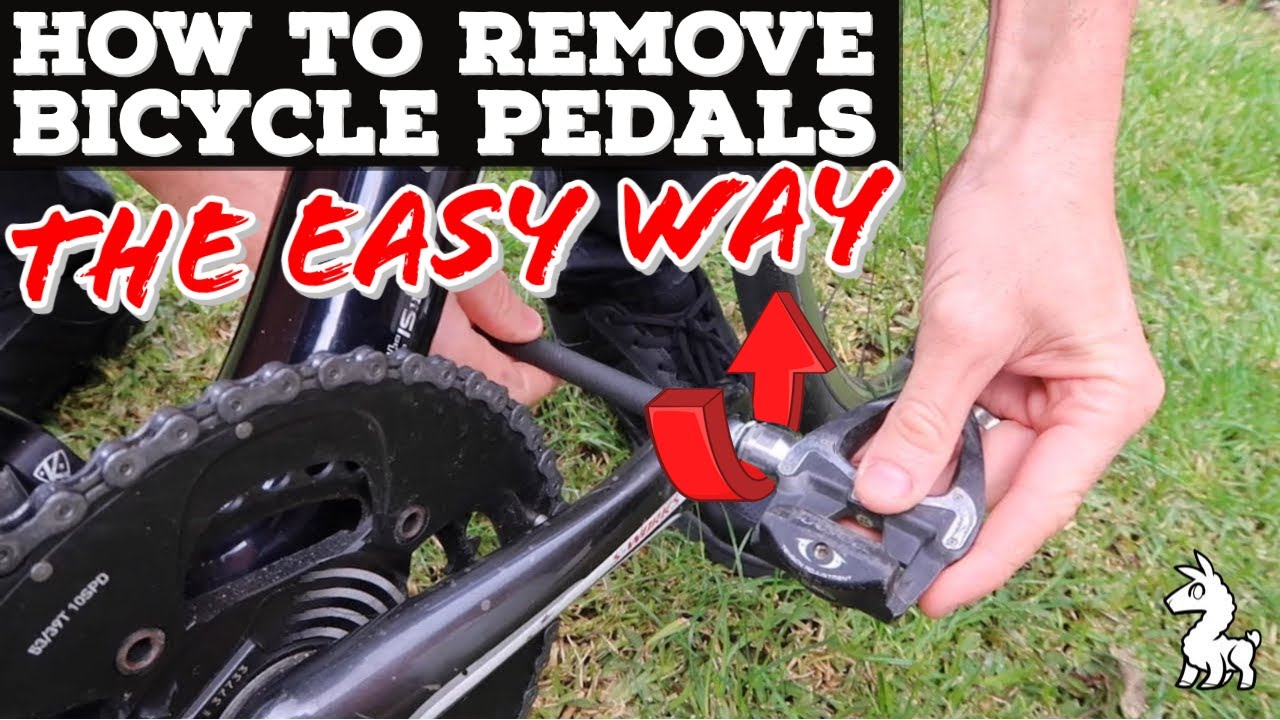
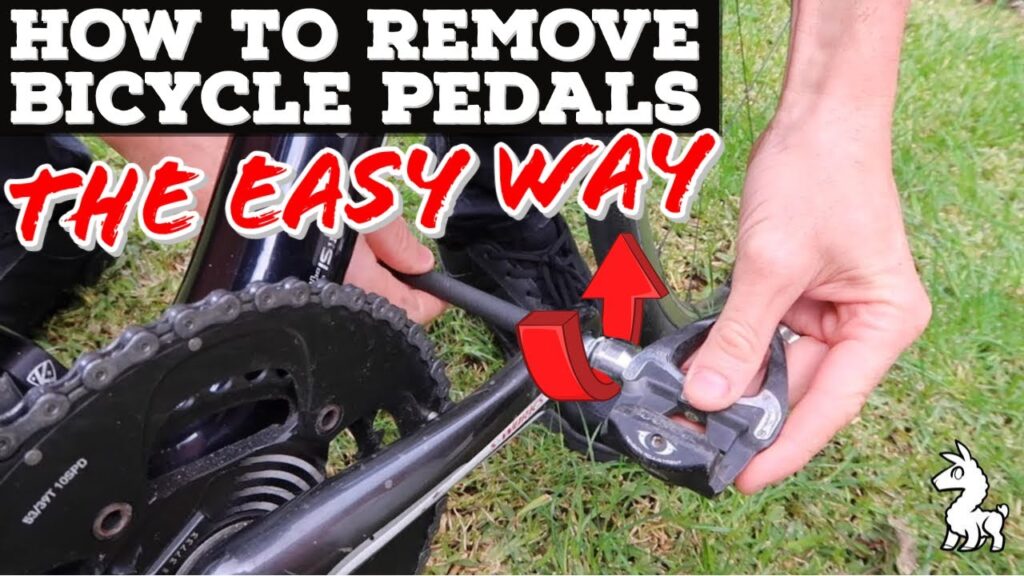
Using your pedal wrench or Allen wrench, position the wrench so you can push down on it. Remember, the right pedal has a standard right-hand thread, so you’ll loosen it by turning the wrench counter-clockwise (when facing the crank arm). It may require some force, especially if the pedals haven’t been removed in a while. If it’s stuck, try applying penetrating oil and letting it sit for a few minutes. Be patient and persistent. A long-handled wrench can also provide more leverage.
Step 5: Loosen the Left Pedal (Non-Drive Side)
Now, switch to the left pedal. This is where it’s crucial to remember the left-hand thread. You’ll loosen the left pedal by turning the wrench clockwise (when facing the crank arm). Apply the same technique as with the right pedal, using penetrating oil if needed.
Step 6: Remove the Pedals Completely
Once you’ve broken the initial tightness, you should be able to unscrew the pedals by hand. Continue turning them until they are completely removed from the crank arms.
Step 7: Clean and Inspect the Threads
After removing the pedals, inspect the threads on both the pedals and the crank arms for any damage or wear. Clean the threads with a rag to remove any old grease or dirt. This step is essential for ensuring a smooth re-installation.
Re-installing Bike Pedals
Now that you know how to take pedals off a bike, re-installing them correctly is just as important.
Step 1: Apply Grease
Apply a generous amount of grease to the pedal threads. This will prevent the pedals from seizing in the future and make them easier to remove next time. Make sure to cover all the threads evenly.
Step 2: Start Threading by Hand
Begin threading the pedals into the crank arms by hand. Make sure you’re threading them in the correct direction: clockwise for the right pedal and counter-clockwise for the left pedal. If you feel any resistance, stop and check that you’re threading it correctly. Forcing it can damage the threads.
Step 3: Tighten with a Wrench
Once you’ve threaded the pedals in as far as you can by hand, use your pedal wrench or Allen wrench to tighten them securely. Don’t overtighten them, but make sure they are snug. A good rule of thumb is to tighten them until they feel firm and don’t easily loosen.
Step 4: Double-Check
After tightening, double-check that both pedals are securely attached. Give them a firm tug to ensure they won’t come loose while riding.
Troubleshooting Common Issues
Sometimes, removing bike pedals can be challenging. Here are some common issues and how to address them:
- Stuck Pedals: If the pedals are seized, apply penetrating oil and let it soak for several hours or even overnight. You can also try using a heat gun to warm up the crank arm, which can help loosen the threads.
- Stripped Threads: If you’ve stripped the threads on the crank arm, you may need to have the threads re-tapped or replace the crank arm entirely. This is a more complex repair that may require professional assistance.
- Incorrect Wrench Size: Using the wrong wrench size can damage the pedal or crank arm. Always use the correct size wrench to avoid stripping the flats or rounding off the edges.
Why Knowing How to Take Pedals Off a Bike is Important
Understanding how to take pedals off a bike is not just about maintenance; it’s about extending the life of your components and ensuring a safer riding experience. Regular removal and re-greasing can prevent corrosion and seizing, making future maintenance easier. Additionally, knowing how to remove pedals is essential for travel, as it allows you to pack your bike more compactly.
Beyond the practical aspects, mastering this skill empowers you to perform other bike maintenance tasks and understand the mechanics of your bicycle better. It fosters a deeper connection with your equipment and allows you to address minor issues before they become major problems. [See also: Bike Maintenance Checklist]
Choosing the Right Pedals
While this guide focuses on how to take pedals off a bike, it’s worth considering the type of pedals you’re using. Different pedals cater to different riding styles and preferences.
- Flat Pedals: Offer a large platform for your feet and are suitable for casual riding, commuting, and mountain biking.
- Clipless Pedals: Require special shoes with cleats that clip into the pedals, providing a more efficient power transfer. These are popular among road cyclists and serious mountain bikers.
- Hybrid Pedals: Combine a flat platform on one side and a clipless mechanism on the other, offering versatility for different riding situations.
When choosing pedals, consider your riding style, the type of terrain you’ll be riding on, and your personal preferences. The right pedals can significantly enhance your riding experience.
Maintaining Your Pedals
Regular maintenance is key to keeping your pedals in good condition. In addition to greasing the threads, consider these maintenance tips:
- Clean Regularly: Clean your pedals regularly to remove dirt, mud, and grime. Use a brush and mild soap and water.
- Inspect Bearings: Check the pedal bearings periodically for smoothness and play. If the bearings are worn or damaged, you may need to replace the pedals.
- Tighten Cleats: If you use clipless pedals, regularly check and tighten the cleats on your shoes. Loose cleats can cause discomfort and reduce efficiency.
Conclusion
Knowing how to take pedals off a bike is a valuable skill that every cyclist should possess. By following the steps outlined in this guide, you can safely and effectively remove and re-install your pedals, ensuring smooth and trouble-free riding. Remember to always use the correct tools, understand the threading direction, and apply grease to prevent seizing. With a little practice, you’ll be able to perform this task with confidence and maintain your bike like a pro. This knowledge will help you keep your bike in top condition and enjoy many miles of happy cycling. Understanding how to take pedals off a bike also opens the door to more advanced maintenance and customization options. So, grab your tools, get to know your bike, and happy riding! You can now confidently take pedals off a bike and address any related maintenance needs. Furthermore, remember that properly installed and maintained pedals contribute significantly to your overall cycling safety and enjoyment. So, take pedals off a bike when necessary, and keep your bike in top shape. Take pedals off a bike with confidence, knowing you’re equipped with the right knowledge. When you take pedals off a bike, you are taking a step towards becoming a more self-sufficient cyclist. The ability to take pedals off a bike is a testament to your growing expertise. Learning how to take pedals off a bike is an investment in your cycling journey. If you need to take pedals off a bike, refer back to this guide. Don’t hesitate to take pedals off a bike when maintenance calls. It’s rewarding to take pedals off a bike and maintain your gear yourself. The process of take pedals off a bike becomes easier with practice. Remember this guide when you next take pedals off a bike. Keep your bike in good condition, and take pedals off a bike as needed.
