How to Replace a Bicycle Cassette: A Step-by-Step Guide
Replacing a bicycle cassette might seem daunting, but with the right tools and a little patience, it’s a straightforward task you can easily accomplish at home. A worn cassette affects shifting performance and can even damage your chain. Knowing how to replace a bicycle cassette not only saves you money on bike shop labor but also empowers you to maintain your bike’s drivetrain efficiently. This guide provides a comprehensive, step-by-step approach to replacing your bicycle cassette, ensuring a smooth and reliable ride.
Why Replace Your Bicycle Cassette?
Before diving into the process, it’s crucial to understand why replacing your bicycle cassette is necessary. Over time, the teeth on the cassette wear down due to friction from the chain. This wear can lead to:
- Skipping gears: The chain might jump or skip when under pressure.
- Poor shifting performance: Shifting becomes sluggish and less precise.
- Chain wear: A worn cassette accelerates chain wear, and vice versa.
- Noise: Clicking or grinding sounds during pedaling.
Regularly inspecting your cassette for wear and tear is vital for maintaining optimal cycling performance. Ignoring these signs can lead to more significant and costly repairs down the line. Replacing your bicycle cassette when needed will keep your drivetrain running smoothly.
Tools You’ll Need
Gathering the necessary tools before you start is essential for a smooth and efficient replacement. Here’s a list of what you’ll need:
- Chain whip: This tool holds the cassette in place while you loosen the lockring.
- Cassette lockring tool: This tool fits into the lockring and allows you to unscrew it. Make sure you have the correct size for your cassette (usually Shimano/SRAM compatible).
- Adjustable wrench: To turn the cassette lockring tool.
- New cassette: Ensure it’s compatible with your drivetrain (speed and brand).
- Chain checker (optional): To assess chain wear and determine if the chain also needs replacing.
- Gloves: To keep your hands clean.
- Grease: To lubricate the cassette body before installing the new cassette.
- Rag: For cleaning.
Step-by-Step Guide to Replacing Your Bicycle Cassette
Follow these steps carefully to replace your bicycle cassette:
Step 1: Remove the Rear Wheel
Start by removing the rear wheel from your bicycle. Depending on your bike, this might involve releasing the brake calipers and opening the quick-release lever or unscrewing the axle nuts. [See also: How to Change a Bike Tire]
Step 2: Secure the Wheel
Place the wheel on a stable surface, with the cassette facing upwards. This will make it easier to access and work on the cassette.
Step 3: Insert the Cassette Lockring Tool
Insert the cassette lockring tool into the lockring. Ensure it’s fully seated to prevent slippage and damage. The tool should engage firmly with the splines on the lockring.
Step 4: Use the Chain Whip
Wrap the chain whip around one of the larger cogs on the cassette. Hold the chain whip firmly to prevent the cassette from spinning freely. The chain whip effectively locks the cassette in place.
Step 5: Loosen the Lockring
Attach an adjustable wrench to the cassette lockring tool. Turn the wrench counterclockwise to loosen the lockring. This may require some force, especially if the lockring is tightly secured.
Step 6: Remove the Lockring
Once the lockring is loose, carefully unscrew it completely. Remove the lockring tool and set the lockring aside. Note the orientation of the lockring for reinstallation later.
Step 7: Remove the Old Cassette
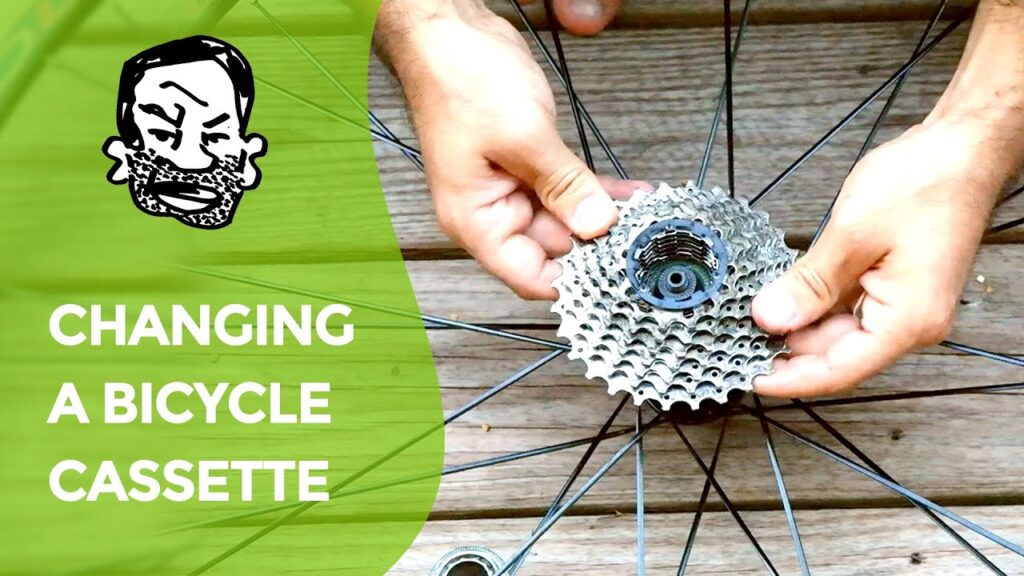
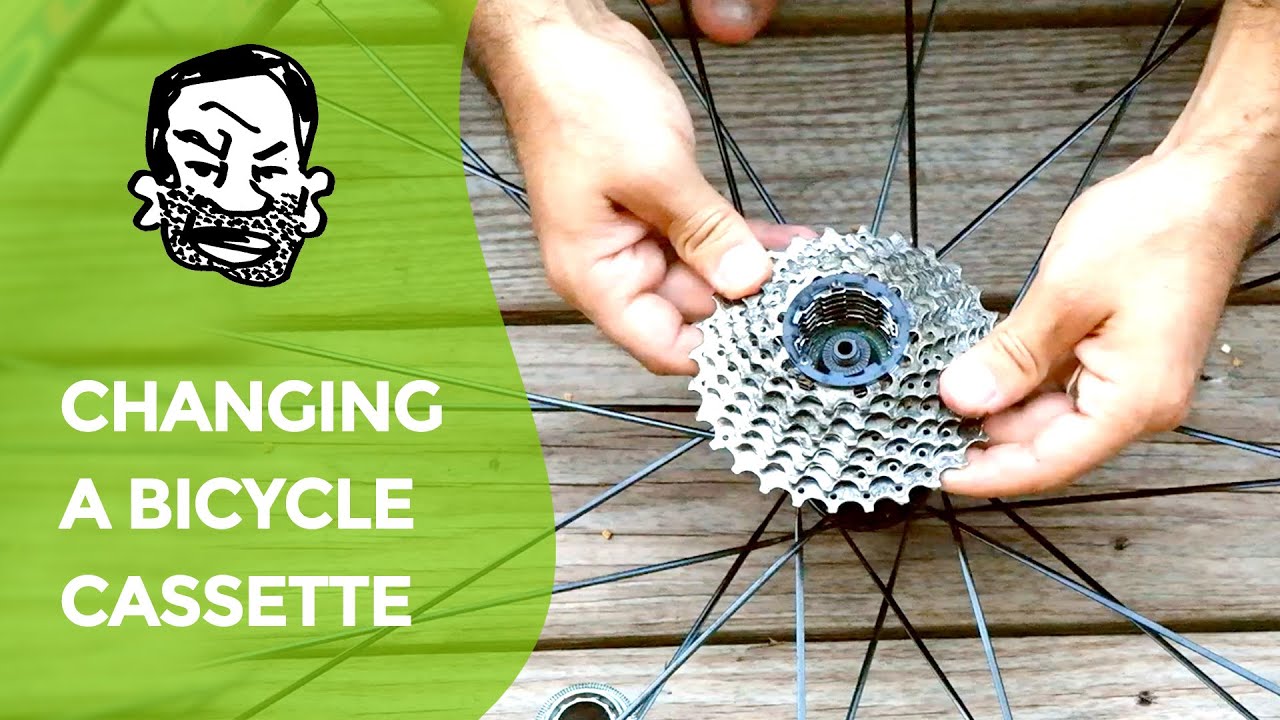
Carefully slide the old cassette off the freehub body. The cogs are usually held together by spacers, so keep them organized to ensure you reinstall the new cassette correctly. Take note of the order and orientation of the cogs and spacers.
Step 8: Clean the Freehub Body
Use a rag to clean the freehub body. Remove any dirt, grime, or old grease. This ensures a clean surface for the new cassette to mount on. A clean freehub body will also help prevent future corrosion.
Step 9: Grease the Freehub Body
Apply a thin layer of grease to the splines of the freehub body. This will help prevent the new cassette from seizing onto the freehub and make future removal easier. Do not over-grease; a thin coat is sufficient.
Step 10: Install the New Cassette
Slide the new cassette onto the freehub body, ensuring that the cogs and spacers are in the correct order. The cogs have different sized splines that only allow them to fit in one orientation. Make sure each cog is fully seated before moving on.
Step 11: Install the Lockring
Thread the lockring back onto the freehub body. Tighten it by hand initially to avoid cross-threading.
Step 12: Tighten the Lockring
Insert the cassette lockring tool into the lockring. Attach an adjustable wrench to the tool and tighten the lockring to the manufacturer’s specified torque (usually around 40 Nm). Use the chain whip to hold the cassette in place while tightening. A properly tightened lockring is crucial for safe and efficient riding.
Step 13: Reinstall the Rear Wheel
Reinstall the rear wheel onto your bicycle. Ensure it is properly secured and the brake calipers are correctly aligned. Check that the wheel spins freely and that the brakes are functioning correctly. [See also: Adjusting Bike Brakes]
Step 14: Test Ride
Take your bike for a short test ride to ensure that the new cassette is functioning correctly. Check for smooth shifting and any unusual noises. Make any necessary adjustments to the derailleur if needed. Fine-tuning the derailleur can optimize shifting performance.
Maintenance Tips for Your New Bicycle Cassette
To prolong the life of your new bicycle cassette, follow these maintenance tips:
- Regular Cleaning: Clean your cassette regularly with a degreaser and brush to remove dirt and grime.
- Proper Lubrication: Lubricate your chain regularly to reduce friction and wear on the cassette.
- Chain Replacement: Replace your chain when it becomes worn to prevent premature wear on the cassette.
- Inspect Regularly: Inspect your cassette for wear and tear regularly.
Conclusion
Replacing a bicycle cassette is a manageable task that can significantly improve your bike’s performance. By following these steps and maintaining your drivetrain properly, you can enjoy smoother shifting and a more efficient ride. Knowing how to replace a bicycle cassette will save you time and money, and ensure your bike is always in top condition. Remember to always use the correct tools and follow manufacturer’s instructions for optimal results. Happy cycling! Replacing your bicycle cassette is a skill every cyclist should learn, ensuring they can maintain their bike effectively.

