
How to Repair Rust on a Car: A Comprehensive Guide
Rust, the bane of many car owners, can quickly turn a vehicle from a prized possession into an eyesore and, more importantly, compromise its structural integrity. Understanding how to repair rust on a car is essential for maintaining its value, safety, and appearance. This comprehensive guide will walk you through the process, from identifying the type of rust to the final steps of painting and protecting your vehicle. Whether you’re dealing with minor surface rust or more significant corrosion, this information will empower you to tackle the problem effectively. Ignoring rust on a car can lead to far more costly repairs down the line, so acting promptly is crucial.
Understanding Rust Formation
Before diving into the repair process, it’s important to understand how rust forms. Rust, or iron oxide, is the result of a chemical reaction between iron, oxygen, and moisture. When these elements combine, they create a reddish-brown flaky coating on the metal surface. This process is accelerated by salt, which is why cars in colder climates that use road salt during winter are particularly susceptible to rust. The electrochemical process of corrosion deteriorates the metal, weakening its structure over time. Recognizing the signs of rust early can prevent it from spreading and causing extensive damage.
Types of Rust
- Surface Rust: This is the most common type of rust and appears as a light, orange-colored discoloration on the surface of the paint. It’s typically the easiest to repair.
- Scale Rust: This type of rust forms when surface rust is left untreated and begins to penetrate deeper into the metal. It appears as flaky, layered rust that can be chipped away.
- Penetrating Rust: This is the most severe form of rust, where the corrosion has eaten completely through the metal. It often requires welding and more extensive repairs.
Identifying Rust on Your Car
Regularly inspecting your car for signs of rust is vital. Pay close attention to areas that are prone to moisture and salt exposure, such as:
- Wheel wells
- Rocker panels
- Lower door panels
- Around windshield and window seals
- Underneath the car
Look for bubbling paint, discoloration, and any signs of flaking or pitting. Early detection is key to preventing minor rust spots from becoming major problems. Using a flashlight can help you thoroughly inspect hard-to-reach areas.
Tools and Materials Needed for Rust Repair
Before you begin the repair process, gather the necessary tools and materials. Having everything on hand will make the job smoother and more efficient. Here’s a list of essentials:
- Safety Glasses and Gloves: Protect your eyes and hands from debris and chemicals.
- Sandpaper: Various grits (80, 120, 220, 320) for removing rust and smoothing surfaces.
- Wire Brush: For removing loose rust and debris.
- Rust Remover or Converter: Chemical solutions to neutralize or convert rust.
- Body Filler (Bondo): For filling in areas where metal has been eaten away.
- Putty Knife: For applying body filler smoothly.
- Primer: To protect the bare metal and provide a base for paint.
- Car Paint: Matching your car’s color code for a seamless finish.
- Clear Coat: To protect the paint and add shine.
- Masking Tape and Paper: To protect surrounding areas from overspray.
- Tack Cloth: For removing dust and debris before painting.
- Spray Gun or Aerosol Cans: For applying primer, paint, and clear coat.
- Grinder with Sanding Discs (Optional): For removing heavy rust quickly.
Step-by-Step Guide to Repairing Rust
Now, let’s get into the actual repair process. This guide is for surface and scale rust. Penetrating rust may require professional welding.
Step 1: Cleaning the Area
Start by thoroughly cleaning the area around the rust. Use soap and water to remove any dirt, grease, or debris. Dry the area completely before proceeding.
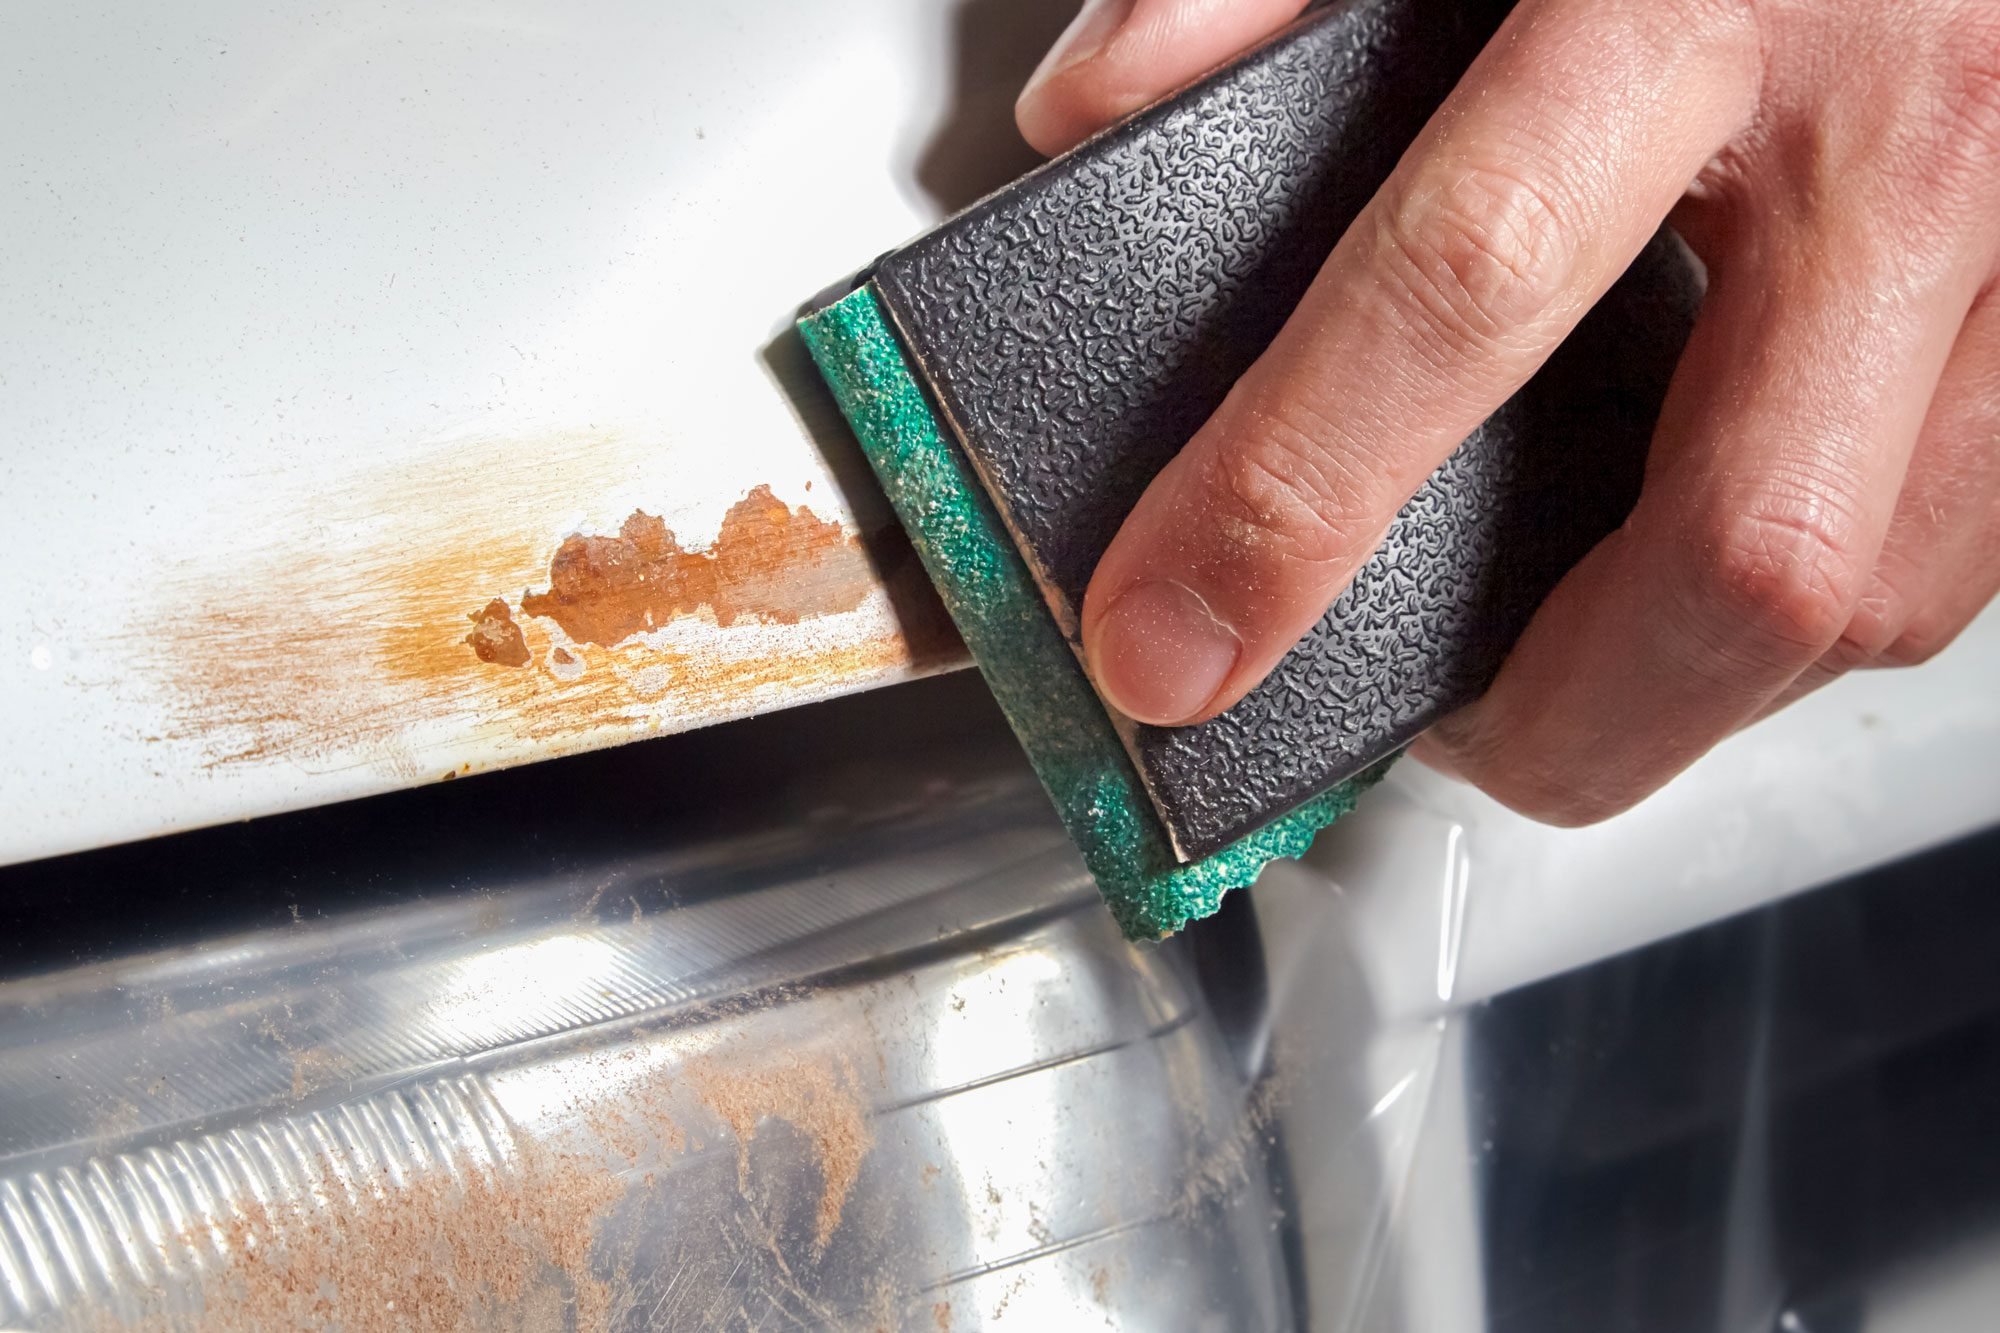
Step 2: Removing the Rust
Use a wire brush or sandpaper (80-grit) to remove as much of the rust as possible. Apply firm pressure and work in circular motions. If you’re using a grinder, be careful not to remove too much metal. The goal is to remove all visible rust and create a clean surface for the next steps.
Step 3: Applying Rust Remover or Converter
Apply a rust remover or converter according to the manufacturer’s instructions. These products chemically neutralize the rust or convert it into a stable, paintable surface. Allow the product to dry completely before moving on.
Step 4: Filling in Damaged Areas (if necessary)
If the rust has eaten away at the metal, you’ll need to fill in the damaged areas with body filler (Bondo). Mix the body filler according to the instructions and apply it to the affected area using a putty knife. Overfill the area slightly, as you’ll be sanding it down later. Let the body filler dry completely.
Step 5: Sanding the Body Filler
Once the body filler is dry, use sandpaper (120-grit) to sand it down to the level of the surrounding surface. Start with a coarser grit and gradually move to finer grits (220-grit, then 320-grit) to achieve a smooth, even finish. Feather the edges of the body filler to blend it seamlessly with the surrounding paint.
Step 6: Priming the Area
Clean the area with a tack cloth to remove any dust or debris. Apply several thin coats of primer to the repaired area, allowing each coat to dry completely before applying the next. Primer provides a base for the paint and helps to prevent future rust formation.
Step 7: Painting the Area
Match your car’s paint color code and apply several thin coats of paint to the primed area, allowing each coat to dry completely before applying the next. Use a spray gun or aerosol cans for even coverage. Blend the paint into the surrounding area for a seamless finish. [See also: How to Match Car Paint]
Step 8: Applying Clear Coat
After the paint is dry, apply several thin coats of clear coat to protect the paint and add shine. Allow each coat to dry completely before applying the next. Clear coat also helps to protect against UV damage and other environmental factors.
Step 9: Wet Sanding and Buffing (Optional)
For a professional-looking finish, you can wet sand the clear coat with very fine grit sandpaper (2000-grit or higher) to remove any imperfections. Then, use a buffing compound and a polishing pad to restore the shine. This step is optional but can significantly improve the final appearance.
Preventing Future Rust
Once you’ve repaired the rust, it’s important to take steps to prevent it from returning. Here are some tips:
- Wash Your Car Regularly: Regularly washing your car, especially during winter, can remove salt and other contaminants that contribute to rust formation.
- Apply Wax: Waxing your car creates a protective barrier that helps to prevent moisture and salt from reaching the metal.
- Touch Up Paint Chips: Small paint chips can expose the metal to the elements, leading to rust. Touch up paint chips as soon as you notice them.
- Apply Rust Inhibitor: Consider applying a rust inhibitor to vulnerable areas, such as the undercarriage and wheel wells.
- Store Your Car Indoors: When possible, store your car in a garage or carport to protect it from the elements.
When to Seek Professional Help
While this guide provides a comprehensive overview of how to repair rust on a car, there are times when it’s best to seek professional help. If you’re dealing with penetrating rust, extensive damage, or if you’re not comfortable performing the repairs yourself, consult with a qualified auto body technician. [See also: Finding a Reputable Auto Body Shop] They have the expertise and equipment to handle more complex rust repairs and ensure that the job is done correctly.
Conclusion
Repairing rust on a car is a manageable task with the right tools, materials, and knowledge. By understanding the process of rust formation, identifying rust early, and following the steps outlined in this guide, you can effectively repair rust and protect your vehicle from further damage. Remember to take preventative measures to minimize the risk of future rust formation. Regular maintenance and prompt attention to rust issues will help keep your car looking its best and ensure its longevity. Don’t let rust win – take control and keep your car in top condition. Learning how to repair rust on a car is a valuable skill for any car owner.
