How to Remove Silicone Caulk from Your Tub: A Comprehensive Guide
Silicone caulk is a versatile sealant widely used in bathrooms to prevent water damage around tubs, showers, and sinks. However, over time, it can become discolored, cracked, or simply unsightly. Knowing how to remove silicone from tub surfaces is essential for maintaining a clean and functional bathroom. This guide provides a step-by-step approach to effectively removing old silicone caulk and preparing the surface for a fresh application.
Why Remove Old Silicone Caulk?
Before diving into the removal process, it’s important to understand why removing old silicone caulk is necessary. Here are a few key reasons:
- Prevent Water Damage: Cracked or damaged caulk can allow water to seep behind tiles and into the wall, leading to mold growth, wood rot, and costly repairs.
- Improve Aesthetics: Old caulk can become stained, discolored, or mildewed, making your bathroom look dirty and unkempt. Removing it and applying fresh caulk can significantly improve the appearance of your bathroom.
- Ensure Proper Seal: Over time, silicone caulk can lose its elasticity and adhesion, compromising its ability to create a watertight seal. Replacing it ensures that your tub and surrounding areas are properly protected from water damage.
Tools and Materials Needed
To effectively remove silicone from tub surfaces, you’ll need the following tools and materials:
- Utility Knife or Caulk Removal Tool: A sharp utility knife or a specialized caulk removal tool is essential for cutting and scraping away the old caulk.
- Plastic Scraper or Putty Knife: A plastic scraper or putty knife can help remove stubborn caulk residue without damaging the tub or tile surface. Avoid using metal scrapers, as they can scratch the finish.
- Silicone Caulk Remover: A chemical silicone caulk remover can help soften and dissolve the caulk, making it easier to remove.
- Clean Cloths or Rags: Clean cloths or rags are needed to wipe away residue and clean the surface.
- Isopropyl Alcohol or Mineral Spirits: Isopropyl alcohol or mineral spirits can help remove any remaining silicone residue and prepare the surface for new caulk.
- Safety Glasses and Gloves: Safety glasses and gloves are essential for protecting your eyes and skin from chemical irritants and sharp tools.
- Vacuum Cleaner: A vacuum cleaner can help remove loose caulk debris and dust.
Step-by-Step Guide: How to Remove Silicone from Tub
Follow these steps to effectively remove silicone from tub surfaces:
Step 1: Prepare the Area
Start by preparing the area. Remove any items from around the tub, such as shower curtains, bath mats, and toiletries. Protect the surrounding surfaces with drop cloths or plastic sheeting to prevent damage from falling caulk or cleaning solutions. Ensure the area is well-ventilated by opening a window or turning on the exhaust fan.
Step 2: Soften the Caulk (Optional)
If the caulk is particularly old or hard, you can soften it by applying heat. Use a hairdryer on a low setting to gently heat the caulk for a few minutes. Be careful not to overheat the surface, as this could damage the tub or tile.
Step 3: Cut the Caulk
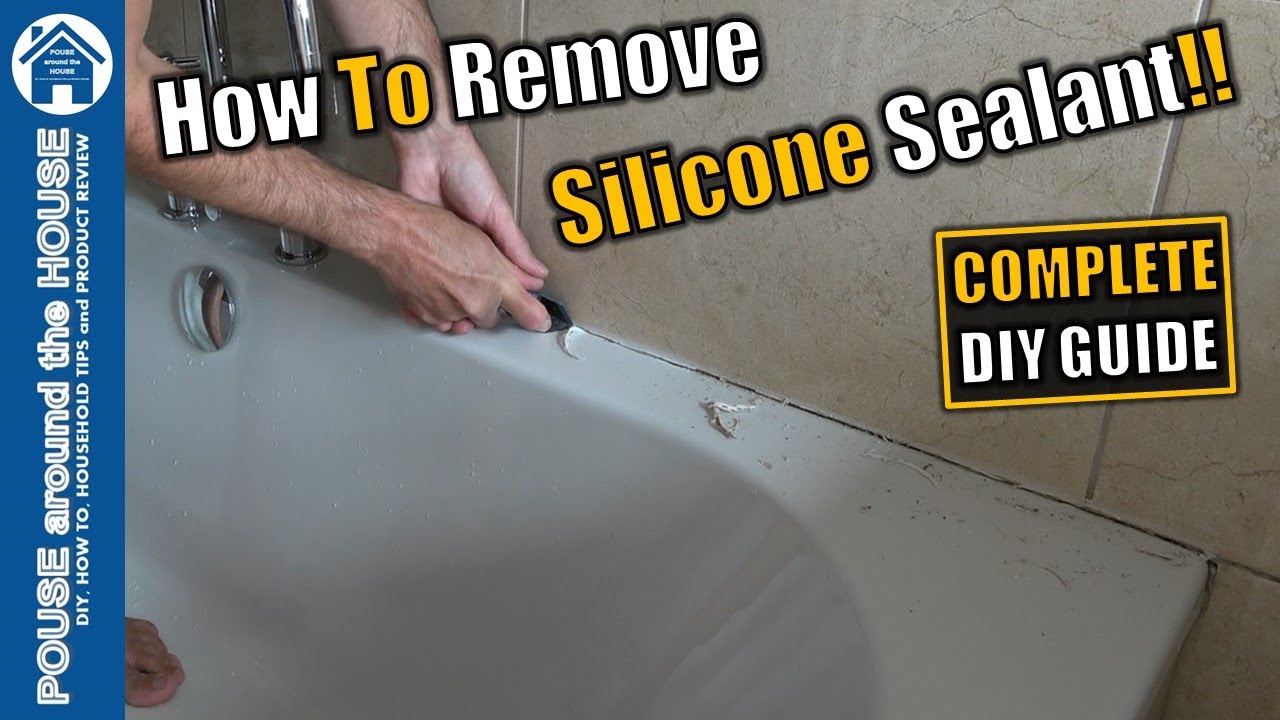
Using a sharp utility knife or caulk removal tool, carefully cut along both edges of the caulk bead. Angle the blade slightly inward to avoid damaging the tub or tile surface. Make several passes to ensure you’ve cut through the entire thickness of the caulk. Take your time and be precise to avoid scratching the surrounding surfaces. This step is crucial for making the removal of silicone from tub easier.
Step 4: Remove the Bulk of the Caulk
Once you’ve cut the edges of the caulk, use the utility knife or caulk removal tool to pry up one end of the caulk bead. Gently pull the caulk away from the surface, using the tool to help loosen any stubborn areas. If the caulk is particularly difficult to remove, try using a rocking motion to break the adhesion. Continue pulling and prying until you’ve removed as much of the caulk as possible. Removing silicone caulk from tub surfaces requires patience and careful handling of tools.
Step 5: Apply Silicone Caulk Remover
If there is still caulk residue remaining on the surface, apply a silicone caulk remover according to the manufacturer’s instructions. These products contain chemicals that soften and dissolve the caulk, making it easier to remove. Apply the remover liberally to the affected areas and let it sit for the recommended time, typically 15-30 minutes. Make sure to wear gloves and eye protection when using chemical caulk removers.
Step 6: Scrape Away Remaining Residue
After the caulk remover has had time to work, use a plastic scraper or putty knife to gently scrape away the remaining residue. Avoid using metal scrapers, as they can scratch the tub or tile surface. Apply firm, even pressure and work in small sections. If the residue is particularly stubborn, reapply the caulk remover and let it sit for a longer period. This step is essential in the complete removal of silicone from tub surfaces, ensuring a clean base for new caulk.
Step 7: Clean the Surface
Once you’ve removed all of the caulk residue, clean the surface thoroughly with isopropyl alcohol or mineral spirits. This will remove any remaining silicone oils and prepare the surface for new caulk. Use a clean cloth or rag to wipe the surface, and allow it to dry completely before applying new caulk. A clean surface is vital for proper adhesion of the new silicone.
Step 8: Vacuum and Dispose of Debris
Vacuum up any loose caulk debris and dust from the surrounding area. Dispose of the old caulk and cleaning supplies properly according to local regulations. Make sure to clean your tools thoroughly before storing them.
Tips for Easier Silicone Caulk Removal
Here are a few additional tips to make the removal of silicone from tub easier:
- Work in Small Sections: Instead of trying to remove large sections of caulk at once, work in small, manageable sections. This will make the process easier and reduce the risk of damaging the surrounding surfaces.
- Use a Sharp Blade: A sharp blade is essential for cutting the caulk cleanly and efficiently. Replace the blade frequently to ensure optimal performance.
- Apply Even Pressure: When scraping away caulk residue, apply even pressure to avoid scratching the surface. Use a plastic scraper or putty knife to minimize the risk of damage.
- Be Patient: Removing old silicone caulk can be a time-consuming process, especially if the caulk is old or hard. Be patient and take your time to avoid damaging the surrounding surfaces.
- Ventilate the Area: When using chemical caulk removers, ensure the area is well-ventilated to avoid inhaling harmful fumes.
Preventing Future Caulk Problems
Once you’ve successfully remove silicone from tub and applied new caulk, take steps to prevent future problems:
- Choose High-Quality Caulk: Select a high-quality silicone caulk that is specifically designed for bathroom use. Look for products that are mildew-resistant and waterproof.
- Prepare the Surface Properly: Before applying new caulk, ensure the surface is clean, dry, and free of any residue. This will ensure proper adhesion and prevent premature failure.
- Apply Caulk Evenly: Apply the caulk in a smooth, even bead. Use a caulk smoothing tool or your finger to create a professional-looking finish.
- Maintain Proper Ventilation: Ensure the bathroom is well-ventilated to prevent moisture buildup, which can promote mold and mildew growth.
- Clean Regularly: Clean the caulk regularly with a mild detergent to prevent the buildup of soap scum and mildew.
Conclusion
Removing old silicone caulk from your tub is a necessary task for maintaining a clean, functional, and aesthetically pleasing bathroom. By following these steps and using the right tools and materials, you can effectively remove silicone from tub surfaces and prepare them for a fresh application of caulk. Remember to prioritize safety and take your time to avoid damaging the surrounding surfaces. With a little patience and effort, you can achieve professional-looking results and protect your bathroom from water damage.
[See also: How to Apply Silicone Caulk Like a Pro]
[See also: Best Silicone Caulk for Bathrooms]
By understanding how to remove silicone from tub, homeowners can maintain their bathrooms effectively, preventing costly repairs and ensuring a clean and healthy environment. This comprehensive guide provides all the necessary information to tackle this task with confidence.

