
How to Remove Silicone Caulk from Your Tub: A Comprehensive Guide
Silicone caulk is a fantastic sealant, creating a watertight barrier in areas prone to moisture, like around your tub. However, over time, it can crack, peel, or become discolored, making your bathroom look dated and potentially leading to leaks. Knowing how to remove silicone from tub surfaces safely and effectively is a valuable skill for any homeowner. This guide provides a step-by-step approach to removing old silicone caulk, preparing the surface, and ensuring a clean, fresh seal when you reapply.
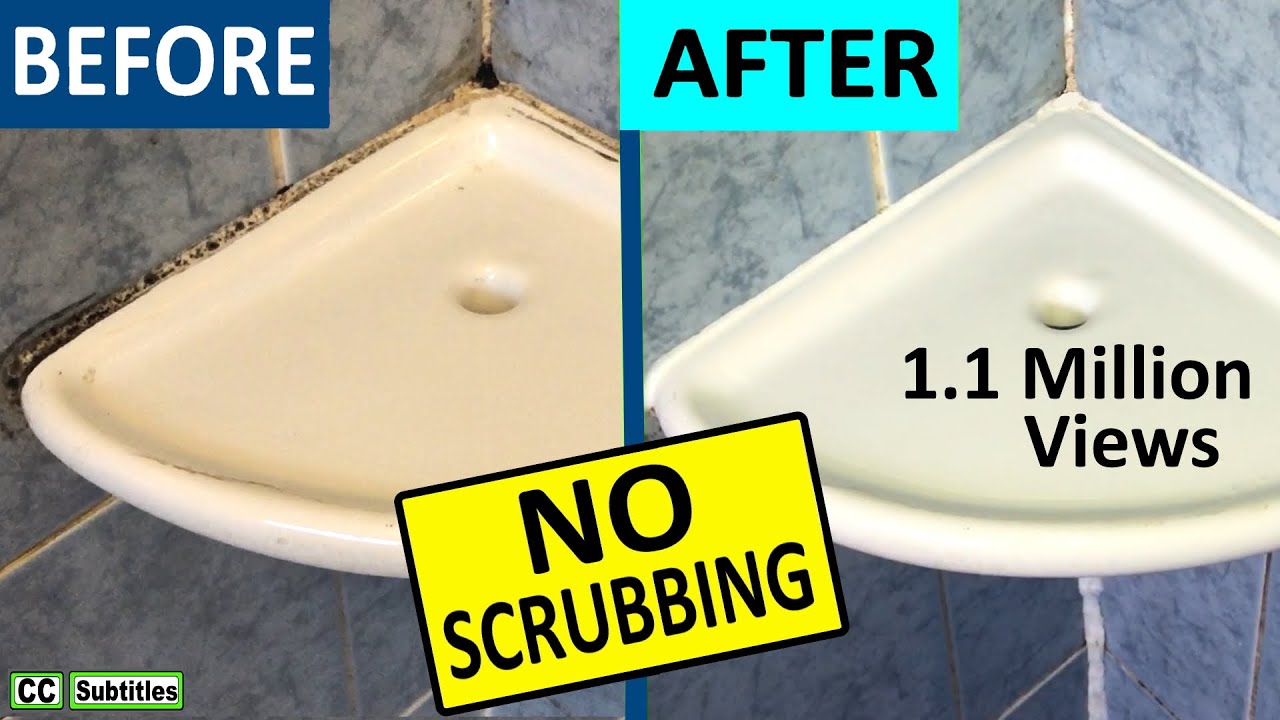
Why Remove Old Silicone Caulk?
Before diving into the process of how to remove silicone from tub, it’s important to understand why this task is necessary. Here are a few key reasons:
- Preventing Leaks: Cracked or damaged caulk can allow water to seep behind tiles or into walls, leading to mold growth and structural damage.
- Improving Aesthetics: Old caulk can become stained, discolored, or even moldy, detracting from the overall appearance of your bathroom. Removing and replacing it can instantly refresh the look.
- Ensuring Proper Sealing: New caulk won’t adhere properly to old, crumbling caulk. Removing the old material is essential for a strong, long-lasting seal.
Tools and Materials You’ll Need
Gathering the necessary tools and materials before you begin will make the process of how to remove silicone from tub much smoother. Here’s what you’ll need:
- Utility Knife or Caulk Removal Tool: A sharp utility knife with a new blade or a specialized caulk removal tool will help you cut through the old silicone.
- Plastic Scraper or Putty Knife: A plastic scraper will help you lift and remove the loosened caulk without scratching the tub or tiles. Avoid metal scrapers, as they can damage the surface.
- Silicone Caulk Softener/Remover: These chemical solutions soften the silicone, making it easier to remove. While optional, they can significantly reduce the effort required.
- White Vinegar or Rubbing Alcohol: These are effective for cleaning the surface after removing the caulk, removing any residue and killing mold.
- Clean Cloths or Sponges: For cleaning and wiping down the surface.
- Safety Glasses: To protect your eyes from debris and chemical splashes.
- Gloves: To protect your hands from chemicals and sharp tools.
- Vacuum Cleaner or Dustpan and Brush: For cleaning up loose caulk debris.
Step-by-Step Guide: How to Remove Silicone from Tub
Now, let’s get into the detailed steps of how to remove silicone from tub effectively:
Step 1: Soften the Silicone (Optional)
Apply a silicone caulk softener or remover according to the manufacturer’s instructions. This product will penetrate the silicone, making it more pliable and easier to remove. Allow the softener to sit for the recommended time, typically 15-30 minutes. This step is especially helpful for older, hardened caulk.
Step 2: Cut Through the Silicone
Using a sharp utility knife or caulk removal tool, carefully cut along both edges of the silicone bead. Aim to cut as close to the tile and tub surface as possible without damaging them. Apply steady pressure and use a fresh blade for the best results. Multiple passes might be necessary for thicker beads of caulk.
Step 3: Scrape Away the Silicone
Insert a plastic scraper or putty knife under the cut edge of the silicone and gently pry it away from the surface. Work slowly and methodically, applying steady pressure. If the silicone is resistant, try using the utility knife to make additional cuts to weaken its bond. Continue scraping until you’ve removed as much of the silicone as possible.
Step 4: Remove Remaining Residue
Even after scraping, some silicone residue will likely remain. To remove this, apply a generous amount of white vinegar or rubbing alcohol to the affected areas. Let it sit for a few minutes to soften the remaining silicone. Then, use a clean cloth or sponge to scrub away the residue. For stubborn areas, you may need to repeat this process or use a specialized silicone residue remover.
Step 5: Clean and Dry the Surface
Once you’ve removed all the silicone and residue, thoroughly clean the area with a mild detergent and water. This will remove any dirt, grime, or soap scum that could interfere with the adhesion of the new caulk. Rinse the area thoroughly and allow it to dry completely before applying new caulk. A completely dry surface is crucial for a strong, watertight seal.
Step 6: Inspect for Mold and Treat (If Necessary)
After removing the old caulk, take a close look at the exposed area for any signs of mold or mildew. If you find any, treat it with a mold-killing solution according to the product instructions. Allow the solution to dry completely before proceeding. Addressing mold issues before applying new caulk is essential for preventing future problems.
Tips for Easier Silicone Removal
Here are a few additional tips to make the process of how to remove silicone from tub even easier:
- Work in a Well-Ventilated Area: If you’re using chemical removers, ensure adequate ventilation to avoid inhaling fumes.
- Use a Heat Gun (Carefully): Applying gentle heat from a heat gun can soften the silicone, making it easier to remove. However, be extremely careful not to overheat the surface, as this could damage the tub or tiles. Keep the heat gun moving and maintain a safe distance.
- Try Different Tools: Experiment with different types of scrapers and knives to find what works best for you. A small, angled scraper can be particularly useful for reaching tight corners.
- Be Patient: Removing silicone caulk can be a time-consuming process, especially if it’s old or heavily applied. Don’t rush the job, and be patient as you work through each step.
Choosing the Right Silicone Caulk
Once you’ve successfully removed the old silicone, it’s time to choose a replacement. When selecting a new silicone caulk, consider the following factors:
- Type of Silicone: Opt for a 100% silicone caulk specifically designed for bathroom use. These caulks are typically mildew-resistant and provide a strong, watertight seal.
- Color: Choose a color that complements your bathroom decor. White is a popular choice, but you can also find silicone caulk in various shades of gray, beige, and even clear.
- Application: Look for a caulk that is easy to apply and tool. Some caulks come with special nozzles or applicators that make the process smoother.
Applying New Silicone Caulk
Applying new silicone caulk is just as important as removing the old stuff. A proper application ensures a long-lasting, watertight seal. [See also: How to Apply Silicone Caulk Like a Pro] Here’s a quick overview:
- Prepare the Surface: Make sure the surface is clean, dry, and free of any debris.
- Load the Caulk Gun: Insert the caulk tube into a caulk gun and cut the tip of the nozzle at a 45-degree angle.
- Apply the Caulk: Apply a smooth, consistent bead of caulk along the joint between the tub and the wall or tile.
- Tool the Caulk: Use a wet finger or a caulk smoothing tool to smooth the bead and press it firmly into the joint.
- Clean Up: Wipe away any excess caulk with a damp cloth.
- Allow to Cure: Let the caulk cure completely according to the manufacturer’s instructions, typically 24-48 hours, before exposing it to water.
Common Mistakes to Avoid
When learning how to remove silicone from tub, it’s also useful to know what mistakes to avoid:
- Using Metal Scrapers: Metal scrapers can easily scratch the surface of your tub and tiles. Always use plastic scrapers or putty knives.
- Applying New Caulk Over Old: This is a common mistake that will lead to a weak seal and eventual leaks. Always remove the old caulk completely before applying new.
- Skipping the Cleaning Step: Cleaning the surface after removing the old caulk is essential for proper adhesion. Don’t skip this step!
- Exposing the Caulk to Water Too Soon: Allowing the caulk to cure completely before exposing it to water is crucial for a strong, watertight seal. Be patient and follow the manufacturer’s instructions.
Conclusion
Removing old silicone caulk from your tub may seem like a daunting task, but by following these steps and using the right tools, you can achieve a clean, professional-looking result. Understanding how to remove silicone from tub not only improves the aesthetics of your bathroom but also helps prevent leaks and potential water damage. Remember to be patient, take your time, and follow the safety precautions to ensure a successful outcome. By taking the time to properly remove and replace your silicone caulk, you can extend the life of your tub and create a more enjoyable bathing experience.
