
How to Remove Old Sealant: A Comprehensive Guide
Old sealant, whether it’s around your bathtub, kitchen sink, or windows, can become unsightly and ineffective over time. Cracking, discoloration, and even mold growth can compromise its ability to protect against water damage and drafts. Knowing how to remove old sealant properly is essential for maintaining a clean and functional home. This comprehensive guide will walk you through the necessary steps, tools, and techniques to safely and effectively remove old sealant and prepare the surface for a fresh application.
Why Remove Old Sealant?
Before diving into the process of how to remove old sealant, it’s important to understand why this task is necessary. Sealant, also known as caulk, is designed to create a waterproof and airtight barrier. However, it degrades over time due to exposure to moisture, temperature fluctuations, and general wear and tear. Here are some key reasons to remove old sealant:
- Prevent Water Damage: Cracked or damaged sealant allows water to seep behind surfaces, potentially leading to mold growth, wood rot, and structural damage.
- Improve Aesthetics: Old sealant often becomes discolored, stained, or cracked, detracting from the appearance of your bathroom, kitchen, or other areas.
- Ensure Proper Sealing: Removing old sealant ensures that the new sealant will adhere properly and create a tight, effective seal. Applying new sealant over old, failing sealant is a temporary fix that will likely lead to future problems.
- Prevent Mold Growth: Mold can thrive in and under old, decaying sealant. Removing the old sealant eliminates a potential breeding ground for mold.
Tools and Materials You’ll Need
Having the right tools and materials on hand will make the process of how to remove old sealant much easier and more efficient. Here’s a list of essential items:
- Utility Knife or Sealant Removal Tool: A sharp utility knife with a retractable blade or a specialized sealant removal tool is crucial for cutting through the old sealant.
- Putty Knife or Scraper: A putty knife or scraper will help you to lift and remove the bulk of the sealant after it has been cut.
- Heat Gun or Hair Dryer (Optional): Applying heat can soften stubborn sealant, making it easier to remove.
- Mineral Spirits or Isopropyl Alcohol: These solvents can help to dissolve any remaining sealant residue.
- Clean Rags or Paper Towels: For wiping away residue and cleaning the surface.
- Vacuum Cleaner: To remove debris and sealant particles.
- Safety Glasses and Gloves: To protect your eyes and hands during the removal process.
- Painter’s Tape: To protect surrounding surfaces and create a clean line for the new sealant.
Step-by-Step Guide: How to Remove Old Sealant
Now, let’s get into the step-by-step process of how to remove old sealant:
Step 1: Prepare the Area
Before you begin, prepare the area by clearing away any items that might get in the way. Cover nearby surfaces with drop cloths or plastic sheeting to protect them from sealant debris. Ensure adequate ventilation by opening windows or using a fan.
Step 2: Soften the Sealant (Optional)
If the sealant is particularly stubborn or hard, you can soften it by applying heat. Use a heat gun or hair dryer on a low setting and direct the heat onto the sealant for a few seconds at a time. Be careful not to overheat the surface, as this could damage it.
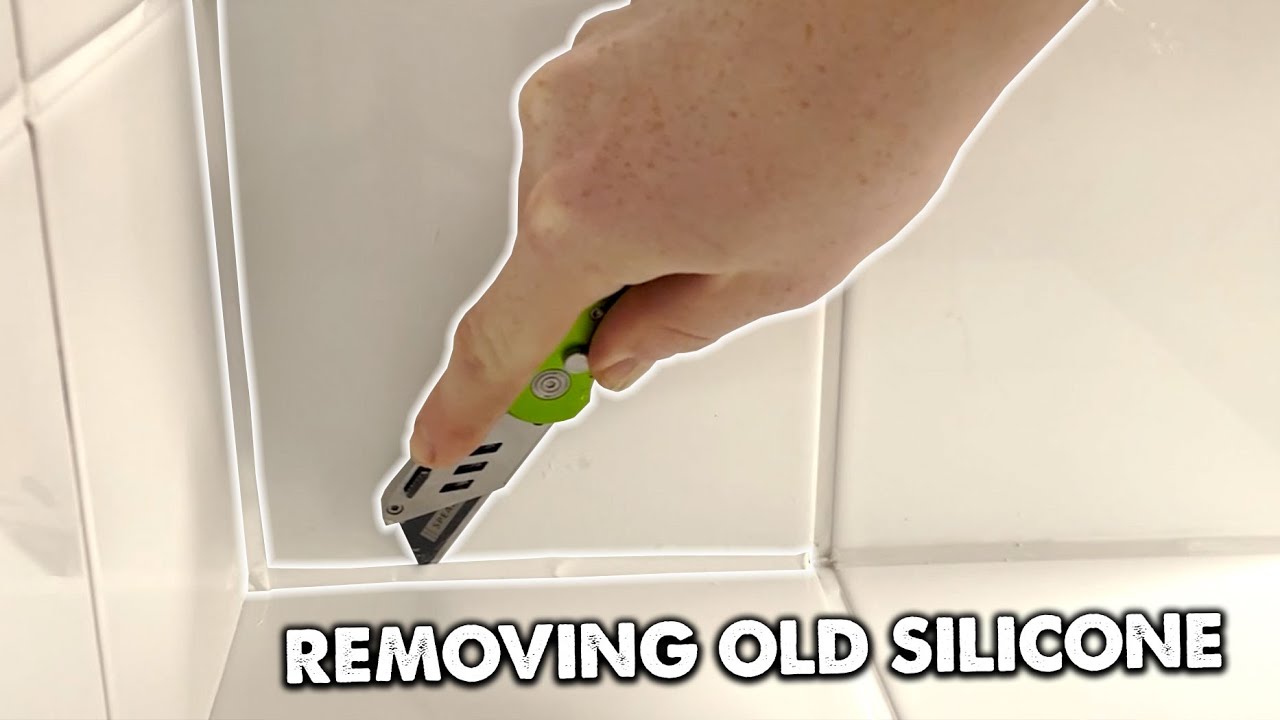
Step 3: Cut the Sealant
Using a utility knife or sealant removal tool, carefully cut along both edges of the sealant bead. Apply steady pressure and try to cut as close to the surface as possible without damaging it. For corners, make a series of small cuts to loosen the sealant.
Step 4: Remove the Bulk of the Sealant
Insert a putty knife or scraper under the cut edge of the sealant and gently lift it away from the surface. Work your way along the entire length of the sealant bead, using the putty knife to pry it loose. If the sealant is still stuck in places, use the utility knife to make additional cuts.
Step 5: Remove Remaining Residue
After removing the bulk of the sealant, there will likely be some residue remaining on the surface. To remove this residue, dampen a clean rag with mineral spirits or isopropyl alcohol and scrub the affected area. You may need to apply some pressure to loosen the residue. For stubborn spots, let the solvent sit for a few minutes before scrubbing.
Step 6: Clean the Surface
Once you’ve removed all the sealant residue, thoroughly clean the surface with a damp cloth and mild detergent. This will remove any remaining solvent and prepare the surface for the new sealant. Allow the surface to dry completely before proceeding.
Step 7: Vacuum and Inspect
Vacuum up any remaining sealant debris and inspect the surface for any imperfections or damage. Repair any cracks or holes before applying the new sealant.
Step 8: Apply Painter’s Tape (Optional)
If you want to create a clean, professional-looking sealant line, apply painter’s tape along both edges of the area to be sealed. This will prevent the new sealant from getting onto surrounding surfaces and ensure a straight, even line.
Tips for Removing Different Types of Sealant
The process of how to remove old sealant can vary slightly depending on the type of sealant you’re dealing with. Here are some tips for removing common types of sealant:
- Silicone Sealant: Silicone sealant is often used in bathrooms and kitchens due to its water-resistant properties. It can be difficult to remove, but using a sealant remover specifically designed for silicone can help.
- Acrylic Sealant: Acrylic sealant is generally easier to remove than silicone sealant. It tends to be more brittle and less flexible, making it easier to cut and scrape away.
- Polyurethane Sealant: Polyurethane sealant is a strong and durable sealant often used in construction applications. It can be challenging to remove, but using a heat gun and a sharp utility knife can help.
Safety Precautions
When learning how to remove old sealant, it’s crucial to prioritize safety. Always wear safety glasses and gloves to protect your eyes and hands from sealant debris and solvents. Ensure adequate ventilation to avoid inhaling harmful fumes. If you’re using a heat gun, be careful not to overheat the surface or yourself. Dispose of old sealant and solvent-soaked rags properly.
Preparing for New Sealant Application
After successfully removing the old sealant, it’s important to properly prepare the surface for the new sealant. Here are some key steps:
- Clean the Surface: Ensure the surface is clean, dry, and free of any remaining residue.
- Repair Damage: Repair any cracks, holes, or imperfections in the surface.
- Prime the Surface (Optional): Applying a primer can improve the adhesion of the new sealant.
- Choose the Right Sealant: Select a sealant that is appropriate for the application and the materials being sealed. [See also: Choosing the Right Type of Sealant]
Common Mistakes to Avoid
When figuring out how to remove old sealant, avoid these common mistakes:
- Using Dull Tools: Dull tools can make the removal process more difficult and increase the risk of injury.
- Damaging the Surface: Be careful not to damage the underlying surface when cutting or scraping the sealant.
- Applying New Sealant Over Old Sealant: This is a temporary fix that will likely lead to future problems.
- Not Cleaning the Surface Properly: A dirty surface will prevent the new sealant from adhering properly.
- Forgetting Safety Precautions: Always wear safety glasses and gloves and ensure adequate ventilation.
Conclusion
Removing old sealant is a necessary task for maintaining a clean, functional, and water-tight home. By following this comprehensive guide on how to remove old sealant, you can safely and effectively remove old sealant and prepare the surface for a fresh application. Remember to use the right tools, take safety precautions, and properly prepare the surface for the best results. With a little patience and effort, you can restore the appearance and functionality of your sealed surfaces. The key to successful sealant removal lies in careful preparation, the right tools, and a methodical approach. Don’t rush the process, and always prioritize safety. With this guide, you’re well-equipped to tackle the task of how to remove old sealant like a pro! [See also: Applying Sealant Like a Professional]
