How to Remove Adhesive from Auto Paint: A Comprehensive Guide
Discovering adhesive residue on your car’s paint can be frustrating. Whether it’s from old stickers, bumper stickers, tape, or even tree sap, knowing how to remove adhesive from auto paint safely and effectively is crucial to maintaining your vehicle’s appearance. This comprehensive guide provides step-by-step instructions and tips to help you tackle this common problem without damaging your car’s finish. We’ll explore various methods, from gentle home remedies to specialized products, ensuring you have the knowledge to choose the best approach for your specific situation.
Understanding the Challenge: Why Adhesive Removal Requires Care
Auto paint is a delicate balance of layers designed to protect your car from the elements and provide a lasting shine. Aggressive scrubbing or harsh chemicals can easily damage the clear coat, leading to scratches, swirl marks, or even paint peeling. Therefore, the key to successful adhesive removal from auto paint lies in patience, gentle techniques, and using the right products. Understanding the type of adhesive you’re dealing with also plays a significant role in choosing the most effective removal method. [See also: Auto Detailing for Beginners]
Essential Tools and Materials for Adhesive Removal
Before you begin, gather the necessary tools and materials. Having everything on hand will streamline the process and prevent you from having to improvise, which could lead to unintended damage. Here’s a basic checklist:
- Microfiber Towels: These are essential for gentle wiping and buffing. Avoid using paper towels or rough cloths, as they can scratch the paint.
- Warm Water and Soap: A mild car wash soap is ideal for cleaning the area before and after adhesive removal.
- Plastic Razor Blade or Scraper: These are safer than metal blades for removing stubborn adhesive without scratching the paint.
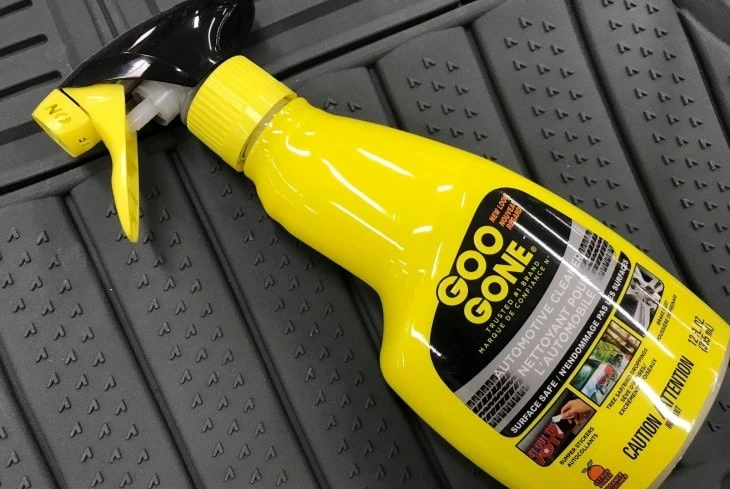
- Adhesive Remover: Choose a product specifically designed for automotive use. Avoid using household cleaners or solvents, as they may damage the clear coat.
- Heat Gun or Hair Dryer: Gentle heat can soften the adhesive, making it easier to remove.
- Detailing Clay Bar (Optional): This can be used to remove any remaining residue after the initial adhesive removal.
- Polishing Compound and Wax (Optional): These can be used to restore the shine and protect the paint after adhesive removal.
Step-by-Step Guide: Removing Adhesive from Auto Paint
Follow these steps carefully to remove adhesive from auto paint safely and effectively:
Step 1: Prepare the Area
Start by washing the area around the adhesive with warm water and car wash soap. This will remove any dirt or debris that could scratch the paint during the removal process. Rinse thoroughly and dry with a clean microfiber towel.
Step 2: Apply Heat (Optional)
If the adhesive is particularly stubborn, apply gentle heat using a heat gun or hair dryer. Hold the heat source several inches away from the paint and move it back and forth to avoid overheating any one spot. The heat will soften the adhesive, making it easier to remove. Be cautious not to overheat the paint, as this can cause damage. The goal is to soften the adhesive, not to melt the paint.
Step 3: Apply Adhesive Remover
Apply a small amount of automotive-specific adhesive remover to the affected area. Follow the manufacturer’s instructions carefully. Some removers require you to let them sit for a few minutes to dissolve the adhesive, while others can be wiped away immediately. Always test the remover on an inconspicuous area of the paint first to ensure it doesn’t cause any discoloration or damage. Ensure the product is designed to remove adhesive safely.
Step 4: Gently Scrape Away the Adhesive
Using a plastic razor blade or scraper, gently scrape away the softened adhesive. Hold the scraper at a low angle to the paint and use smooth, even strokes. Avoid applying too much pressure, as this can scratch the paint. If the adhesive is particularly stubborn, reapply the adhesive remover and let it sit for a few more minutes. Patience is key; don’t force it. You want to remove the adhesive, not the paint.
Step 5: Remove Remaining Residue
After removing the bulk of the adhesive, there may still be some residue left behind. Apply more adhesive remover to a clean microfiber towel and gently wipe away the residue. If the residue is particularly stubborn, you can try using a detailing clay bar. Clay bars are designed to remove contaminants from the paint surface without scratching it. Lubricate the area with clay bar lubricant and gently rub the clay bar over the residue until it is removed. [See also: Car Paint Protection Tips]
Step 6: Clean and Polish the Area
Once you have removed all the adhesive and residue, wash the area again with warm water and car wash soap. Rinse thoroughly and dry with a clean microfiber towel. Inspect the area for any scratches or swirl marks. If necessary, use a polishing compound to restore the shine and remove any imperfections. Finally, apply a coat of wax to protect the paint and prevent future adhesive from sticking.
Alternative Methods for Removing Adhesive
While automotive-specific adhesive removers are generally the most effective, there are also several alternative methods you can try using common household items:
- WD-40: WD-40 is a multi-purpose lubricant that can also be effective at removing adhesive. Spray WD-40 onto the affected area and let it sit for a few minutes before wiping it away with a clean microfiber towel.
- Rubbing Alcohol: Rubbing alcohol can dissolve some types of adhesive. Apply rubbing alcohol to a clean microfiber towel and gently wipe the affected area.
- Peanut Butter: The oils in peanut butter can help to break down some types of adhesive. Apply a thin layer of peanut butter to the affected area and let it sit for 30 minutes before wiping it away with a clean microfiber towel.
- Cooking Oil: Similar to peanut butter, cooking oil can also help to break down some types of adhesive. Apply a thin layer of cooking oil to the affected area and let it sit for 30 minutes before wiping it away with a clean microfiber towel.
Important Note: Always test any alternative method on an inconspicuous area of the paint first to ensure it doesn’t cause any discoloration or damage. These methods may not be as effective as automotive-specific adhesive removers, but they can be worth trying if you don’t have any specialized products on hand. The key is to gently remove adhesive without damaging your car’s paint.
Preventing Future Adhesive Problems
Prevention is always better than cure. Here are some tips to help prevent future adhesive problems on your car’s paint:
- Avoid using stickers or decals: If possible, avoid using stickers or decals on your car’s paint. If you must use them, choose high-quality products that are designed to be easily removed.
- Use a clear bra: A clear bra is a transparent film that can be applied to your car’s paint to protect it from scratches, chips, and adhesive residue.
- Regularly wash and wax your car: Regular washing and waxing will help to protect your car’s paint and make it easier to remove any adhesive that does accumulate.
- Remove adhesive promptly: The longer adhesive sits on your car’s paint, the harder it will be to remove. Remove any adhesive as soon as possible to prevent it from becoming a problem.
Conclusion: Mastering the Art of Adhesive Removal
Knowing how to remove adhesive from auto paint is an essential skill for any car owner. By following the steps outlined in this guide and using the right tools and materials, you can safely and effectively remove adhesive without damaging your car’s finish. Remember to be patient, gentle, and always test any products or methods on an inconspicuous area first. With a little care and attention, you can keep your car looking its best for years to come. Always aim to safely remove adhesive.
