How to Clean Your Golf Irons: A Comprehensive Guide
Maintaining your golf equipment is crucial for optimal performance on the course. Among the most important pieces to keep in top condition are your golf irons. Clean golf irons not only look better but also provide improved contact with the ball, leading to better shots. In this comprehensive guide, we’ll walk you through the steps on how to clean your golf irons effectively, ensuring they remain in excellent shape for years to come. Keeping your golf irons clean is easier than you think!
Why Cleaning Your Golf Irons Matters
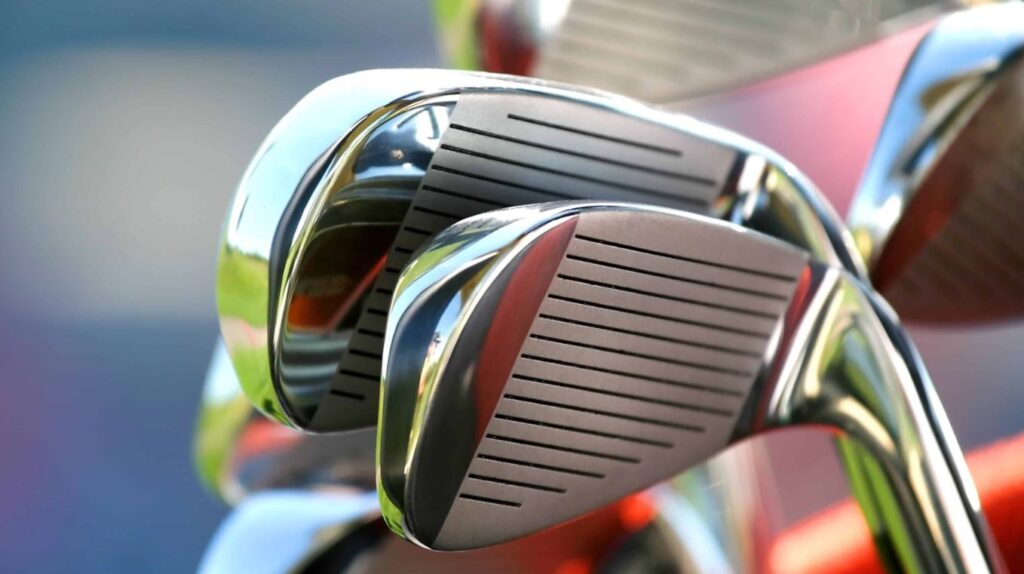
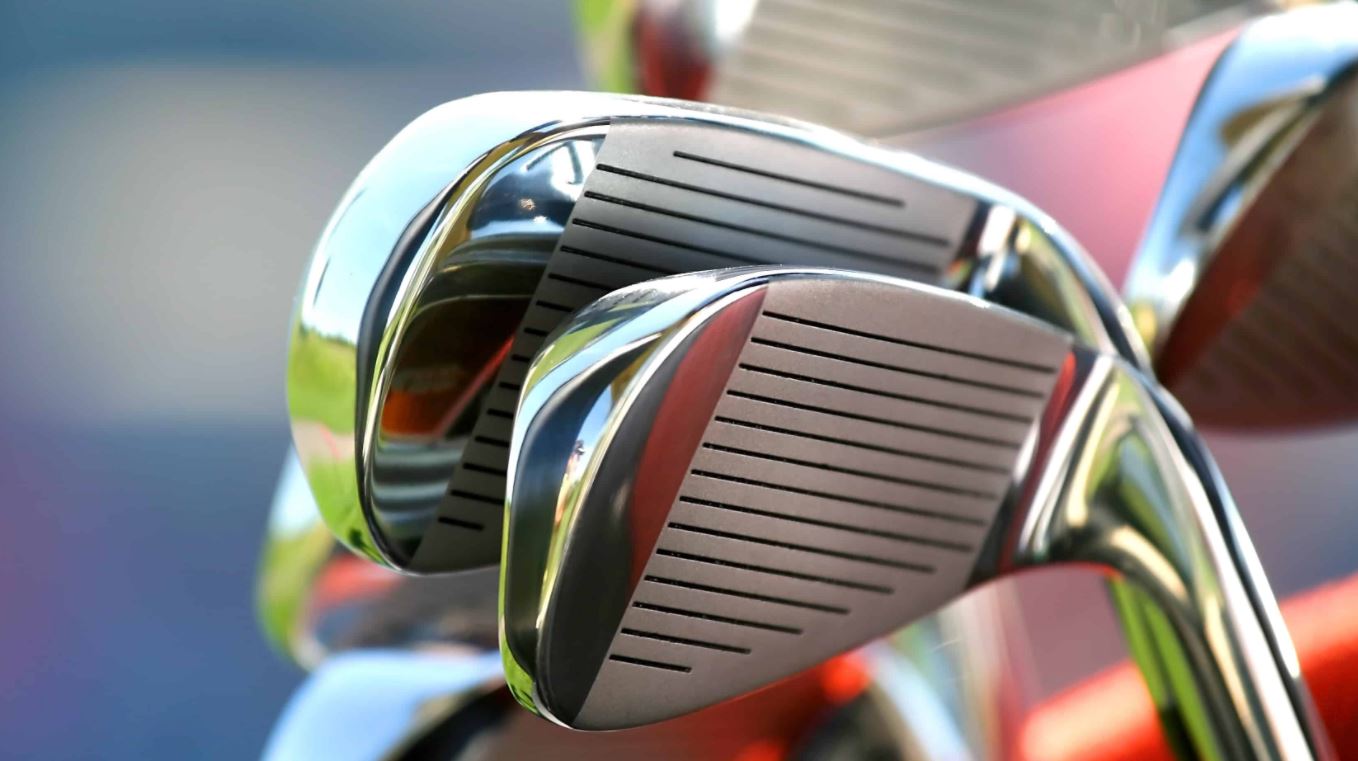
Before diving into the cleaning process, it’s essential to understand why cleaning your golf irons is so important. Dirt, grass, and debris can accumulate in the grooves of your iron faces, impacting the spin and control you have over the ball. Clean grooves allow for better friction and a more consistent launch angle. Furthermore, regular cleaning prevents rust and corrosion, extending the lifespan of your clubs. Ultimately, clean golf irons contribute to more accurate and consistent shots, enhancing your overall game. Neglecting to clean your golf irons can lead to decreased performance and premature wear.
Essential Tools and Materials
To effectively clean your golf irons, you’ll need a few essential tools and materials:
- Warm Water: The foundation of any good cleaning process.
- Mild Dish Soap: Effective for removing dirt and grime without damaging the club.
- Soft-Bristled Brush: A toothbrush or nylon brush works well for scrubbing grooves.
- Golf Club Cleaning Brush: Specifically designed for cleaning golf clubs, often with both nylon and wire bristles.
- Soft Towel: For drying and polishing.
- Bucket or Sink: To hold the soapy water.
- Optional: Golf Club Cleaning Solution: For tougher stains and grime.
Step-by-Step Guide to Cleaning Your Golf Irons
Preparation
Start by gathering your tools and materials. Fill your bucket or sink with warm water and add a few drops of mild dish soap. Ensure the water is not too hot, as excessive heat can damage the epoxy holding the clubhead to the shaft. Place your golf irons nearby, ready for cleaning.
Initial Soak
Submerge the clubheads of your golf irons into the soapy water. Let them soak for about 5-10 minutes. This will help loosen any caked-on dirt and debris, making it easier to scrub away. Soaking is a crucial step, particularly if your clubs are heavily soiled. Avoid submerging the entire club, especially the grip, as prolonged water exposure can damage it.
Scrubbing the Clubface
After soaking, use your soft-bristled brush to scrub the clubface thoroughly. Pay close attention to the grooves, as this is where dirt and debris tend to accumulate. For stubborn dirt, a golf club cleaning brush with wire bristles can be used, but be gentle to avoid scratching the clubface. Scrub in a circular motion, ensuring you reach every nook and cranny. This step is vital for restoring the club’s ability to impart spin on the ball.
Cleaning the Clubhead
Don’t forget to clean the back of the clubhead as well. Dirt and grime can also accumulate here, affecting the club’s appearance and potentially its weight distribution. Use the same scrubbing technique, paying attention to any intricate designs or logos on the clubhead. A clean clubhead not only looks better but also reflects your commitment to maintaining your equipment.
Rinsing Thoroughly
Once you’ve scrubbed all the dirt and grime away, rinse your golf irons thoroughly with clean water. Ensure all soap residue is removed, as any remaining soap can attract more dirt and affect the club’s performance. Use a hose or a clean bucket of water for rinsing. Make sure to rinse both the clubface and the back of the clubhead.
Drying and Polishing
After rinsing, use a soft towel to dry your golf irons completely. Pay attention to the grooves and any hard-to-reach areas to prevent water spots or rust. Once dry, you can use a polishing cloth to give your clubs a shine. Polishing not only enhances the appearance of your golf irons but also provides a protective layer against future dirt and grime. A well-dried and polished club is a testament to proper maintenance.
Dealing with Stubborn Stains and Rust
Sometimes, simple soap and water aren’t enough to remove stubborn stains or rust from your golf irons. In such cases, consider these additional methods:
Using Golf Club Cleaning Solution
Golf club cleaning solutions are specifically formulated to remove tough stains and grime without damaging the club. Follow the instructions on the product label, and always test the solution on a small, inconspicuous area first to ensure it doesn’t discolor or damage the club. These solutions often contain agents that break down dirt and rust effectively.
Removing Rust with Vinegar
Vinegar is a natural and effective rust remover. Soak a cloth in white vinegar and apply it to the affected areas. Let it sit for about 10-15 minutes, then scrub gently with a soft-bristled brush. Rinse thoroughly with water and dry. Vinegar’s acidity helps to dissolve rust, making it easier to remove. However, avoid prolonged soaking, as vinegar can also corrode certain metals.
Using Baking Soda Paste
Baking soda is another household item that can be used to remove rust. Mix baking soda with water to create a paste, then apply it to the rusted areas. Let it sit for about 10-15 minutes, then scrub gently with a soft-bristled brush. Rinse thoroughly with water and dry. Baking soda acts as a mild abrasive, helping to lift rust without causing significant damage.
Maintaining Your Golf Irons for Longevity
Regular cleaning is just one aspect of maintaining your golf irons. Here are some additional tips to ensure their longevity:
- Clean After Each Round: Make it a habit to wipe down your clubs after each round of golf. This prevents dirt and grime from accumulating and hardening.
- Store Properly: Store your golf irons in a dry place, away from extreme temperatures and humidity. This helps prevent rust and corrosion.
- Use Headcovers: Headcovers protect your clubs from scratches and dings, especially during transport.
- Check Grips Regularly: Clean your grips regularly with soap and water to maintain a firm hold. Replace them when they become worn or slippery.
- Professional Cleaning: Consider having your clubs professionally cleaned and serviced periodically. Professionals have specialized tools and solutions to restore your clubs to their optimal condition.
The Benefits of Using Clean Golf Irons
Investing time in keeping your golf irons clean pays dividends in terms of performance and equipment longevity. Clean golf irons offer several benefits:
- Improved Spin and Control: Clean grooves allow for better contact with the ball, resulting in improved spin and control.
- Consistent Launch Angle: Clean clubfaces provide a more consistent launch angle, leading to more predictable shots.
- Extended Lifespan: Regular cleaning prevents rust and corrosion, extending the lifespan of your clubs.
- Enhanced Appearance: Clean clubs simply look better, reflecting your commitment to the game.
- Increased Confidence: Knowing your equipment is in top condition can boost your confidence on the course.
In conclusion, cleaning your golf irons is a simple yet crucial aspect of golf equipment maintenance. By following the steps outlined in this guide, you can ensure your clubs remain in excellent condition, providing you with improved performance and enjoyment on the course. So, grab your cleaning supplies and give your golf irons the attention they deserve. Happy golfing!
Remember to always prioritize the maintenance of your golf irons to ensure consistent and reliable performance. Properly cleaned golf irons will contribute to an improved game, and prevent unnecessary wear and tear. Proper care for your golf irons means more enjoyment on the green and better scores. Don’t underestimate the impact of clean golf irons on your overall golfing experience.
[See also: Choosing the Right Golf Clubs for Your Game]
[See also: How to Properly Store Your Golf Clubs]
[See also: Golf Club Grip Maintenance Tips]

