
How to Clean Auto Electrical Connectors: A Comprehensive Guide
Maintaining the electrical system in your vehicle is crucial for its overall performance and reliability. One often-overlooked aspect of this maintenance is cleaning the auto electrical connectors. These connectors are the unsung heroes, ensuring seamless communication between various components. Over time, they can become corroded, dirty, or damaged, leading to a host of electrical problems. This guide provides a comprehensive overview of how to clean auto electrical connectors effectively, ensuring your vehicle runs smoothly. We will cover everything from identifying the right tools to understanding the best practices for cleaning and protecting these vital components. Understanding how to clean auto electrical connectors can save you time and money in the long run.
Why Cleaning Auto Electrical Connectors is Important
Auto electrical connectors are the junctions where wires meet, allowing electrical signals to pass through. When these connectors are compromised, it can lead to a variety of issues:
- Reduced Performance: Corroded connectors can impede the flow of electricity, causing components to function inefficiently.
- Electrical Failures: Dirty or damaged connectors can lead to intermittent or complete electrical failures.
- Increased Wear and Tear: Poor connections can cause components to work harder, leading to premature wear and tear.
- Safety Hazards: In severe cases, faulty electrical connections can pose a fire hazard.
Regularly cleaning your auto electrical connectors can prevent these issues, ensuring your vehicle’s electrical system remains in top condition. Knowing how to clean auto electrical connectors is a skill every car owner should possess.
Tools and Materials Needed
Before you begin, gather the necessary tools and materials. Having everything on hand will make the process smoother and more efficient:
- Electrical Contact Cleaner: Specifically designed to dissolve corrosion and dirt without damaging the connector.
- Small Brushes: A variety of small brushes, such as toothbrushes or specialized connector brushes, to scrub away debris.
- Dielectric Grease: To protect the connectors from future corrosion and moisture.
- Lint-Free Cloths: For wiping away cleaner and debris.
- Connector Disassembly Tools: Depending on the connector type, you may need small screwdrivers, picks, or specialized tools to disassemble the connector.
- Safety Glasses: To protect your eyes from debris and chemicals.
- Gloves: To protect your hands from chemicals and sharp edges.
- Compressed Air (Optional): To blow away loose debris.
Investing in quality tools will make the job easier and more effective. Make sure your electrical contact cleaner is safe for use on automotive plastics and rubbers. Preparing these items ensures you are ready to effectively clean auto electrical connectors.
Step-by-Step Guide: How to Clean Auto Electrical Connectors
Follow these steps to safely and effectively clean your vehicle’s electrical connectors:
Step 1: Disconnect the Power
Before working on any electrical component, disconnect the negative terminal of the battery. This prevents accidental shorts and ensures your safety. Use a wrench to loosen the nut on the negative terminal and carefully remove the cable. Secure the cable away from the battery to prevent accidental contact. This step is crucial before you clean auto electrical connectors.
Step 2: Locate the Connector
Identify the connector you want to clean. Refer to your vehicle’s service manual or wiring diagram if you’re unsure of its location. Common areas where connectors are found include the engine bay, under the dashboard, and near sensors and actuators. Once located, take a photo of the connector and its wiring configuration. This will help you reassemble it correctly later. Understanding where to find these connections is the first step in learning how to clean auto electrical connectors.
Step 3: Disassemble the Connector
Carefully disassemble the connector. Some connectors have locking tabs or clips that need to be released. Use small screwdrivers or picks to gently release these mechanisms. Avoid forcing anything, as this can damage the connector. If the connector is particularly stubborn, refer to your vehicle’s service manual for specific instructions. Disassembly is a critical step in the process of how to clean auto electrical connectors.
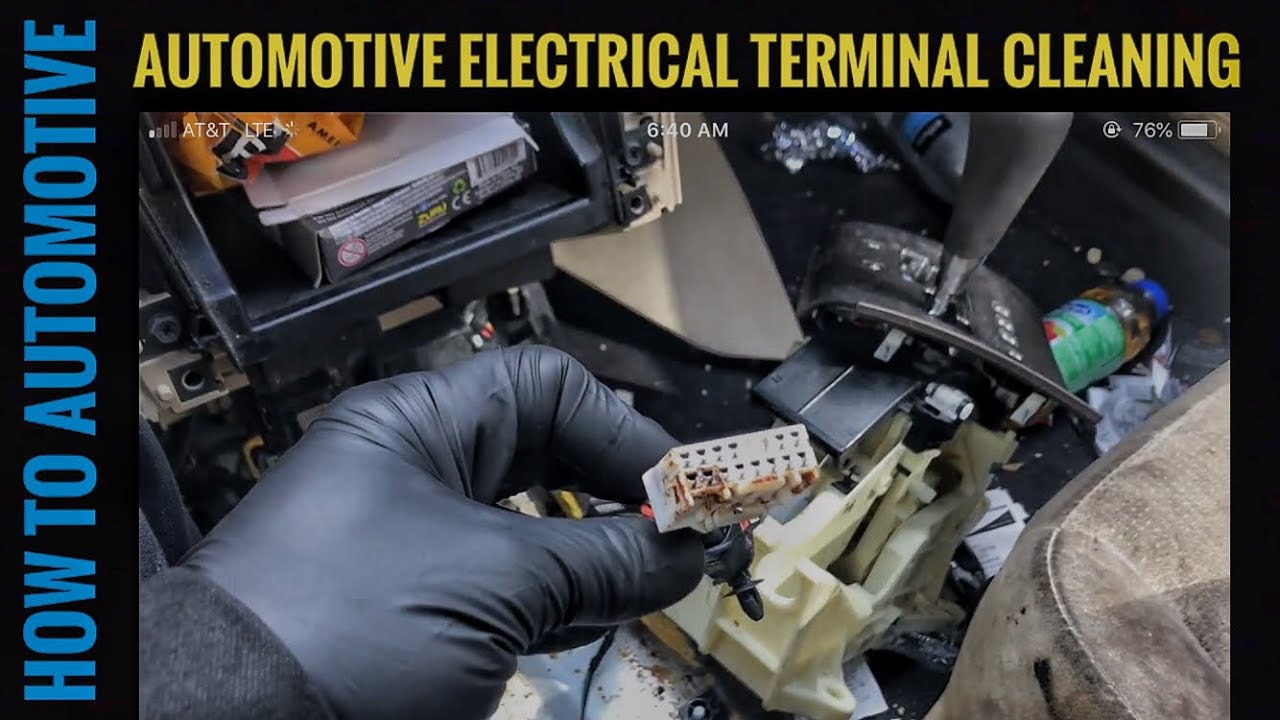
Step 4: Inspect the Connector
Once the connector is disassembled, inspect it for signs of corrosion, dirt, or damage. Look for green or white deposits on the metal terminals, which indicate corrosion. Check for cracked or broken plastic housings. If the connector is severely damaged, it may need to be replaced rather than cleaned. A thorough inspection is essential before you clean auto electrical connectors.
Step 5: Apply Electrical Contact Cleaner
Spray the electrical contact cleaner liberally onto the terminals and inside the connector housing. Allow the cleaner to soak for a few minutes to dissolve the corrosion and dirt. Be sure to follow the manufacturer’s instructions on the cleaner. Ensure adequate ventilation while using the cleaner. This is the core of how to clean auto electrical connectors, ensuring a clean surface for optimal conductivity.
Step 6: Scrub the Terminals
Use a small brush to scrub the terminals and remove any remaining corrosion or dirt. Pay close attention to the crevices and hard-to-reach areas. For stubborn deposits, you may need to use a specialized connector brush or a small piece of fine-grit sandpaper. Be gentle to avoid damaging the terminals. The scrubbing action is vital for how to clean auto electrical connectors effectively.
Step 7: Rinse and Dry
Rinse the connector with more electrical contact cleaner to remove any remaining debris. Use compressed air to blow away any excess cleaner and dry the connector thoroughly. Ensure the connector is completely dry before reassembling it. Moisture can lead to future corrosion. Thorough drying is a key step in how to clean auto electrical connectors properly.
Step 8: Apply Dielectric Grease
Apply a small amount of dielectric grease to the terminals and inside the connector housing. Dielectric grease is a non-conductive lubricant that protects the connector from moisture and corrosion. It also helps to improve the electrical connection. Apply the grease sparingly to avoid attracting dirt. Applying dielectric grease is a crucial step in preventing future issues after you clean auto electrical connectors.
Step 9: Reassemble the Connector
Carefully reassemble the connector, ensuring all locking tabs and clips are securely fastened. Refer to the photo you took earlier to ensure you reconnect the wires correctly. Double-check that all connections are tight and secure. Proper reassembly is essential after you clean auto electrical connectors.
Step 10: Reconnect the Power
Reconnect the negative terminal of the battery. Tighten the nut securely. Start the vehicle and test the electrical component associated with the connector you cleaned. If the component still doesn’t function correctly, there may be other issues, such as a faulty component or wiring problem. Testing the system is the final step after learning how to clean auto electrical connectors.
Common Issues and Troubleshooting
Even with careful cleaning, you may encounter some common issues:
- Connector Still Doesn’t Work: Check for broken wires or damaged terminals. The connector may need to be replaced.
- Corrosion Returns Quickly: Ensure you’re using dielectric grease and that the connector is properly sealed.
- Difficulty Disassembling: Refer to your vehicle’s service manual for specific instructions on disassembling the connector.
Troubleshooting is part of the process when you clean auto electrical connectors. Don’t hesitate to seek professional help if needed.
Preventative Measures
To prevent future corrosion and dirt buildup, consider these preventative measures:
- Regular Inspections: Inspect your vehicle’s electrical connectors regularly for signs of corrosion or damage.
- Proper Sealing: Ensure connectors are properly sealed to prevent moisture and dirt from entering.
- Use Quality Connectors: When replacing connectors, use high-quality connectors that are designed to withstand harsh environments.
- Apply Protective Coatings: Consider using protective coatings on connectors to further prevent corrosion.
Taking these steps can significantly extend the life of your auto electrical connectors and prevent costly repairs. Incorporating these practices ensures you minimize the need to constantly clean auto electrical connectors.
Conclusion
Cleaning auto electrical connectors is a simple yet crucial maintenance task that can significantly improve your vehicle’s performance and reliability. By following this comprehensive guide, you can effectively clean and protect your vehicle’s electrical connectors, ensuring a smooth and trouble-free driving experience. Remember to always prioritize safety and use the right tools and materials. Understanding how to clean auto electrical connectors empowers you to maintain your vehicle’s electrical system effectively and avoid potential problems down the road. Keeping your auto electrical connectors clean is essential for the longevity of your vehicle’s electrical system. Now that you know how to clean auto electrical connectors, you’re well-equipped to keep your vehicle running smoothly.
[See also: Automotive Electrical System Basics]
[See also: How to Diagnose Car Battery Problems]
[See also: Understanding Car Alternator Function]
