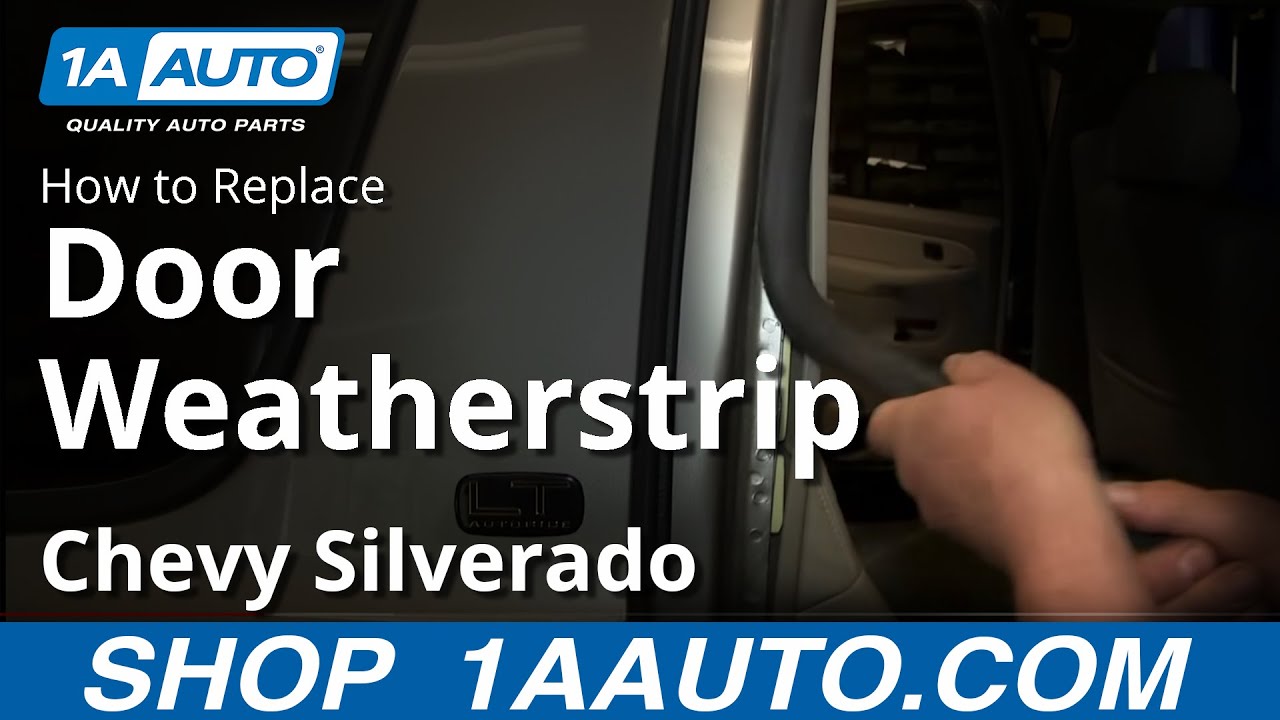
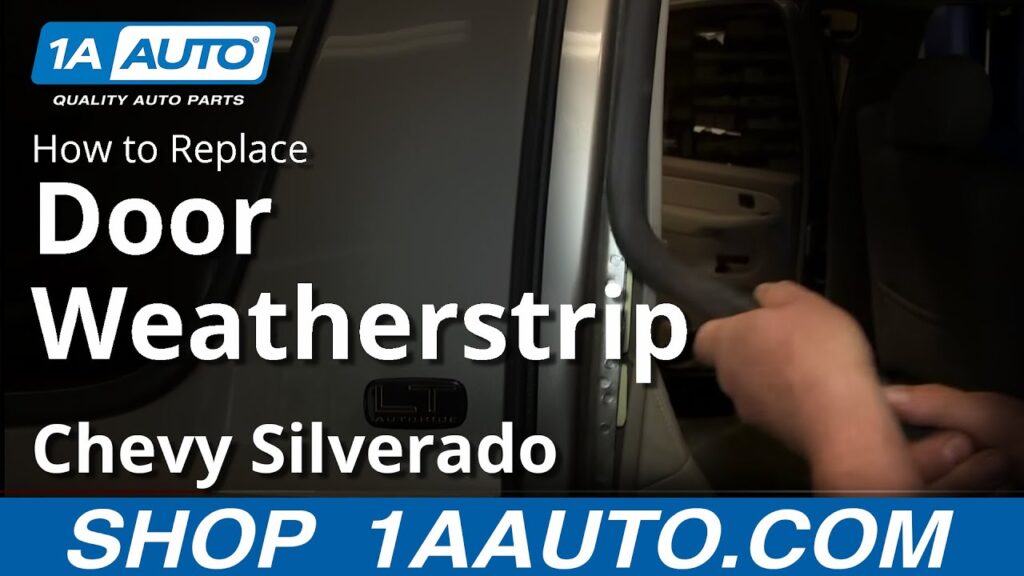
Fixing Weather Stripping on a Car Door: A Comprehensive Guide
Weather stripping plays a crucial role in maintaining the integrity and comfort of your vehicle. It acts as a barrier against the elements, preventing water, wind, noise, and debris from entering the car’s cabin. Damaged or deteriorated weather stripping can lead to various problems, including drafts, increased road noise, water leaks, and even rust. Recognizing the importance of functional weather stripping, this guide provides a comprehensive overview of how to effectively fix weather stripping on a car door. Whether you’re dealing with minor tears or complete detachment, understanding the process and applying the right techniques can save you money on professional repairs and ensure a more comfortable driving experience. This guide will cover everything from identifying the signs of damaged weather stripping to selecting the appropriate replacement materials and executing the repair process.
Understanding the Importance of Weather Stripping
Before diving into the repair process, it’s important to understand why weather stripping is so vital. Functioning weather stripping contributes significantly to several aspects of vehicle performance and comfort:
- Sealing Against the Elements: Weather stripping creates a tight seal between the car door and the frame, preventing rain, snow, and wind from entering the cabin.
- Reducing Noise Pollution: By minimizing gaps, weather stripping helps to dampen external noise, creating a quieter and more pleasant driving environment.
- Maintaining Cabin Temperature: Properly sealed doors prevent drafts and help maintain a consistent temperature inside the car, improving the efficiency of the heating and air conditioning systems.
- Preventing Rust and Corrosion: Water intrusion can lead to rust and corrosion, particularly in areas where metal is exposed. Weather stripping helps to keep moisture away from these vulnerable areas.
Ignoring damaged weather stripping can lead to more significant problems down the line, making timely repairs essential. Replacing your weather stripping on a car door is often a cheaper alternative to dealing with water damage or dealing with the inefficiency of your heating or air conditioning.
Identifying Damaged Weather Stripping
Recognizing the signs of damaged or deteriorated weather stripping is the first step towards addressing the problem. Common indicators include:
- Visible Cracks or Tears: Inspect the weather stripping for any visible cracks, tears, or cuts. These can compromise its ability to create a tight seal.
- Hardening or Brittleness: Over time, weather stripping can become hard and brittle, losing its flexibility and ability to conform to the door frame.
- Detachment: Check for areas where the weather stripping is peeling away from the door frame or the door itself.
- Water Leaks: If you notice water entering the cabin during rain or car washes, it could be a sign that the weather stripping is no longer providing a proper seal.
- Increased Wind Noise: Excessive wind noise while driving can indicate gaps in the weather stripping.
- Visible Mold or Mildew: Moisture trapped by failing weather stripping can create conditions for mold and mildew growth.
A thorough visual inspection of the weather stripping on a car door is crucial for identifying areas that require attention. Don’t forget to check the corners and edges, as these are often the first areas to show signs of wear and tear.
Tools and Materials Needed for Weather Stripping Repair
Before you begin the repair process, gather the necessary tools and materials. Having everything on hand will make the job easier and more efficient. Here’s a list of essential items:
- New Weather Stripping: Purchase replacement weather stripping that is specifically designed for your car’s make and model. Universal weather stripping is available, but custom-fit options generally provide a better seal.
- Adhesive Remover: This is essential for removing old adhesive residue from the door frame and the door itself.
- Clean Rags or Cloths: Use these to clean the surfaces before applying new adhesive.
- Scissors or Utility Knife: For trimming the new weather stripping to the correct length.
- Adhesive: Choose a high-quality automotive adhesive that is specifically designed for bonding rubber to metal or plastic.
- Caulk Gun (if using tube adhesive): For dispensing adhesive in a controlled manner.
- Heat Gun or Hair Dryer (optional): Applying heat can help soften old adhesive and make it easier to remove.
- Safety Glasses: To protect your eyes from debris and chemicals.
- Gloves: To protect your hands from adhesive and cleaning solutions.
Investing in quality materials will ensure a long-lasting and effective repair of the weather stripping on a car door. Read the instructions carefully before using any adhesive or cleaning products.
Step-by-Step Guide to Fixing Weather Stripping
Follow these steps to effectively fix the weather stripping on a car door:
Step 1: Removing the Old Weather Stripping
Carefully peel away the old weather stripping from the door frame and the door. Use a heat gun or hair dryer to soften stubborn adhesive if necessary. Be gentle to avoid damaging the underlying surfaces.
Step 2: Cleaning the Surfaces
Apply adhesive remover to the areas where the old weather stripping was attached. Use a clean rag to scrub away any remaining adhesive residue. Make sure the surfaces are clean, dry, and free of any debris. This is a crucial step for ensuring a strong bond with the new weather stripping.
Step 3: Measuring and Cutting the New Weather Stripping
Measure the length of the area where the new weather stripping will be installed. Use scissors or a utility knife to cut the new weather stripping to the correct length. It’s always better to cut slightly longer and trim as needed.
Step 4: Applying the Adhesive
Apply a thin, even layer of adhesive to the back of the new weather stripping and to the corresponding area on the door frame or door. Follow the manufacturer’s instructions for the adhesive you are using. Some adhesives require a waiting period before bonding.
Step 5: Installing the New Weather Stripping
Carefully align the new weather stripping with the area where it will be installed. Press firmly along the entire length to ensure a strong bond. Pay particular attention to corners and edges. Use clamps or tape to hold the weather stripping in place while the adhesive dries, if necessary.
Step 6: Curing and Inspection
Allow the adhesive to cure completely according to the manufacturer’s instructions. Once the adhesive is cured, inspect the weather stripping to ensure it is securely attached and creating a tight seal. Test the door to make sure it closes properly and that there are no gaps.
By following these steps, you can effectively replace the weather stripping on a car door and restore its ability to protect your vehicle from the elements.
Tips for Ensuring a Long-Lasting Repair
To maximize the lifespan of your weather stripping repair, consider these tips:
- Choose High-Quality Materials: Investing in durable weather stripping and adhesive will ensure a longer-lasting repair.
- Clean Regularly: Periodically clean the weather stripping with a mild soap and water solution to remove dirt and debris.
- Apply a Protectant: Use a rubber protectant to keep the weather stripping flexible and prevent it from drying out.
- Park in Shaded Areas: Exposure to direct sunlight can accelerate the deterioration of weather stripping.
- Address Issues Promptly: Don’t ignore minor damage. Addressing problems early can prevent them from escalating into more significant issues.
Proper maintenance and care will help extend the life of your weather stripping on a car door and ensure continued protection for your vehicle.
When to Seek Professional Help
While many weather stripping repairs can be handled as DIY projects, there are situations where it’s best to seek professional help:
- Extensive Damage: If the weather stripping is severely damaged or deteriorated, it may be difficult to repair effectively without specialized tools and expertise.
- Door Alignment Issues: If the door is misaligned, it can put undue stress on the weather stripping, causing it to fail prematurely. A professional can address the underlying alignment issues.
- Lack of Experience: If you are not comfortable performing the repair yourself, it’s best to consult with a professional to avoid damaging your vehicle.
A qualified auto body technician can assess the condition of your weather stripping on a car door and recommend the appropriate course of action. [See also: Car Door Repair Cost]
Conclusion
Fixing weather stripping on a car door is a relatively straightforward process that can significantly improve the comfort and protection of your vehicle. By following the steps outlined in this guide, you can effectively repair or replace damaged weather stripping and prevent water leaks, wind noise, and other issues. Remember to choose high-quality materials, clean the surfaces thoroughly, and take your time to ensure a proper seal. With a little effort, you can keep your car’s cabin dry, quiet, and comfortable for years to come. Don’t underestimate the importance of well-maintained weather stripping – it’s a small investment that can pay off in a big way. Keeping your weather stripping on a car door in good condition also increases the resale value of your vehicle. Regular checks and timely repairs can help maintain the value of your car. By maintaining your vehicle, including the weather stripping on a car door, you are increasing its overall lifespan and reducing the need for more costly repairs in the future. The process of fixing weather stripping on a car door, while seemingly minor, contributes significantly to the overall maintenance and longevity of your vehicle.
