How to Clean a Keyboard: A Comprehensive Guide to Sparkling Keys
In today’s digital age, the keyboard is an indispensable tool for work, communication, and entertainment. From hammering out emails to crafting the next great novel, our keyboards endure a daily barrage of use. But with all this activity comes a less desirable consequence: grime, dust, crumbs, and a host of other unwelcome particles. Knowing how to clean a keyboard effectively is crucial not only for hygiene but also for maintaining its functionality and extending its lifespan. This comprehensive guide provides step-by-step instructions and expert tips on how to clean a keyboard, ensuring your trusty input device remains in top condition.
Why Cleaning Your Keyboard Matters
Before diving into the how-to, let’s address the why. A dirty keyboard isn’t just unsightly; it can be a breeding ground for bacteria. Studies have shown that keyboards can harbor more germs than a toilet seat! Regularly cleaning your keyboard helps prevent the spread of illness. Beyond hygiene, debris lodged between the keys can hinder their movement, leading to sticky keys, missed keystrokes, and ultimately, a frustrating user experience. Learning how to properly clean a keyboard prevents damage and ensures smooth operation. Furthermore, neglecting keyboard maintenance can void warranties or lead to costly repairs down the line.
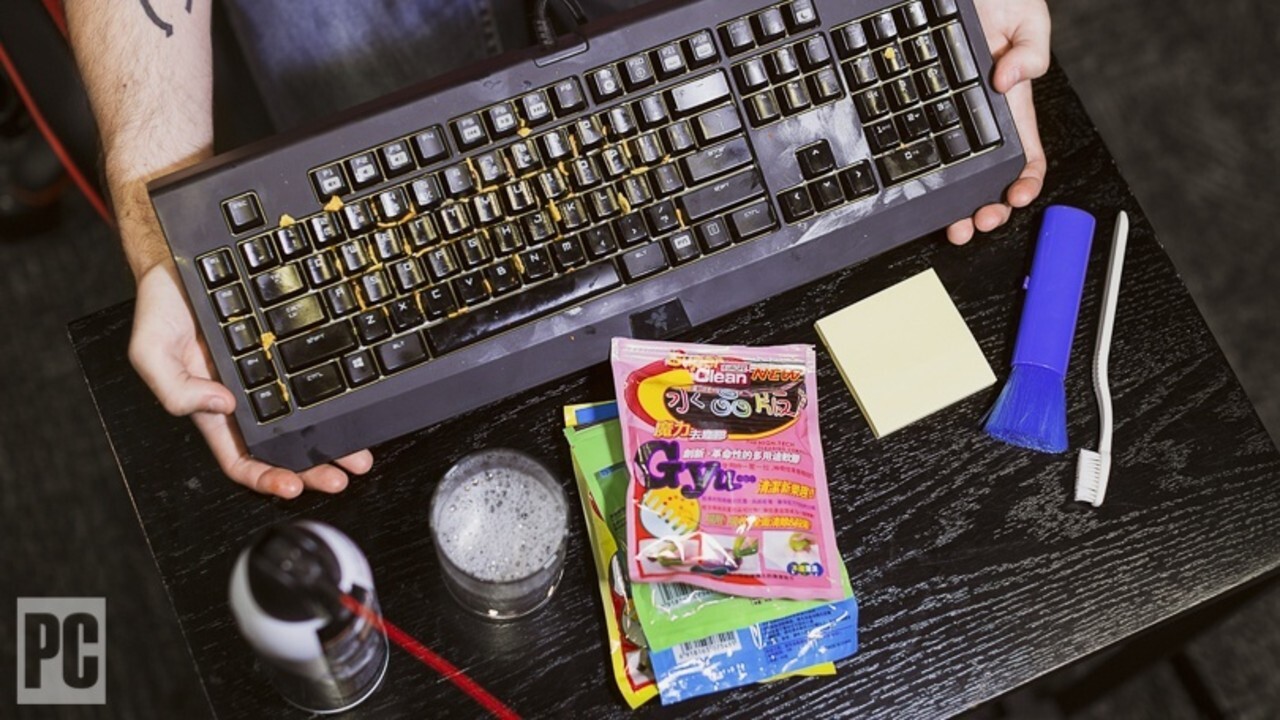
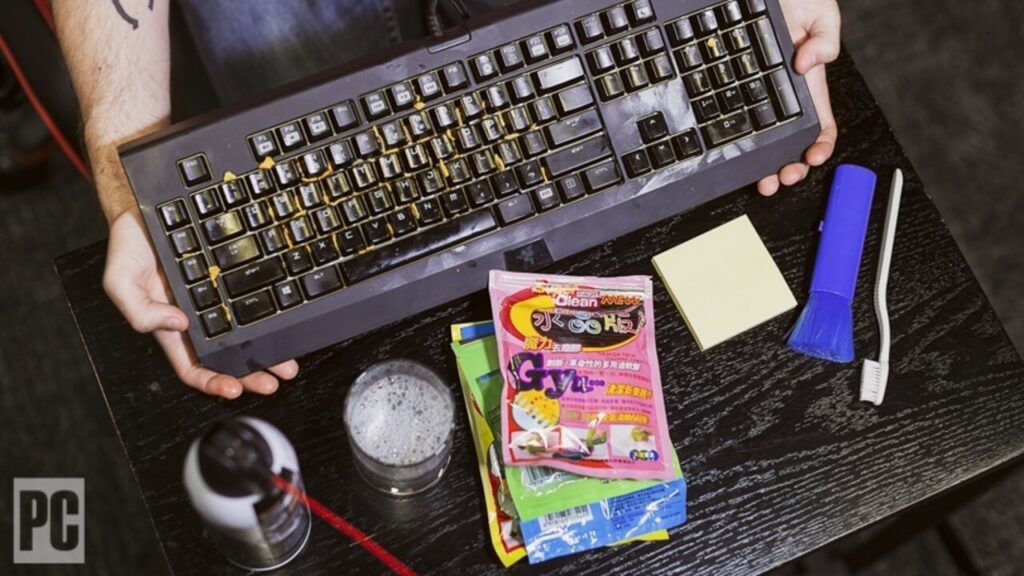
Tools You’ll Need to Clean a Keyboard
Gathering the right tools makes the clean a keyboard process significantly easier and more effective. Here’s a list of essentials:
- Compressed Air: Ideal for blasting away loose particles from hard-to-reach areas.
- Microfiber Cloths: Soft and lint-free, perfect for wiping down surfaces without scratching.
- Isopropyl Alcohol (70% or less): A safe and effective disinfectant. Avoid higher concentrations, as they can damage some keyboard materials.
- Cotton Swabs: Useful for cleaning around individual keys and tight spaces.
- Keycap Puller (Optional): Makes removing keycaps easier and safer, especially for mechanical keyboards.
- Small Brush (Optional): A soft-bristled brush can help dislodge stubborn debris.
- Vacuum with Brush Attachment (Optional): For sucking up larger particles, but use with caution to avoid damaging the keyboard.
Steps to Clean a Keyboard
Now, let’s get down to the actual clean a keyboard process. Follow these steps for a thorough and safe cleaning:
Step Power Down and Disconnect
The first and most important step is to disconnect your keyboard from its power source. For wired keyboards, unplug it from your computer. For wireless keyboards, turn it off and remove the batteries if possible. This prevents accidental keystrokes or electrical damage during cleaning.
Step Turn It Upside Down and Shake
Hold your keyboard upside down over a trash can or a clean surface. Gently shake it to dislodge any loose crumbs, dust, and debris trapped between the keys. You’d be surprised at how much stuff accumulates in there! You can also gently tap the back of the keyboard to help loosen stubborn particles.
Step Use Compressed Air
Attach the straw to the compressed air can and hold it at a slight angle to the keyboard surface. Use short bursts of air to blow out any remaining debris from between the keys. Be sure to get into all the nooks and crannies. Avoid holding the can upside down, as this can release liquid propellant, which can damage your keyboard.
Step Wipe Down the Keycaps
Dampen a microfiber cloth with isopropyl alcohol. Make sure the cloth is not soaking wet; you want it to be damp enough to clean but not dripping. Gently wipe down each keycap, paying attention to areas with visible dirt or grime. Avoid spraying alcohol directly onto the keyboard, as it can seep into the internal components and cause damage.
Step Clean Around the Keys
Use cotton swabs dampened with isopropyl alcohol to clean around the base of each key. This is where grime and dust tend to accumulate. Be gentle and avoid applying too much pressure, as you don’t want to damage the key switches.
Step Remove Keycaps (Optional)
For a more thorough cleaning, you can remove the keycaps. Use a keycap puller to gently lift each keycap off the keyboard. If you don’t have a keycap puller, you can use a small, flat screwdriver, but be extremely careful not to scratch the keycaps or the keyboard. Once the keycaps are removed, you can wash them with warm soapy water. Make sure to dry them completely before reattaching them to the keyboard.
Step Clean the Keyboard Surface
Once the keycaps are removed (or if you choose not to remove them), use a microfiber cloth dampened with isopropyl alcohol to wipe down the entire keyboard surface. Pay attention to areas where your hands frequently rest. Ensure the surface is completely dry before reattaching the keycaps or using the keyboard.
Step Reassemble and Test
If you removed the keycaps, carefully reattach them to the keyboard. Make sure each keycap is properly aligned and securely in place. Once everything is reassembled, reconnect the keyboard to your computer and test all the keys to ensure they are working correctly.
Tips for Maintaining a Clean Keyboard
Once you’ve successfully clean a keyboard, here are some tips to keep it clean in the future:
- Regular Cleaning: Make it a habit to clean your keyboard at least once a week to prevent grime and dust from building up.
- Avoid Eating and Drinking Near Your Keyboard: This is the easiest way to prevent crumbs and spills from getting into your keyboard.
- Wash Your Hands: Washing your hands before using your keyboard can reduce the amount of dirt and oil transferred to the keys.
- Use a Keyboard Cover: A keyboard cover can protect your keyboard from dust, spills, and other contaminants.
- Store Your Keyboard Properly: When not in use, store your keyboard in a clean, dry place to prevent dust and debris from accumulating.
Troubleshooting Common Keyboard Cleaning Issues
Even with the best intentions, you might encounter some issues while you clean a keyboard. Here are some common problems and how to address them:
- Sticky Keys: If your keys are still sticky after cleaning, try removing the keycaps and cleaning the key switches with a cotton swab dampened with isopropyl alcohol.
- Keys Not Working: If some keys are not working after cleaning, make sure the keycaps are properly attached and that there is no debris blocking the key switches.
- Alcohol Damage: If you accidentally spill too much alcohol on your keyboard, immediately disconnect it from the power source and allow it to dry completely before using it again.
Advanced Cleaning Techniques
For those who want to go the extra mile, here are some advanced cleaning techniques for a truly spotless keyboard:
- Ultrasonic Cleaning: If you have access to an ultrasonic cleaner, you can use it to clean the keycaps. Simply place the keycaps in the cleaner with warm soapy water and let it run for a few minutes.
- Disassembling the Keyboard: For a truly deep clean, you can disassemble the entire keyboard and clean each component individually. However, this is a more advanced technique and should only be attempted by experienced users.
Conclusion
Knowing how to clean a keyboard is an essential skill for anyone who uses a computer regularly. By following the steps outlined in this guide, you can keep your keyboard clean, hygienic, and functioning properly. Regular cleaning not only improves the appearance of your keyboard but also extends its lifespan and prevents the spread of germs. So, take the time to clean a keyboard – your fingers (and your health) will thank you for it. Remember to disconnect the keyboard before you clean a keyboard to prevent any electrical accidents. Now that you know how to clean a keyboard, you can enjoy a cleaner, more efficient, and more enjoyable computing experience.
[See also: How to Disinfect Your Electronic Devices]
[See also: Keyboard Maintenance Tips for Gamers]
