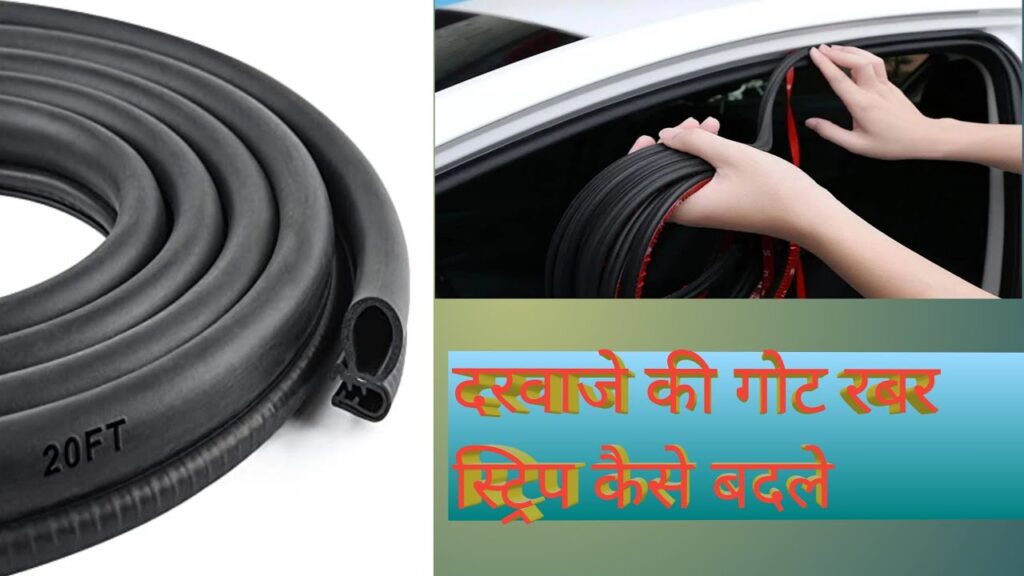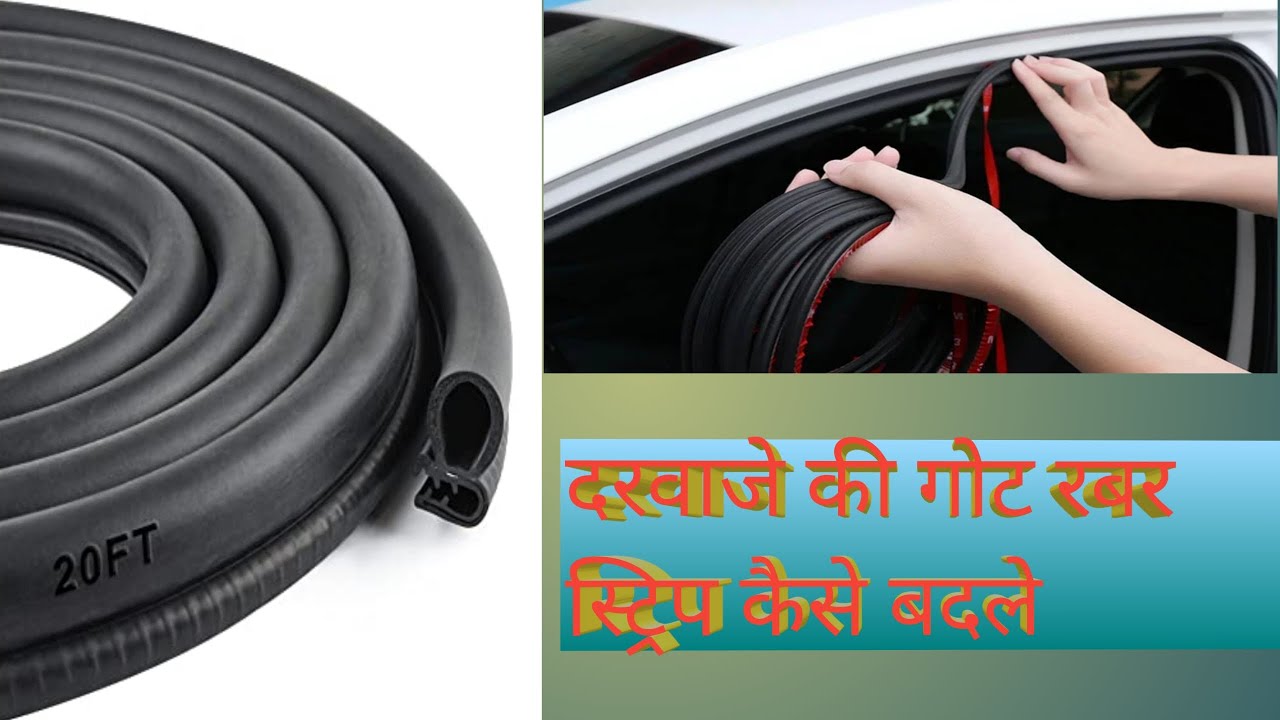
How to Fix Car Door Rubber Seal: A Comprehensive Guide
A well-maintained car is not just about a shiny exterior and a powerful engine. Often overlooked, but equally crucial, are the rubber seals around your car doors. These seals, also known as weather stripping, play a vital role in keeping out water, wind, noise, and dust, ensuring a comfortable and quiet ride. Over time, however, these car door rubber seals can deteriorate due to exposure to the elements, leading to leaks, increased road noise, and even potential rust issues. This guide provides a comprehensive overview of how to fix car door rubber seals, covering everything from identification of problems to repair and preventative maintenance.
Understanding the Importance of Car Door Rubber Seals
Before diving into the repair process, it’s important to understand why car door rubber seals are so critical. They are the first line of defense against the elements, protecting your car’s interior from water damage, which can lead to mold and mildew growth. They also help to reduce wind noise, creating a more pleasant driving experience. Furthermore, properly functioning seals contribute to better insulation, keeping your car cooler in the summer and warmer in the winter, thereby improving fuel efficiency. Damaged or worn car door rubber seals can compromise all these benefits, making timely repair essential.
Identifying Problems with Car Door Rubber Seals
The first step in fixing your car door rubber seal is to identify the problem. Common signs of damage include:
- Visible Cracks and Tears: Inspect the seals for any visible cracks, tears, or breaks.
- Hardening or Brittleness: Over time, the rubber can become hard and brittle, losing its flexibility and ability to seal properly.
- Water Leaks: Water entering the car during rain or washing is a clear indication of a compromised seal.
- Increased Wind Noise: A noticeable increase in wind noise while driving suggests gaps in the seal.
- Drafts: Feeling a draft near the door while the car is closed indicates a poor seal.
- Mold or Mildew: Presence of mold or mildew inside the car, particularly near the door frames, can indicate water intrusion due to faulty seals.
Once you’ve identified the specific issues with your car door rubber seals, you can proceed with the appropriate repair method.
Tools and Materials Needed to Fix Car Door Rubber Seals
Before you start the repair, gather the necessary tools and materials. These may include:
- New Rubber Seals: If the existing seals are severely damaged, you’ll need to purchase replacements. Ensure they are compatible with your car’s make and model.
- Rubber Sealant or Adhesive: A high-quality rubber sealant or adhesive is essential for bonding the seals to the car frame.
- Cleaning Supplies: Use a mild detergent and water to clean the area before applying the sealant.
- Isopropyl Alcohol: For removing stubborn dirt or residue.
- Applicator Brush or Cloth: For applying the sealant evenly.
- Heat Gun or Hair Dryer: To soften the rubber and improve adhesion (use with caution).
- Scissors or Utility Knife: For trimming the new seals to the correct length.
- Gloves: To protect your hands from the sealant.
- Masking Tape: To protect the surrounding paintwork.
- Putty Knife or Scraper: For removing old sealant.
Step-by-Step Guide to Fixing Car Door Rubber Seals
Here’s a detailed guide on how to fix car door rubber seals:
Step Removing the Old Seal
Carefully remove the old car door rubber seal. Use a putty knife or scraper to gently pry it away from the car frame. Be careful not to damage the paintwork. If the old sealant is particularly stubborn, you can use a heat gun or hair dryer to soften it.
Step Cleaning the Surface
Thoroughly clean the area where the new seal will be applied. Use a mild detergent and water to remove any dirt, grease, or residue. Follow this with a wipe-down using isopropyl alcohol to ensure a clean, dry surface. This step is crucial for proper adhesion of the new seal. Make sure the surface is completely dry before proceeding. A clean surface is key to ensuring the longevity of your car door rubber seal repair.
Step Applying the New Sealant
Apply a thin, even bead of rubber sealant or adhesive to the car frame. Follow the manufacturer’s instructions for the specific sealant you are using. Avoid applying too much sealant, as this can create a messy finish. Masking tape can be used to protect the surrounding paintwork from any excess sealant.
Step Installing the New Seal
Carefully position the new car door rubber seal onto the sealant, pressing it firmly into place. Start at one end and work your way around, ensuring that the seal is properly aligned. If the seal is too long, use scissors or a utility knife to trim it to the correct length. Apply consistent pressure along the entire length of the seal to ensure a strong bond.
Step Curing and Finishing
Allow the sealant to cure according to the manufacturer’s instructions. This may take several hours or even overnight. During this time, avoid opening and closing the door unnecessarily. Once the sealant is fully cured, remove the masking tape and inspect the seal for any gaps or imperfections. If necessary, apply additional sealant to fill any gaps. A properly cured and installed car door rubber seal will provide years of reliable service.
Alternative Solutions for Minor Damage
For minor damage, such as small cracks or tears, you may be able to repair the car door rubber seals without replacing them entirely. Consider these alternative solutions:
- Rubber Seal Repair Kit: These kits typically contain a flexible filler that can be used to patch small cracks and tears.
- Silicone-Based Lubricant: Applying a silicone-based lubricant can help to restore the flexibility of the rubber and prevent further cracking.
- Weather Stripping Tape: This tape can be used to reinforce weakened areas of the seal.
Preventative Maintenance for Car Door Rubber Seals
To prolong the life of your car door rubber seals, consider these preventative maintenance tips:
- Regular Cleaning: Clean the seals regularly with a mild detergent and water to remove dirt and debris.
- Silicone Lubrication: Apply a silicone-based lubricant every few months to keep the rubber supple and prevent cracking.
- Protection from Sunlight: Park your car in the shade whenever possible to protect the seals from damaging UV rays.
- Avoid Harsh Chemicals: Avoid using harsh chemicals or solvents on the seals, as these can degrade the rubber.
- Regular Inspection: Inspect the seals regularly for any signs of damage and address any issues promptly.
When to Seek Professional Help
While many car door rubber seal repairs can be done DIY, there are times when it’s best to seek professional help. If you’re not comfortable working on your car, or if the damage is extensive, consult a qualified mechanic or auto body shop. They have the expertise and tools to properly diagnose and repair any issues with your car’s seals. Additionally, if the damage is related to a larger issue, such as a misaligned door, professional assistance is recommended.
The Importance of Quality Replacement Seals
When replacing your car door rubber seals, it’s crucial to use high-quality replacement parts. Cheap, low-quality seals may not fit properly or last as long as OEM (Original Equipment Manufacturer) or reputable aftermarket seals. Investing in quality seals will ensure a proper fit and long-lasting performance, saving you time and money in the long run. Research different brands and read reviews to find the best seals for your car.
Troubleshooting Common Issues
Even after a careful repair, you may encounter some common issues with your car door rubber seals. Here are some troubleshooting tips:
- Seal Not Adhering: If the new seal is not adhering properly, ensure that the surface is clean and dry, and that you are using a high-quality sealant. You may also need to apply more pressure to the seal during the curing process.
- Leaks Persisting: If leaks persist after the repair, double-check the seal for any gaps or imperfections. You may need to apply additional sealant to fill any gaps. Also, inspect the surrounding areas, such as the windows and door frame, for any other potential sources of leaks.
- Excessive Wind Noise: If you still experience excessive wind noise, ensure that the seal is properly aligned and that there are no gaps between the seal and the car frame. You may also need to adjust the door striker plate to ensure a tighter fit.
Cost Considerations for Car Door Rubber Seal Repair
The cost of repairing or replacing your car door rubber seals can vary depending on several factors, including the type of seal, the extent of the damage, and whether you choose to do it yourself or hire a professional. DIY repairs are generally less expensive, as you only need to pay for the materials. However, professional repairs may be necessary for more complex issues. Get quotes from several different mechanics or auto body shops to compare prices and ensure you are getting a fair deal.
Conclusion
Properly functioning car door rubber seals are essential for maintaining the comfort, safety, and longevity of your vehicle. By following the steps outlined in this guide, you can effectively fix car door rubber seals and protect your car from the elements. Whether you choose to tackle the repair yourself or seek professional help, addressing any issues with your seals promptly will ensure a quiet, comfortable, and dry ride for years to come. Regular maintenance and timely repairs are key to keeping your car door rubber seals in top condition.
[See also: Car Maintenance Tips for Beginners]
[See also: How to Prevent Rust on Your Car]
[See also: Choosing the Right Car Wax]

