Mastering Tight Bolt Removal: Techniques and Tools for Success
The dreaded stuck bolt. Every mechanic, engineer, and DIY enthusiast has encountered it. A bolt seized by rust, corrosion, or overtightening can bring a project to a screeching halt. Knowing how to effectively approach tight bolt removal is a crucial skill, saving time, money, and frustration. This comprehensive guide will equip you with the knowledge and techniques needed to tackle even the most stubborn fasteners. From understanding the underlying causes of stuck bolts to mastering various removal methods and preventative measures, we’ll cover everything you need to know about tight bolt removal.
Understanding the Enemy: Why Bolts Get Stuck
Before diving into removal techniques, it’s essential to understand why bolts become difficult to remove in the first place. Several factors contribute to this problem:
- Corrosion: Exposure to moisture and chemicals can cause rust and corrosion to form between the bolt and the surrounding material, effectively bonding them together.
- Overtightening: Applying excessive torque when tightening a bolt can stretch the threads, causing them to bind and making removal difficult.
- Thread Damage: Damaged or cross-threaded bolts are notorious for getting stuck. The damaged threads create friction and resistance during removal.
- Galvanic Corrosion: When dissimilar metals are in contact in the presence of an electrolyte (like water), a chemical reaction can occur, leading to corrosion and bonding of the metals.
- Loctite/Threadlocker: While designed to prevent loosening, strong threadlockers can make bolt removal challenging if not properly heated.
Assessing the Situation: A Crucial First Step
Before reaching for the wrench, take a moment to assess the situation. Determine the type of bolt, its material, the surrounding materials, and the likely cause of the seizure. This assessment will guide your choice of removal technique. Consider the following:
- Bolt Type: Is it a standard hex bolt, a Torx bolt, an Allen bolt, or something else? Using the correct tool is critical.
- Material: Is the bolt made of steel, stainless steel, aluminum, or another material? This will influence your choice of penetrating oil and heating methods.
- Surrounding Materials: Are there any sensitive components nearby that could be damaged by heat or aggressive removal techniques?
- Accessibility: How accessible is the bolt? Limited access may require specialized tools.
The Arsenal: Essential Tools for Tight Bolt Removal
Having the right tools on hand is essential for successful tight bolt removal. Here’s a list of must-have items:
- Penetrating Oil: A good penetrating oil is your first line of defense. It helps to break down rust and corrosion, lubricating the threads and allowing for easier removal. Popular brands include PB Blaster, Kroil, and Liquid Wrench.
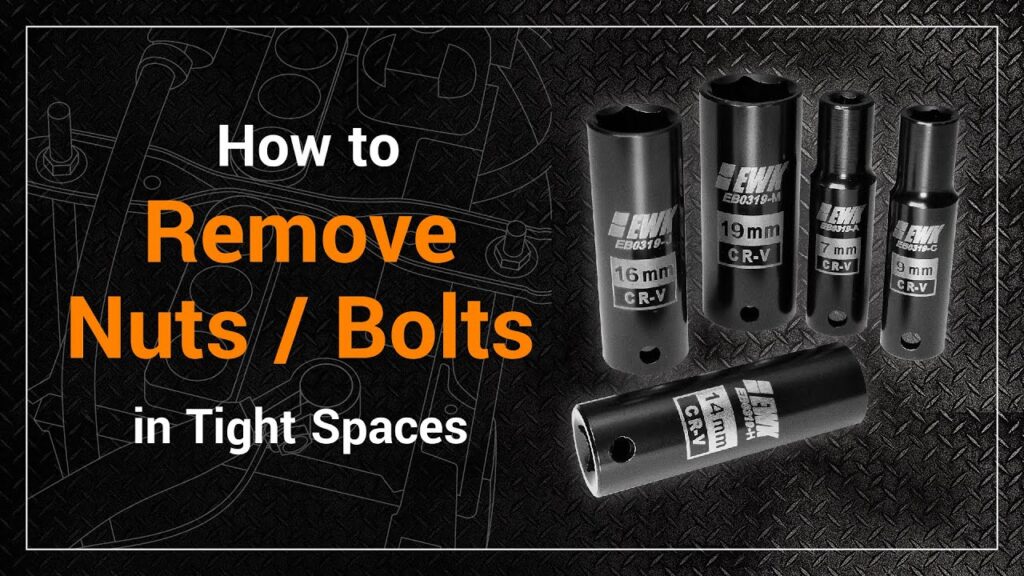
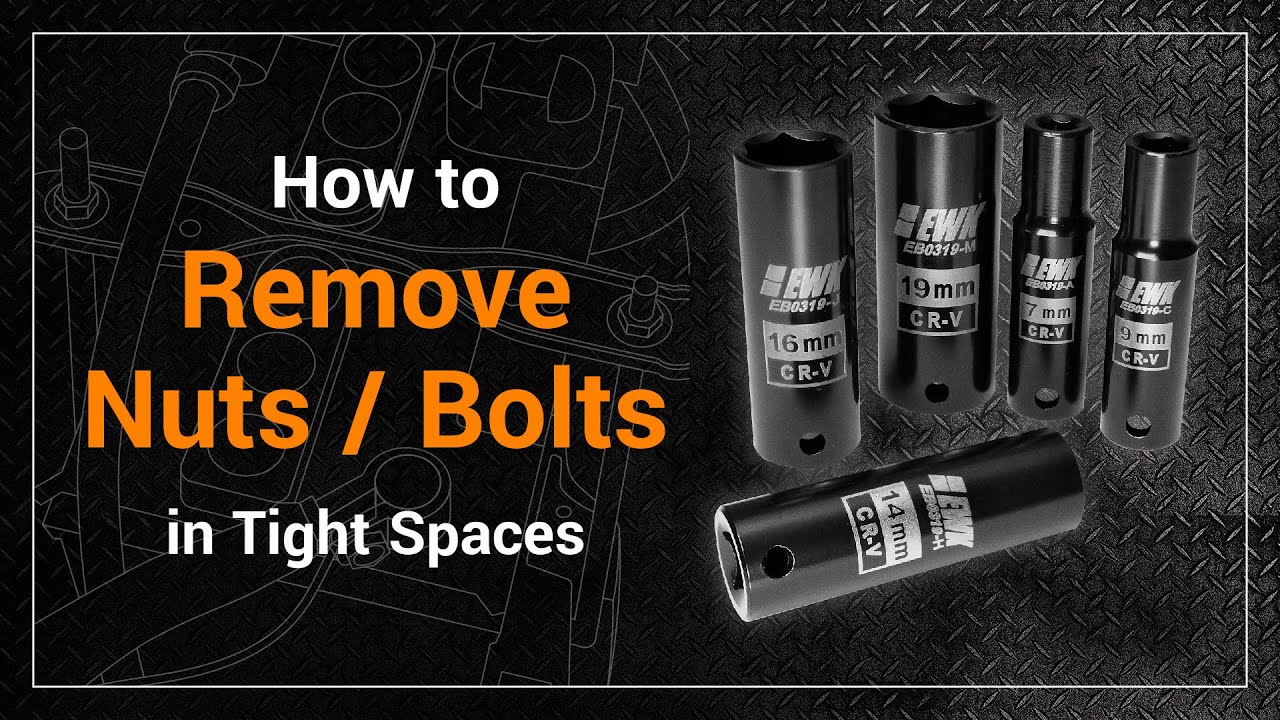
- Wrenches and Sockets: A comprehensive set of wrenches and sockets, including both standard and metric sizes, is essential. Invest in high-quality tools to avoid rounding off bolt heads.
- Impact Wrench: An impact wrench delivers powerful rotational force, making it ideal for loosening stubborn bolts.
- Breaker Bar: A breaker bar provides extra leverage for breaking loose tight bolts.
- Heat Gun or Torch: Applying heat can help to expand the bolt and break the bond caused by corrosion. Use caution when using heat, especially near flammable materials.
- Bolt Extractor Set: Bolt extractors are designed to grip damaged or rounded-off bolt heads, allowing you to remove them.
- Hammer and Punch: A hammer and punch can be used to tap the bolt head, helping to break the bond.
- Vice Grips: Vice grips can be used to grip the bolt head if it’s severely damaged.
- Left-Handed Drill Bits: These drill bits can sometimes grab and unscrew the bolt as you drill.
Techniques for Removing Tight Bolts: A Step-by-Step Guide
Now that you understand the causes of stuck bolts and have the necessary tools, let’s explore some common removal techniques. Remember to start with the least aggressive method and gradually increase the intensity as needed. Always wear safety glasses and gloves.
Penetrating Oil: The First Line of Attack
Apply a generous amount of penetrating oil to the bolt and surrounding area. Allow it to soak for at least 15-30 minutes, or even overnight for severely stuck bolts. The longer it soaks, the better it will penetrate the corrosion. Reapply the oil periodically during the soaking process.
Tapping and Vibration: Breaking the Bond
Gently tap the bolt head with a hammer. This vibration can help to break the bond between the bolt and the surrounding material. You can also use a pneumatic impact hammer for more aggressive vibration.
Applying Heat: Expanding the Bolt
Apply heat to the bolt head using a heat gun or torch. Heat expands the metal, which can help to break the bond caused by corrosion. Be careful not to overheat the bolt, as this can weaken it. Also, be mindful of any flammable materials nearby. [See also: Working Safely with Power Tools]
The Breaker Bar: Leverage is Your Friend
Attach a socket to the bolt head and use a breaker bar to apply extra leverage. Apply steady, even pressure. Avoid jerky movements, which can snap the bolt. If the bolt doesn’t budge, try applying more penetrating oil and heat.
Impact Wrench: Power and Precision
An impact wrench can deliver a powerful rotational force that can break loose even the most stubborn bolts. Use the correct size socket and apply steady pressure. Be careful not to overtighten the bolt if you are using the impact wrench to reinstall it.
Bolt Extractor: When All Else Fails
If the bolt head is rounded off or severely damaged, a bolt extractor is your best bet. There are various types of bolt extractors available, including spiral-flute extractors and socket-type extractors. Follow the manufacturer’s instructions carefully.
Drilling and Tapping: A Last Resort
As a last resort, you can drill out the bolt. Start with a small pilot hole and gradually increase the size of the drill bit. Be careful not to damage the threads in the surrounding material. Once you’ve drilled out the bolt, you can use a tap to clean up the threads. This method requires precision and patience.
Preventing Stuck Bolts: A Proactive Approach
The best way to deal with tight bolt removal is to prevent bolts from getting stuck in the first place. Here are some preventative measures you can take:
- Use Anti-Seize Compound: Apply a thin layer of anti-seize compound to the bolt threads before installation. This will prevent corrosion and make removal much easier in the future.
- Proper Torque: Use a torque wrench to tighten bolts to the manufacturer’s specifications. Overtightening can damage the threads and make removal difficult.
- Use the Right Fasteners: Select the correct type of fastener for the application. Consider using stainless steel fasteners in corrosive environments. [See also: Choosing the Right Fastener for Your Project]
- Regular Maintenance: Inspect and maintain bolted connections regularly. Clean and lubricate the threads as needed.
- Avoid Mixing Metals: When possible, avoid using dissimilar metals in bolted connections. This can prevent galvanic corrosion.
Advanced Techniques and Considerations
For particularly challenging tight bolt removal situations, consider these advanced techniques:
- Ultrasonic Vibration: Specialized tools use ultrasonic vibration to loosen corroded bolts.
- Induction Heating: Induction heating provides rapid and localized heating, ideal for loosening seized bolts without damaging surrounding components.
- Chemical Removal: Certain chemicals can dissolve rust and corrosion, freeing up the bolt. Use these with caution and proper ventilation.
Conclusion: Mastering the Art of Tight Bolt Removal
Tight bolt removal can be a challenging but ultimately rewarding task. By understanding the causes of stuck bolts, having the right tools, and mastering various removal techniques, you can tackle even the most stubborn fasteners with confidence. Remember to start with the least aggressive method and gradually increase the intensity as needed. And most importantly, practice preventative measures to avoid stuck bolts in the first place. With patience and persistence, you’ll be able to conquer any tight bolt removal challenge that comes your way. The key is to approach each situation methodically, applying the appropriate techniques and tools for the job. Good luck, and happy wrenching!

