
How to Clean Rusty Garden Tools: A Comprehensive Guide
Maintaining your garden tools is crucial for their longevity and performance. Rust, a common enemy of metal tools, can significantly impair their functionality. Knowing how to clean rusty garden tools effectively not only extends their lifespan but also ensures your gardening tasks are completed with ease and efficiency. This comprehensive guide provides step-by-step instructions and expert tips on removing rust from your beloved gardening companions, helping you keep them in top condition for years to come.
Why Cleaning Rusty Garden Tools Matters
Beyond aesthetics, rust poses a real threat to the integrity of your garden tools. Rust weakens the metal, making tools more prone to breakage and less effective at cutting or digging. Furthermore, using rusty tools can introduce harmful pathogens into your garden soil, potentially affecting the health of your plants. Regularly cleaning and maintaining your tools prevents these issues and ensures a smooth gardening experience. Understanding how to clean rusty garden tools is an investment in your garden’s future.
Identifying Rust on Garden Tools
Rust is easily identifiable by its reddish-brown, flaky appearance on metal surfaces. It’s a form of iron oxide that occurs when iron or steel is exposed to moisture and oxygen. Early detection is key to preventing extensive damage. Check your tools regularly for signs of rust, especially after use in wet conditions or after being stored improperly. Pay close attention to joints, blades, and other areas prone to moisture accumulation. Recognizing the early signs of rust is the first step in learning how to clean rusty garden tools.
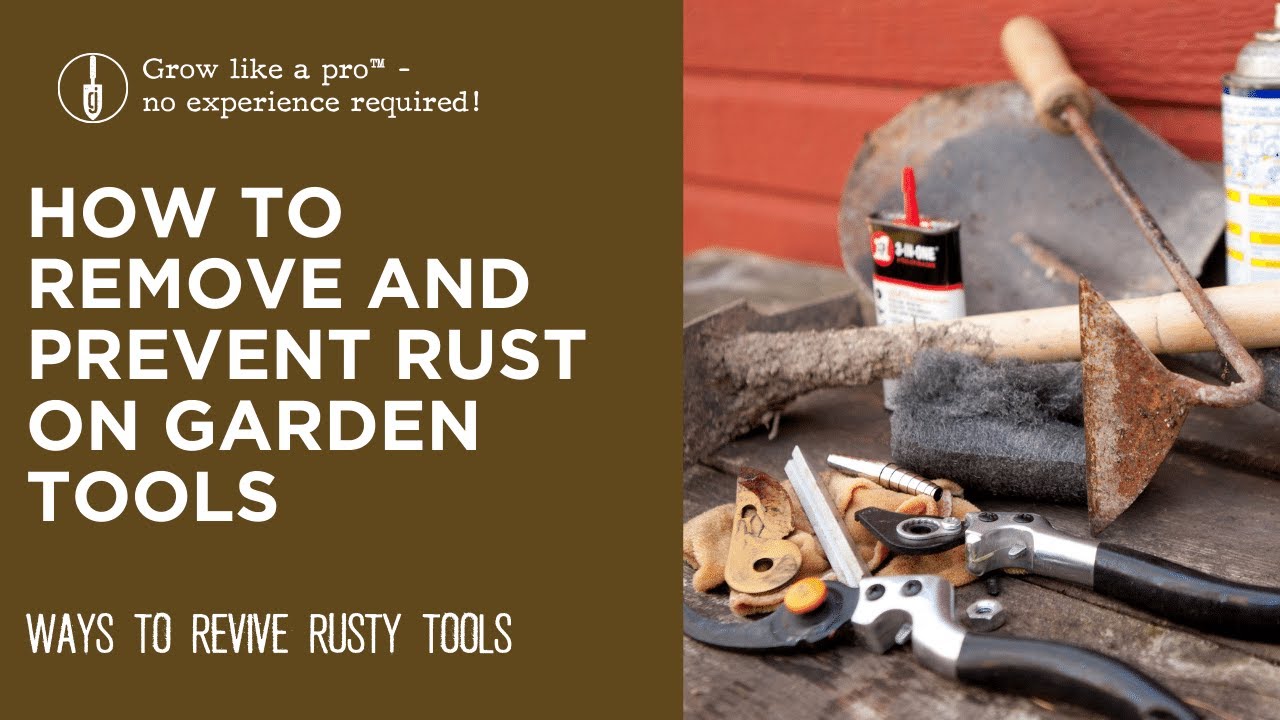
Essential Supplies for Cleaning Rusty Garden Tools
Before you embark on your rust-removal mission, gather the necessary supplies. Having the right tools on hand will make the process more efficient and effective. Here’s a checklist of essential items:
- Wire Brush: A sturdy wire brush is essential for scrubbing away loose rust particles.
- Sandpaper (various grits): Different grits of sandpaper will help you tackle varying degrees of rust. Start with a coarser grit for heavy rust and move to finer grits for smoothing.
- Rust Remover: Commercial rust removers are available in liquid or gel form. Choose one that’s specifically designed for metal tools.
- Vinegar: White vinegar is a natural and effective rust remover.
- Baking Soda: Baking soda can be used to create a paste for scrubbing away rust.
- Protective Gear: Wear gloves and eye protection to safeguard yourself from rust particles and chemicals.
- Oil: After cleaning, apply oil to prevent future rusting.
- Rags or Cloths: Use clean rags or cloths to wipe down your tools.
Methods for Cleaning Rusty Garden Tools
Several methods can effectively remove rust from garden tools. The best approach depends on the severity of the rust and your preference for natural or chemical solutions.
Method 1: Manual Scrubbing
This method is suitable for light to moderate rust. It involves physically scrubbing away the rust using a wire brush and sandpaper.
- Prepare the Tool: Remove any loose dirt or debris from the tool using a brush or cloth.
- Scrub with Wire Brush: Vigorously scrub the rusted areas with a wire brush to remove loose rust particles.
- Sand with Sandpaper: Use coarse-grit sandpaper to tackle stubborn rust, then switch to finer grits to smooth the surface.
- Wipe Clean: Wipe the tool clean with a damp cloth to remove any remaining rust particles.
- Apply Protective Oil: Apply a thin coat of oil to prevent future rusting.
Method 2: Vinegar Soak
Vinegar is a natural acid that effectively dissolves rust. This method requires soaking the tools in vinegar for an extended period.
- Soak the Tool: Submerge the rusty parts of the tool in white vinegar. For heavily rusted tools, you may need to soak them overnight.
- Scrub with Wire Brush: After soaking, scrub the tool with a wire brush to remove the loosened rust.
- Rinse with Water: Rinse the tool thoroughly with water to remove any vinegar residue.
- Dry Completely: Dry the tool completely with a clean cloth.
- Apply Protective Oil: Apply a thin coat of oil to prevent future rusting.
Method 3: Baking Soda Paste
Baking soda is a mild abrasive that can help remove rust without damaging the underlying metal.
- Make a Paste: Mix baking soda with water to create a thick paste.
- Apply the Paste: Apply the paste to the rusted areas of the tool.
- Scrub with Brush: Scrub the paste into the rust using a brush or cloth.
- Rinse with Water: Rinse the tool thoroughly with water.
- Dry Completely: Dry the tool completely with a clean cloth.
- Apply Protective Oil: Apply a thin coat of oil to prevent future rusting.
Method 4: Commercial Rust Remover
Commercial rust removers are formulated to dissolve rust quickly and effectively. Always follow the manufacturer’s instructions carefully.
- Apply Rust Remover: Apply the rust remover to the rusted areas of the tool, following the manufacturer’s instructions.
- Wait for Reaction: Allow the rust remover to react with the rust for the recommended time.
- Scrub with Brush: Scrub the tool with a brush to remove the loosened rust.
- Rinse with Water: Rinse the tool thoroughly with water.
- Dry Completely: Dry the tool completely with a clean cloth.
- Apply Protective Oil: Apply a thin coat of oil to prevent future rusting.
Preventing Rust on Garden Tools
Prevention is always better than cure. Taking proactive steps to prevent rust will save you time and effort in the long run. Here are some tips to keep your garden tools rust-free:
- Clean Tools After Each Use: Remove dirt, debris, and moisture from your tools after each use.
- Dry Tools Thoroughly: Ensure your tools are completely dry before storing them.
- Store Tools Properly: Store your tools in a dry, sheltered location, such as a shed or garage.
- Apply Protective Oil: Regularly apply a thin coat of oil to your tools to prevent rust.
- Use a Sand-Filled Bucket: Store your tools in a bucket filled with sand mixed with oil. The sand will help keep the tools clean and dry, while the oil will prevent rust.
Choosing the Right Oil for Protecting Garden Tools
Selecting the right oil is crucial for effectively protecting your garden tools from rust. Several types of oil are suitable, each with its own advantages. Mineral oil is a popular choice due to its non-toxic nature and ability to create a protective barrier against moisture. Linseed oil is another excellent option, known for its drying properties, which form a durable, weather-resistant finish. Camellia oil, traditionally used for protecting Japanese swords, is also a great choice for its high purity and rust-inhibiting qualities. Regardless of the oil you choose, ensure it’s applied thinly and evenly to all metal surfaces of your tools after cleaning and drying. This simple step will significantly prolong the life of your tools and keep them performing at their best. Knowing how to clean rusty garden tools is important, but preventing rust in the first place is even better.
Dealing with Stubborn Rust
Sometimes, rust can be particularly stubborn and resistant to conventional cleaning methods. In such cases, more aggressive techniques may be necessary. For heavily rusted tools, consider using an electrolysis method, which involves submerging the tool in an electrolyte solution and passing an electric current through it to remove the rust. Another option is to use a rust converter, which chemically transforms the rust into a stable, protective coating. Always follow the manufacturer’s instructions when using these methods and take appropriate safety precautions. Remember that persistent rust can weaken the metal, so it’s essential to address it promptly to prevent further damage. Understanding how to clean rusty garden tools, even in challenging situations, will ensure your tools remain functional and safe to use.
When to Replace Garden Tools
While proper cleaning and maintenance can significantly extend the lifespan of your garden tools, there comes a time when replacement is necessary. If a tool is severely damaged by rust, to the point where it’s structurally unsound or unsafe to use, it’s best to replace it. Similarly, if a tool’s cutting edge is irreparably damaged or if the handle is broken or loose, it’s time to invest in a new one. Using damaged or unsafe tools can lead to accidents and injuries, so it’s essential to prioritize safety. Regularly inspect your tools for signs of wear and tear, and don’t hesitate to replace them when needed. This will ensure you have reliable and efficient tools for all your gardening tasks. Knowing when to replace tools is as important as knowing how to clean rusty garden tools.
Conclusion
Cleaning and maintaining your garden tools is an essential part of gardening. By following the steps outlined in this guide, you can effectively remove rust and prevent future corrosion, ensuring your tools remain in top condition for years to come. Remember to clean your tools after each use, store them properly, and apply a protective oil regularly. With a little care and attention, your garden tools will continue to serve you well, making your gardening tasks more enjoyable and efficient. Mastering how to clean rusty garden tools is a skill that will benefit you for years to come.
[See also: Best Gardening Practices for Beginners]
[See also: Essential Tools for a Thriving Garden]
[See also: How to Sharpen Garden Tools]
